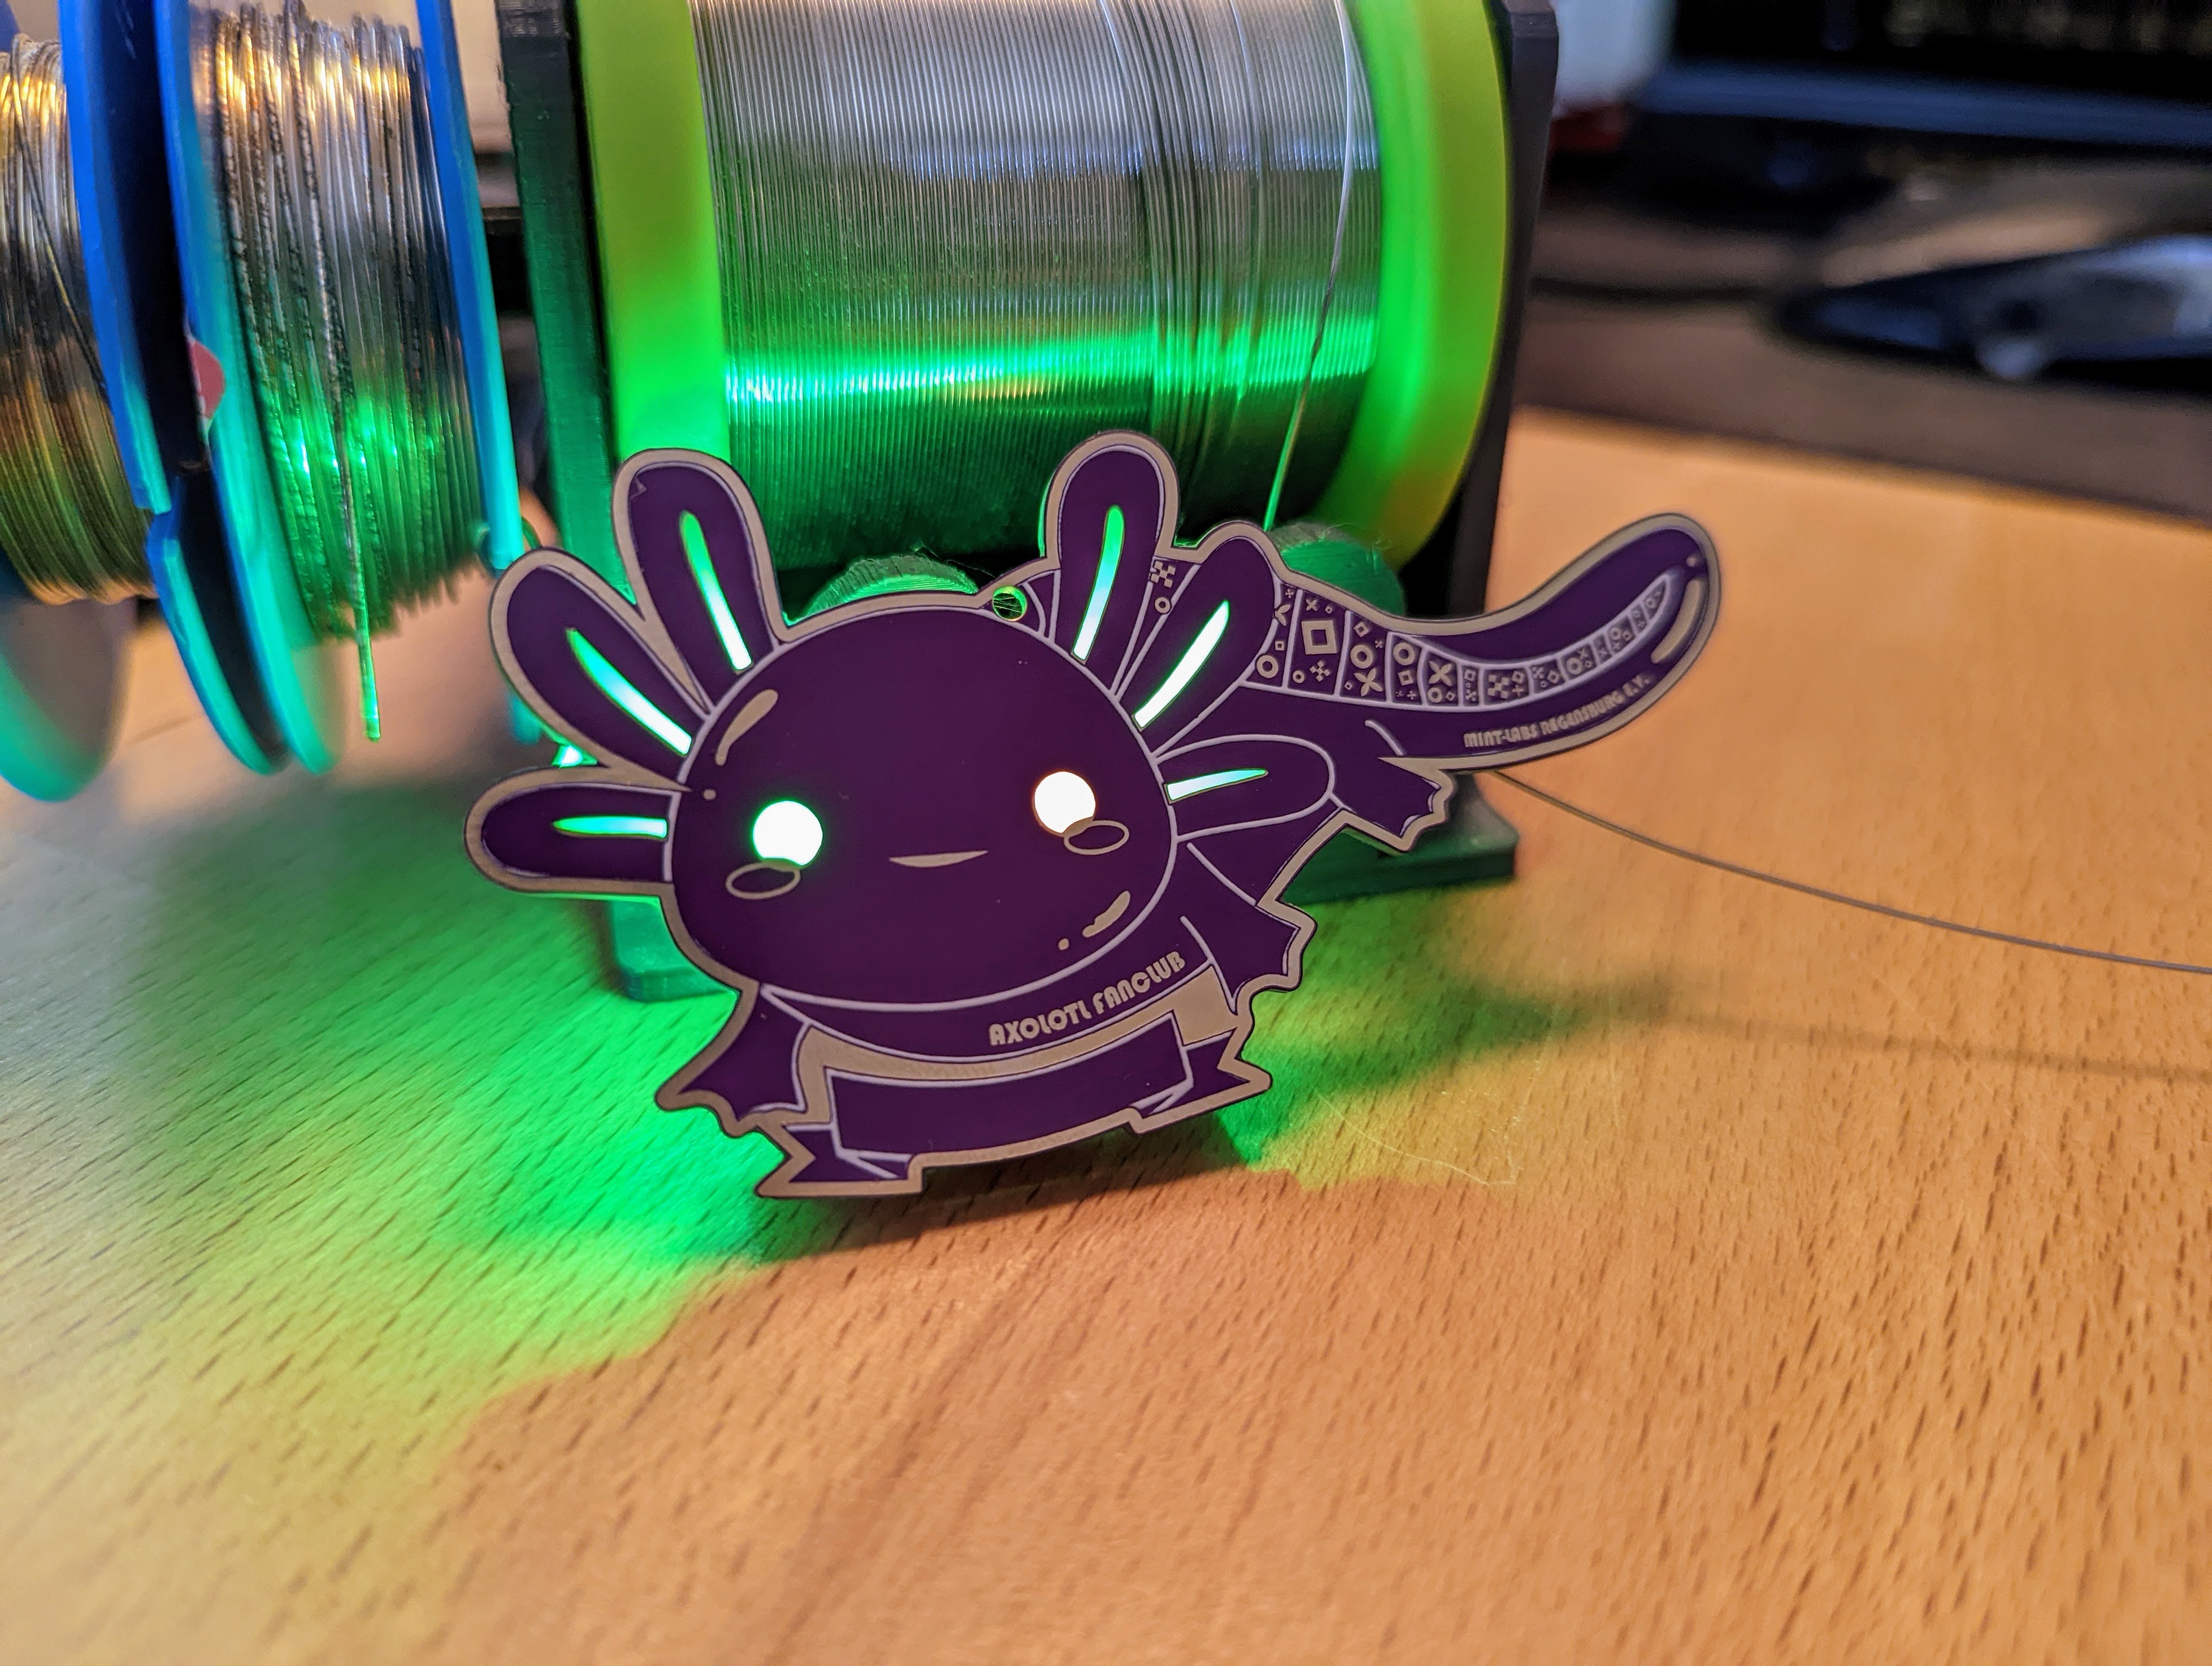
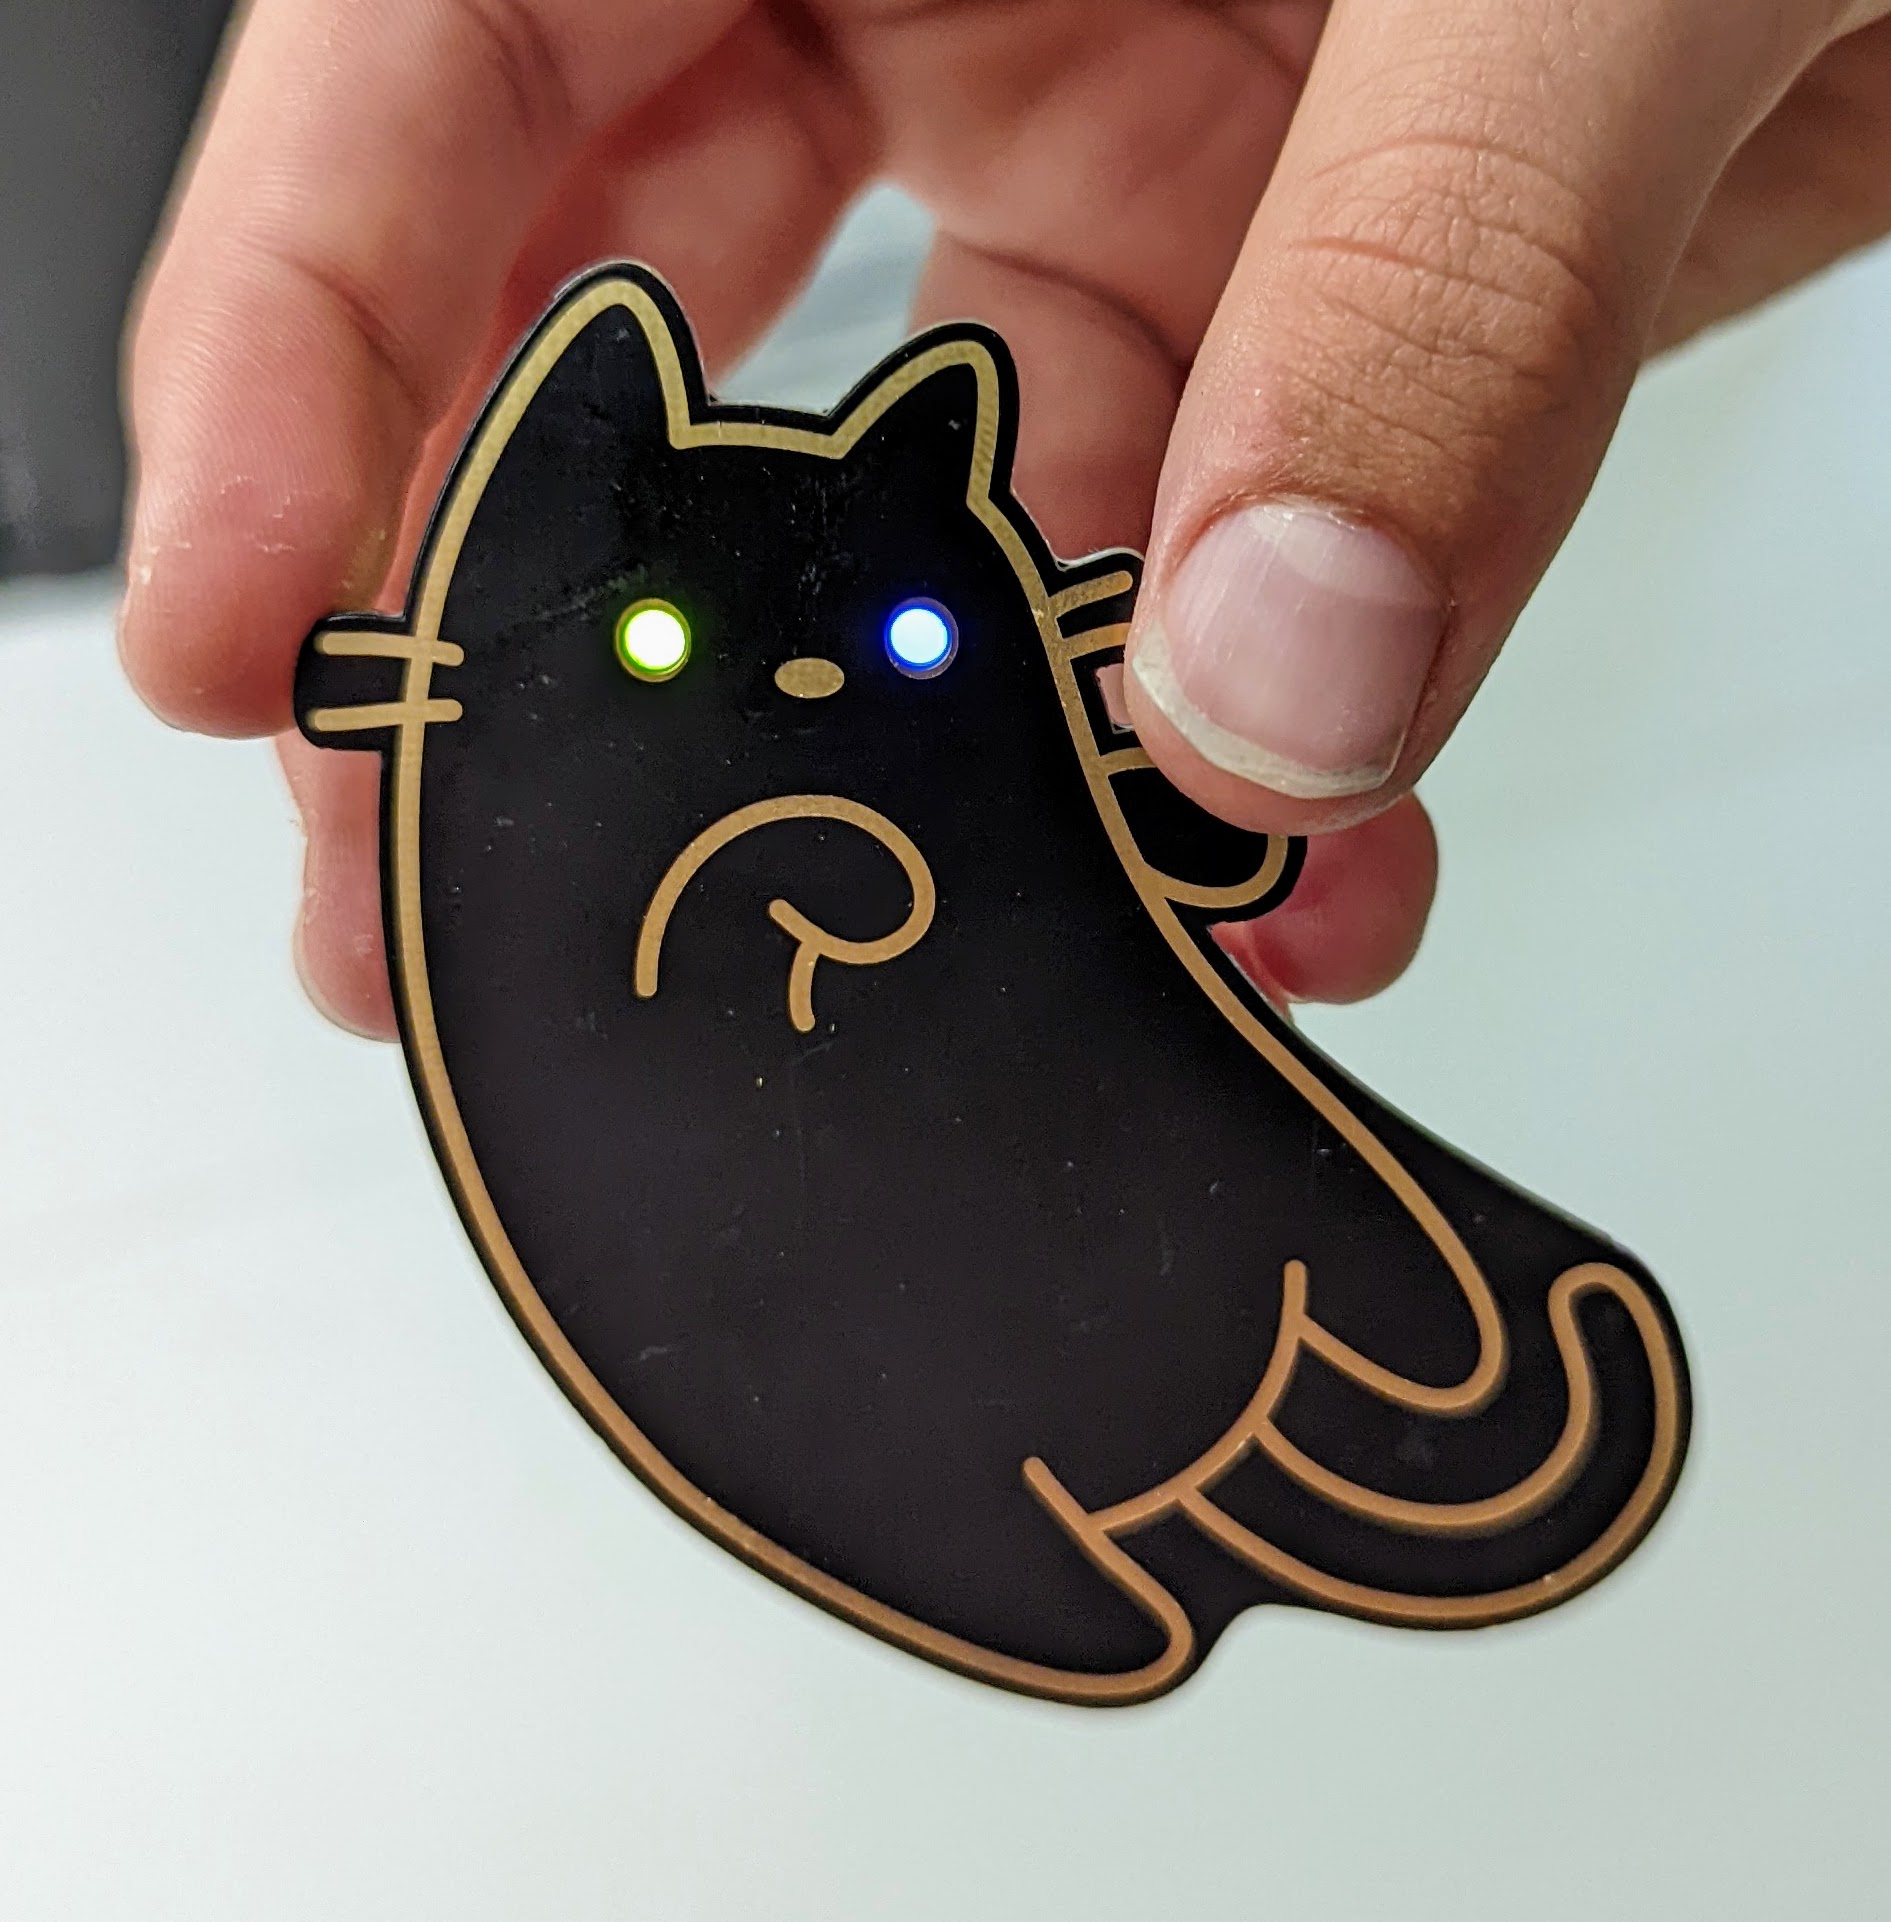
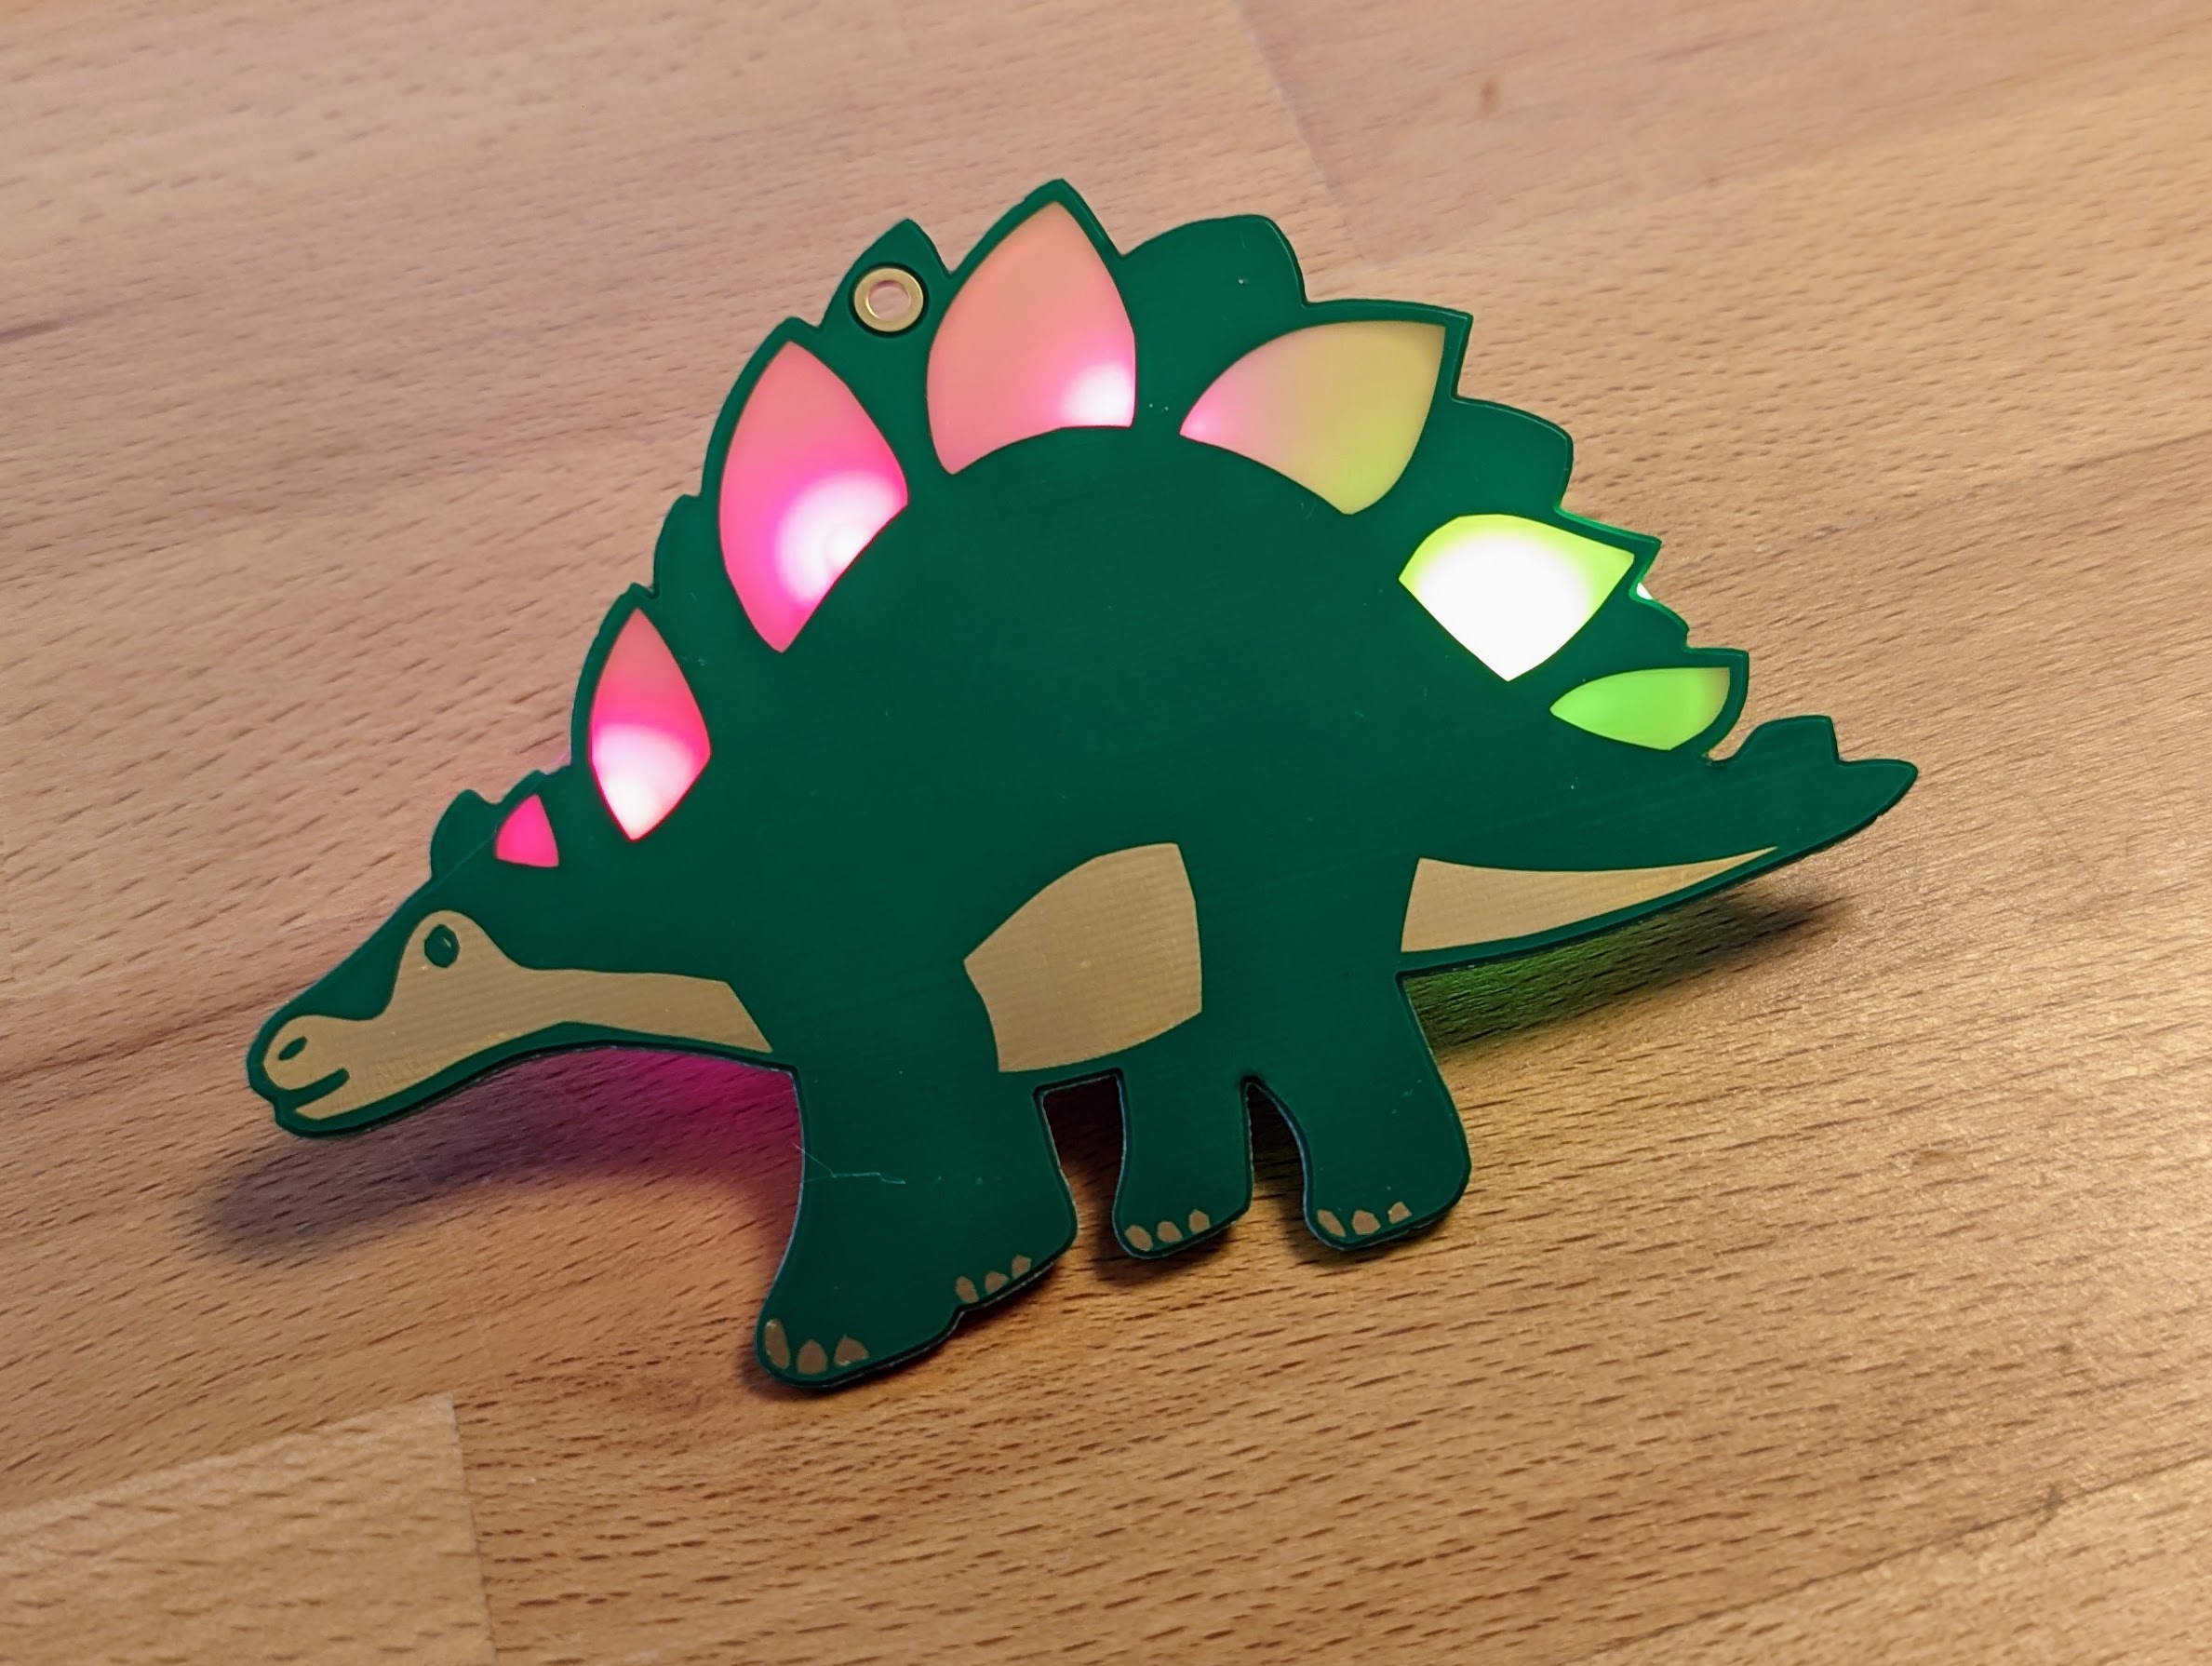
Let this beautiful butterfly fly with its bright colours! Once soldered, its wings shine brightly in all the colours of the rainbow. The bright spots stand out beautifully against its metal decorations. On the left and right of each wing are small eyelets for hanging on a chain and, of course, his filigree antennae must not be missing. Solder a real work of art and embellish yourself and your surroundings with it :).
The best thing is: With this soldering kit you can easily make a great pin, pendant or necklace even as a beginner. You only have to solder 6 components on the back. For those who already know a bit about soldering: The LEDs are THT, i.e. through-hole components. They are soldered to the surface on the back. We used this trick to avoid having holes on the front. This way the butterfly can shine in all its glory and without any blemishes. With the soldered eyelets you can easily and safely thread the butterfly onto a chain.
For all those who are not yet ready: never mind! Detailed and well-tested instructions will guide you through this little soldering adventure.
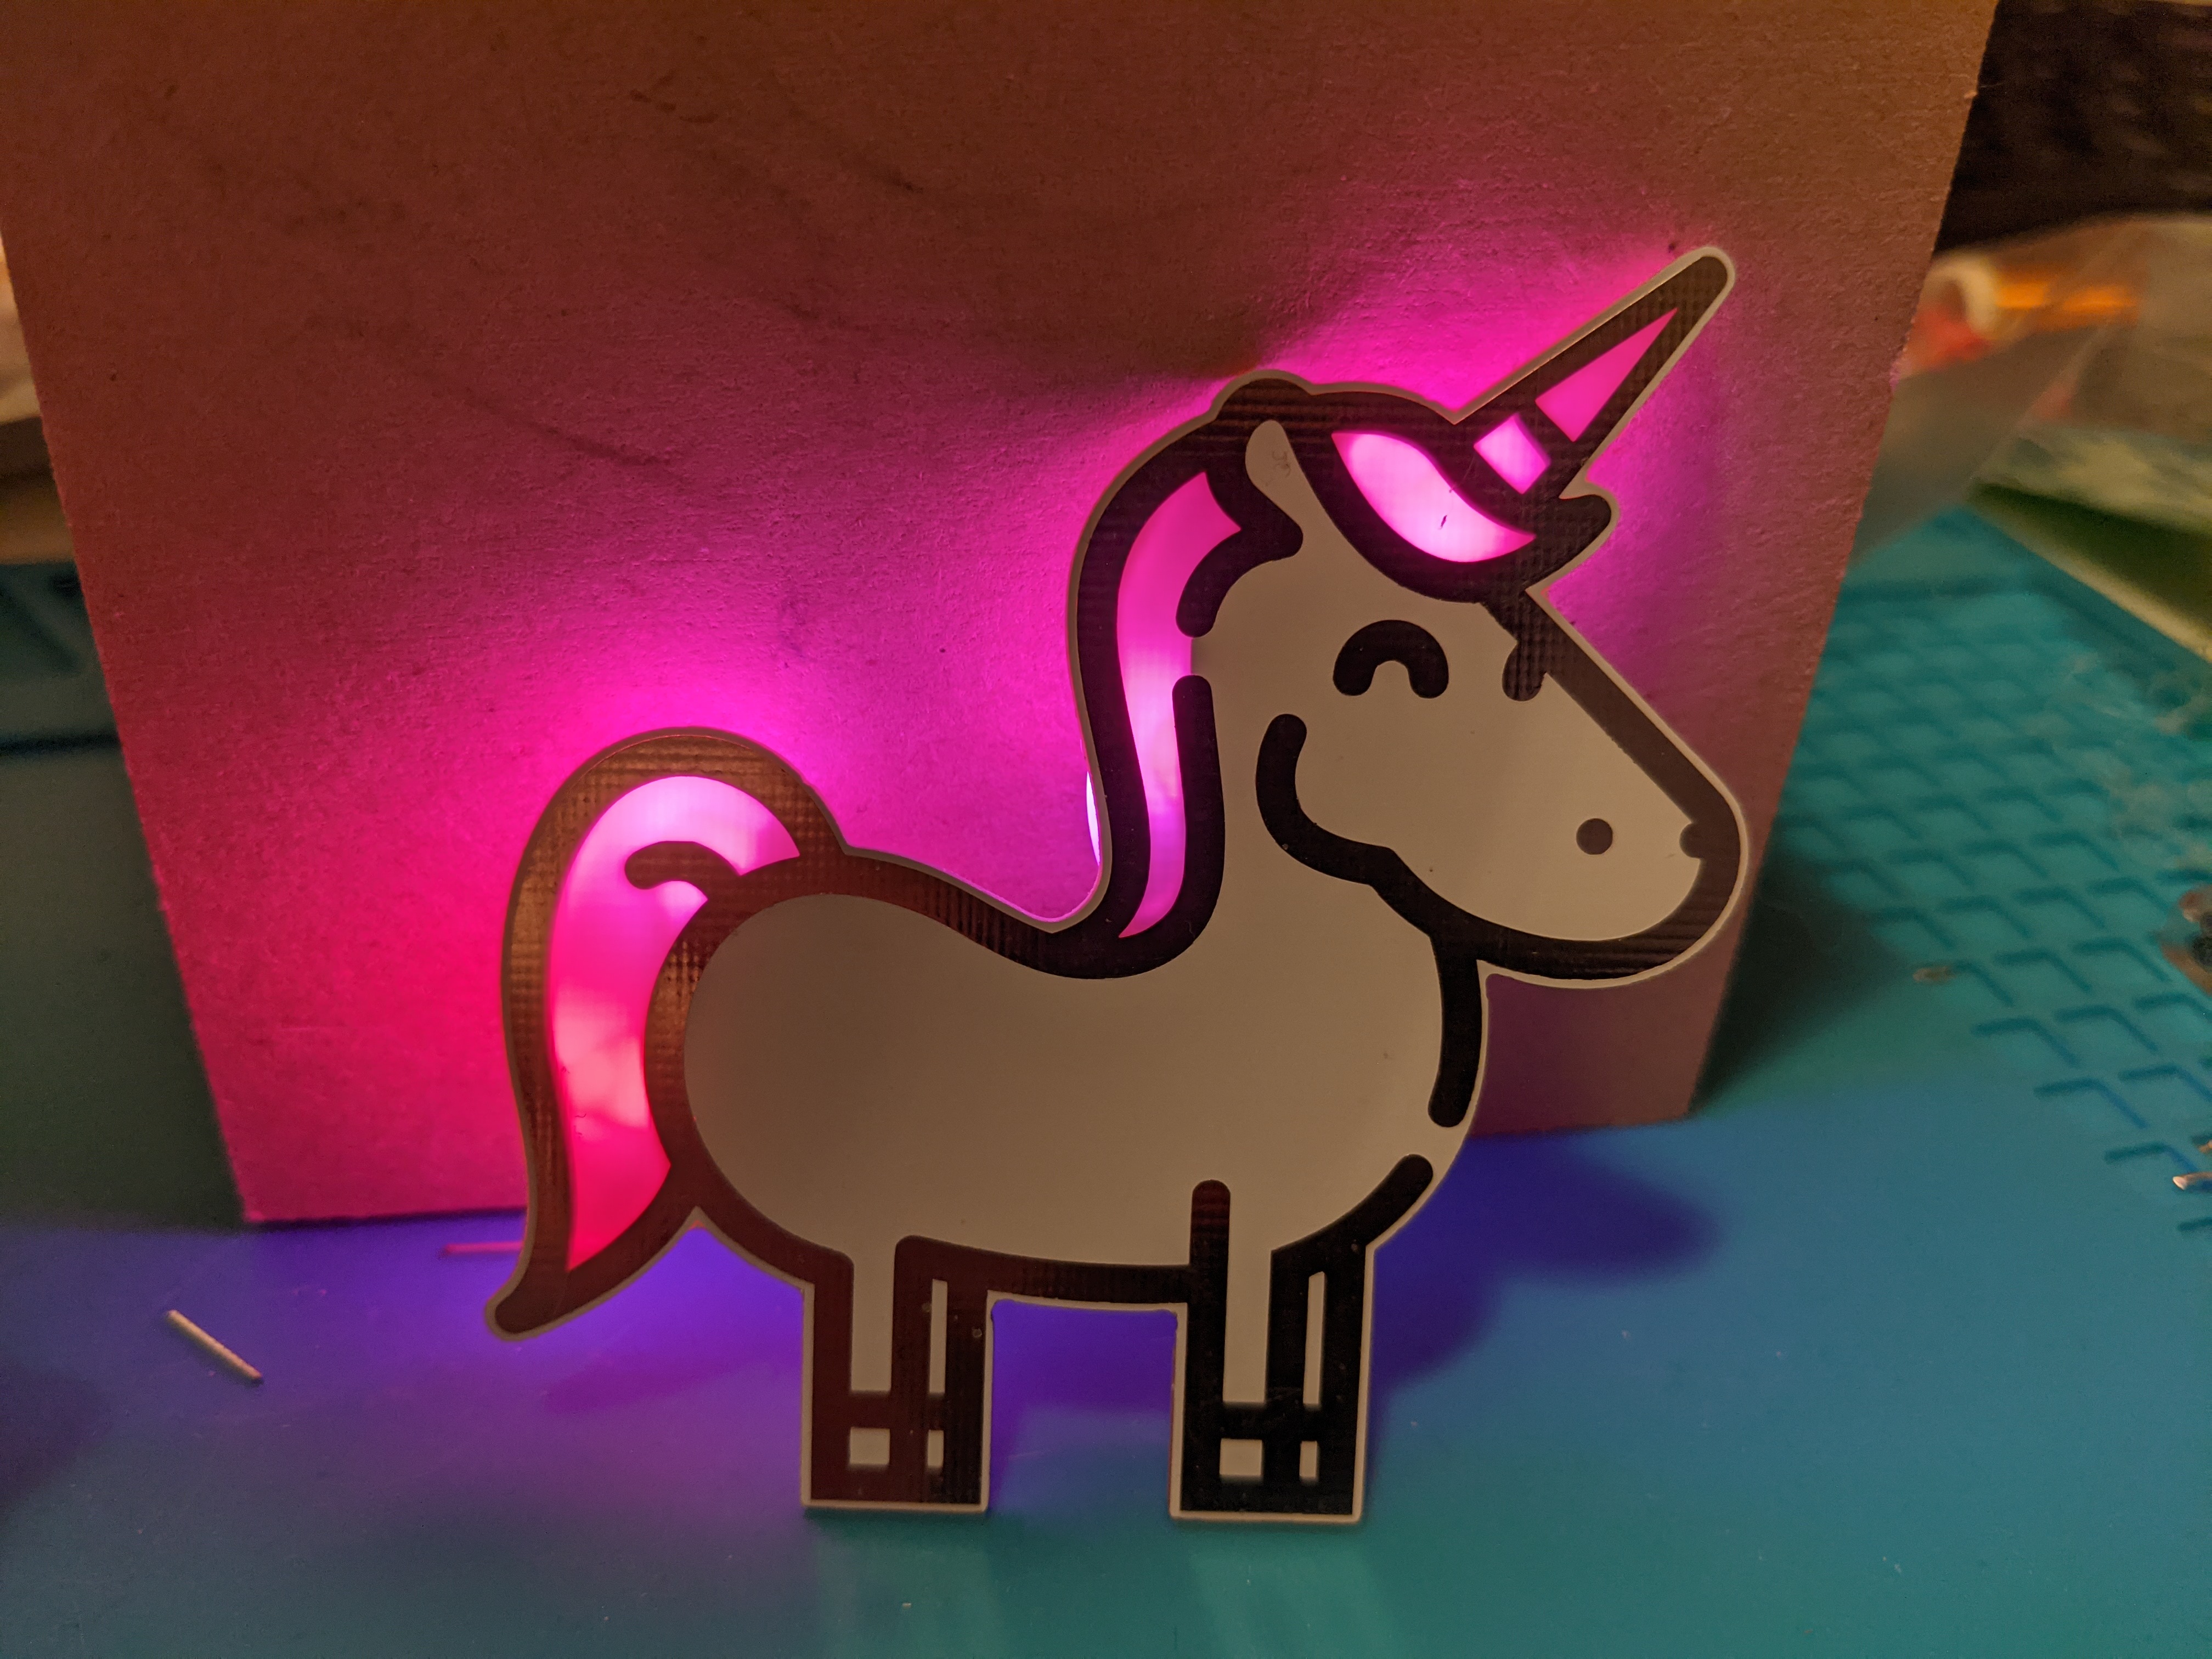
A video of the rainbow colours can be found here:
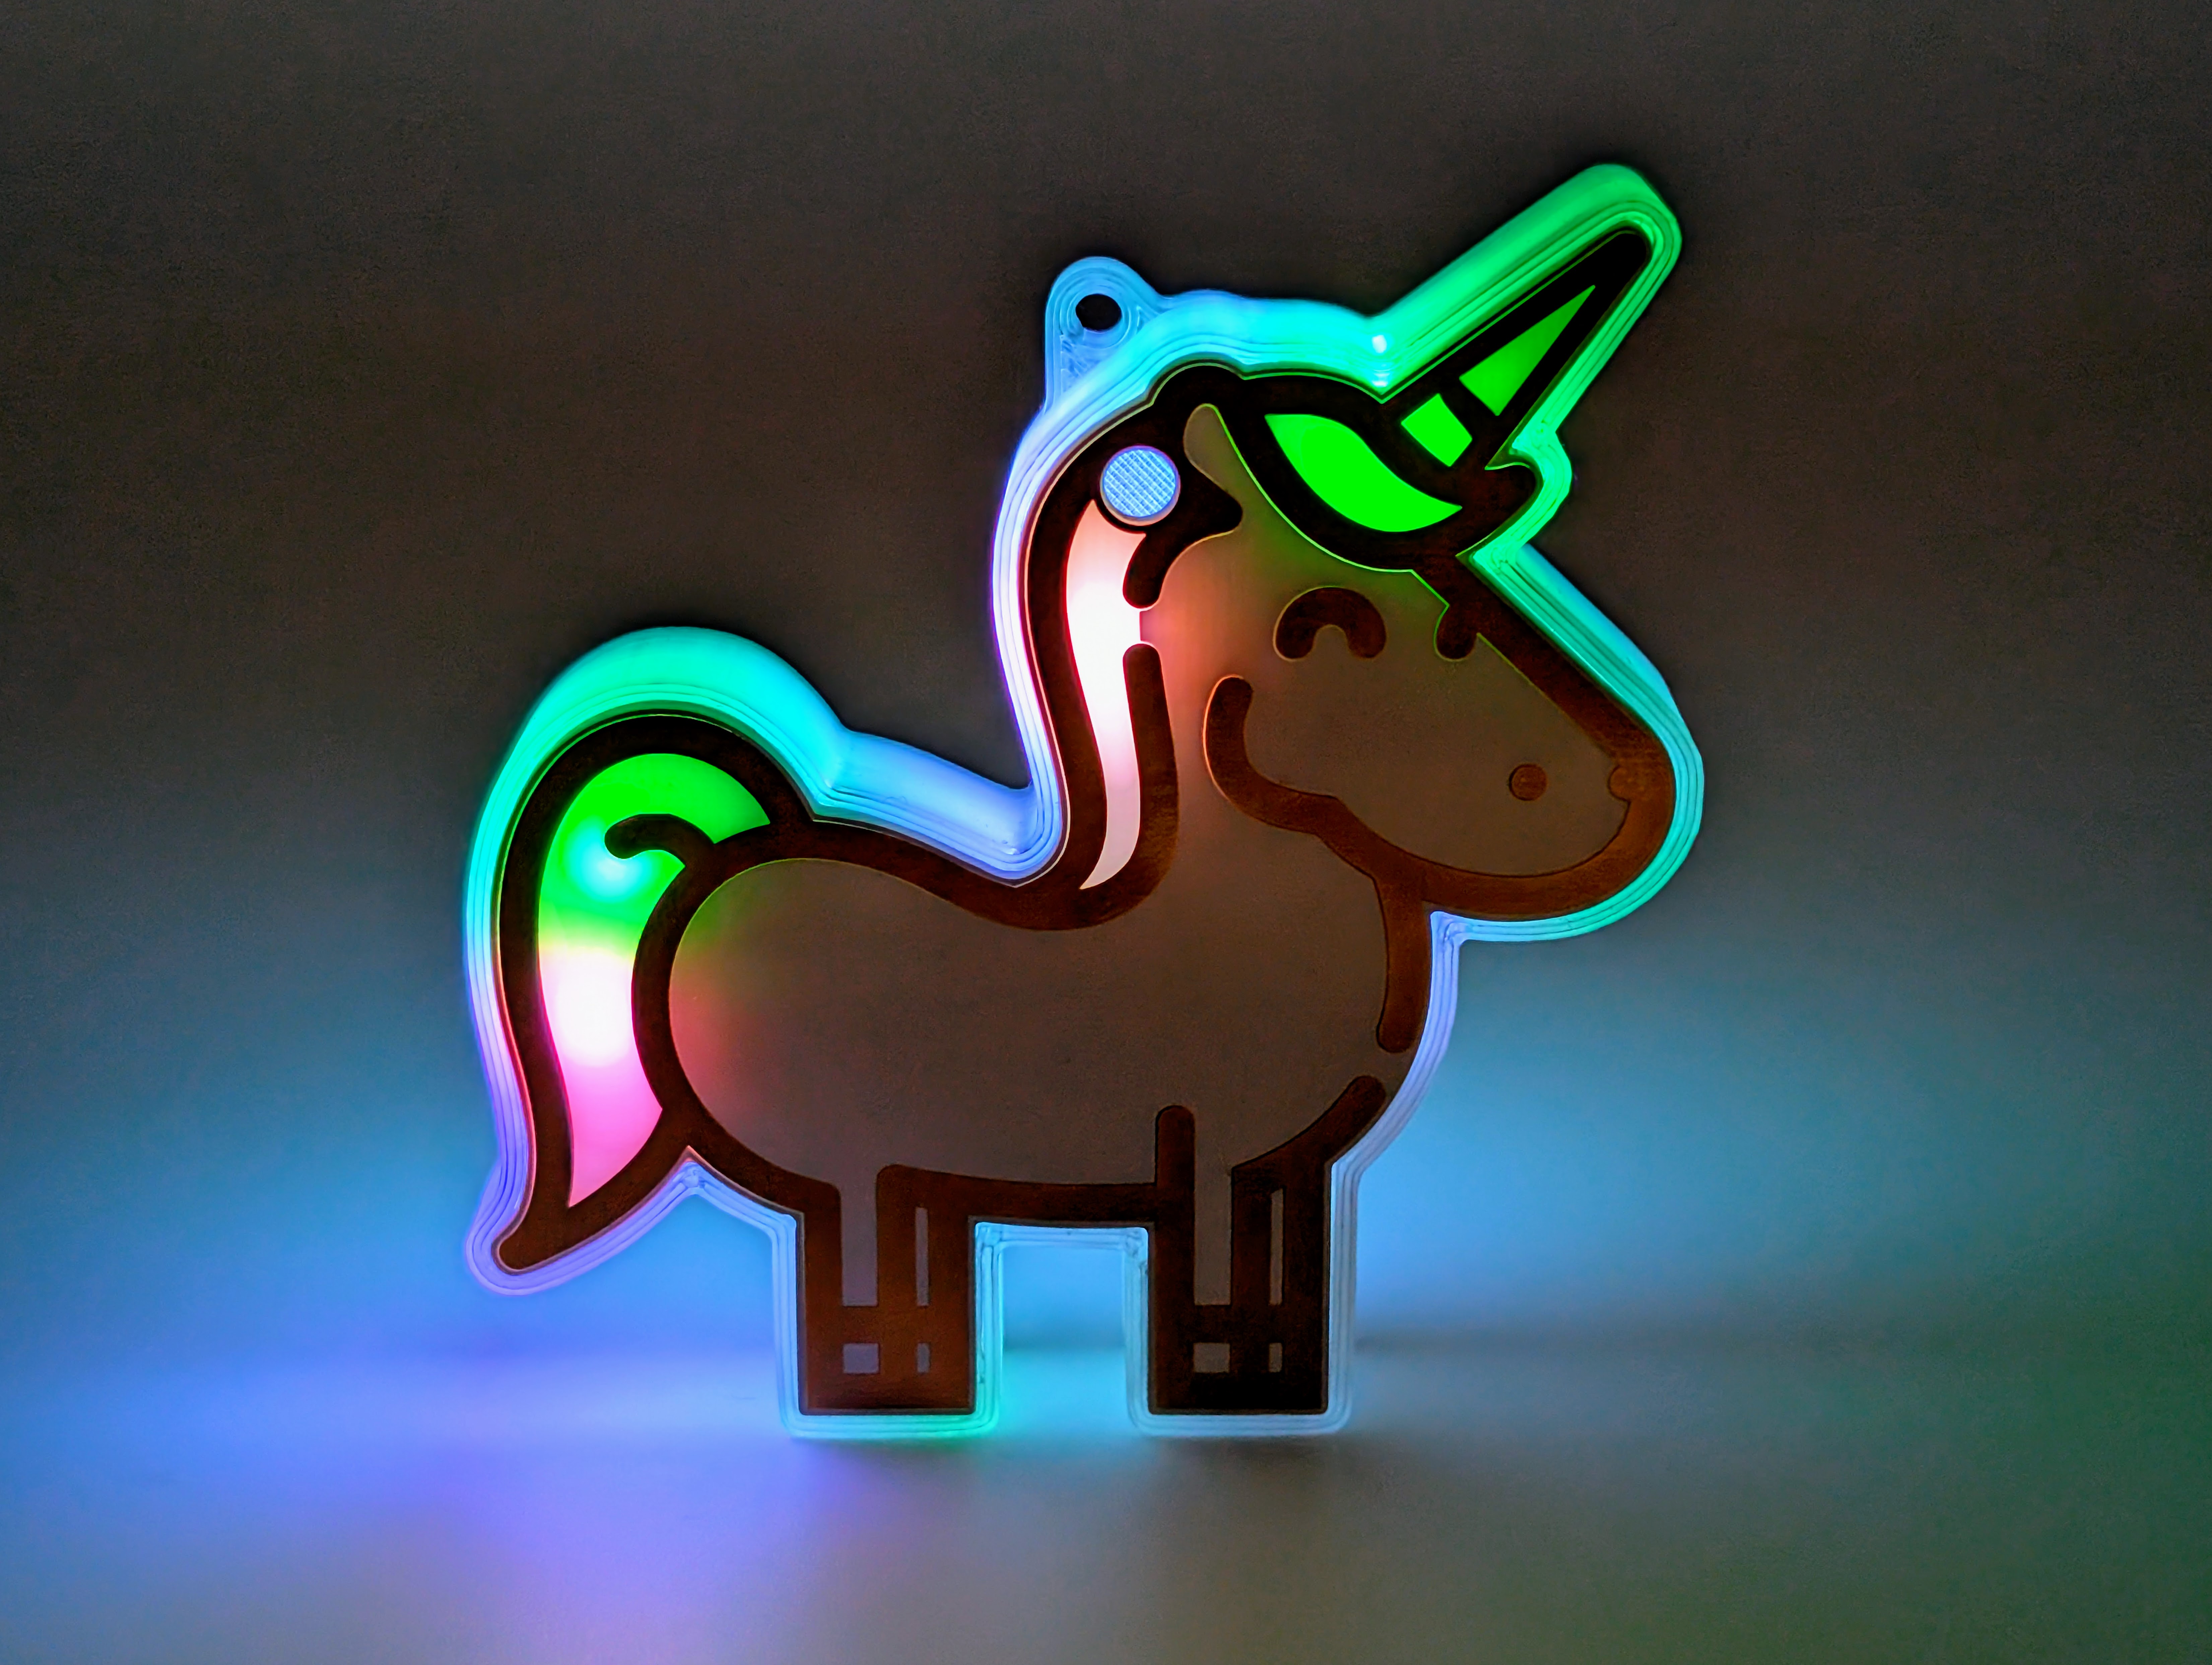
https://www.youtube.com/watch?v=b8JFJ-eYq9o The video is from our unicorn but you get a nice impression of the smooth colour changes that make your butterfly look wonderful.
Target group
The electronic soldering kit is designed for beginners. Adults and children alike can have fun with the unicorn soldering kit, although of course you should not let children solder alone. Relatively large components are used, which make it easy to learn how to solder. Only 6 components and a few wires need to be soldered. This is also possible for beginners in a reasonable amount of time. And the shape? A fantastically sleek butterfly. This is an eye-catcher for everyone! It's best to order a kit or two at the same time, because as you can imagine, the butterfly and our other rainbow soldering kits are popular gifts for friends, partners or children.
The components in the rainbow butterfly soldering kit
Our kits always include all the components you need for soldering. Unfortunately we cannot send you the batteries. However, you can get them from DIY stores and larger supermarkets (more on this below under "Tools and accessories"). The soldering kit includes:
The circuit board
The circuit board is the heart of the butterfly kit. It forms the outline and the space to solder all the components. The board is made of fibreglass material which is coated with a silver or gold alloy. On top of this comes a silky matt black lacquer layer. Some parts of the board are slightly transparent. This creates the great effects on the wings!
RGB LEDs
This is where the magic happens! RGB stands for red-green-blue and describes the different colours of the LED. It looks like one LED, but there are 3 tiny little LEDs that slowly change through an integrated circuit. This gives you all the colours of the rainbow. Look closely, the black dot you find in the LED is the entire circuit! Yes really, so tiny! Just connect 3V and the LED lights up in all colours. There are four RGB LEDs in the Unicorn soldering kit.
The SMD battery holder
The battery holder for CR2032 batteries is included in the kit in an SMD design. It is soldered onto the surface like the other components. How to do this is described in the soldering instructions. The battery itself is then simply plugged in. The battery lasts for 4-8 hours of continuous operation. So you should switch off your butterfly when you don't need it to save some power. You can get a refill in any well-stocked supermarket, in do-it-yourself stores and Swedish furniture stores.
A Switch
Of course, a switch is also included! The switch is easy to operate and therefore ideal for children (and adult hands). The switch locks in place and stays in the position (on or off) you want the switch to be in. A great perceptible "click" provides haptic and acoustic comfort.
Required tools
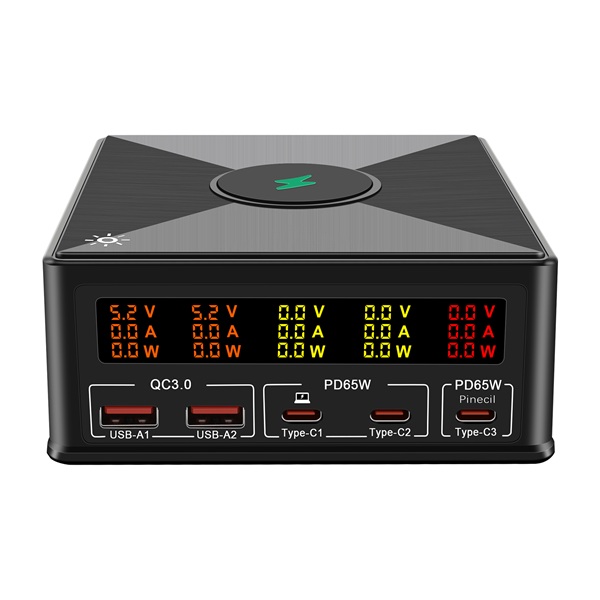
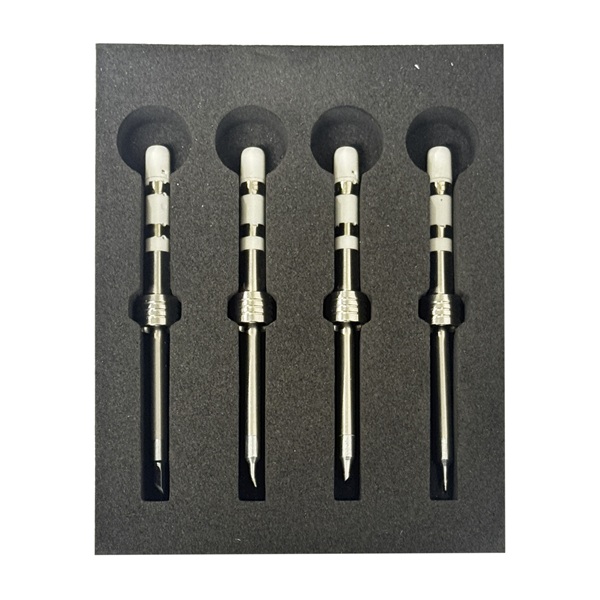
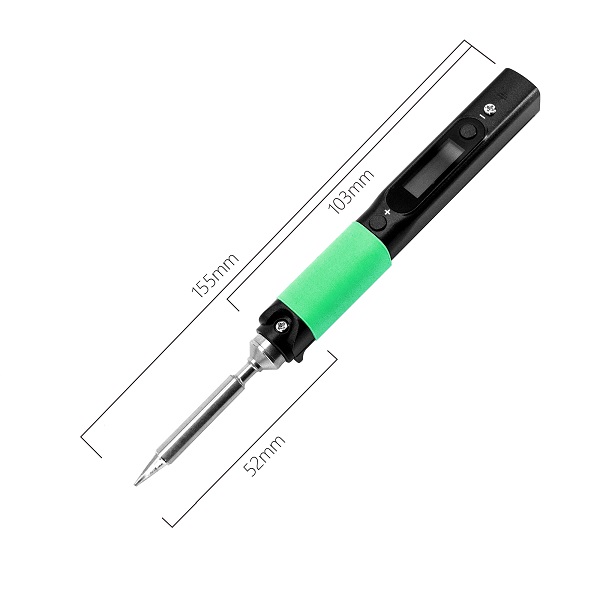
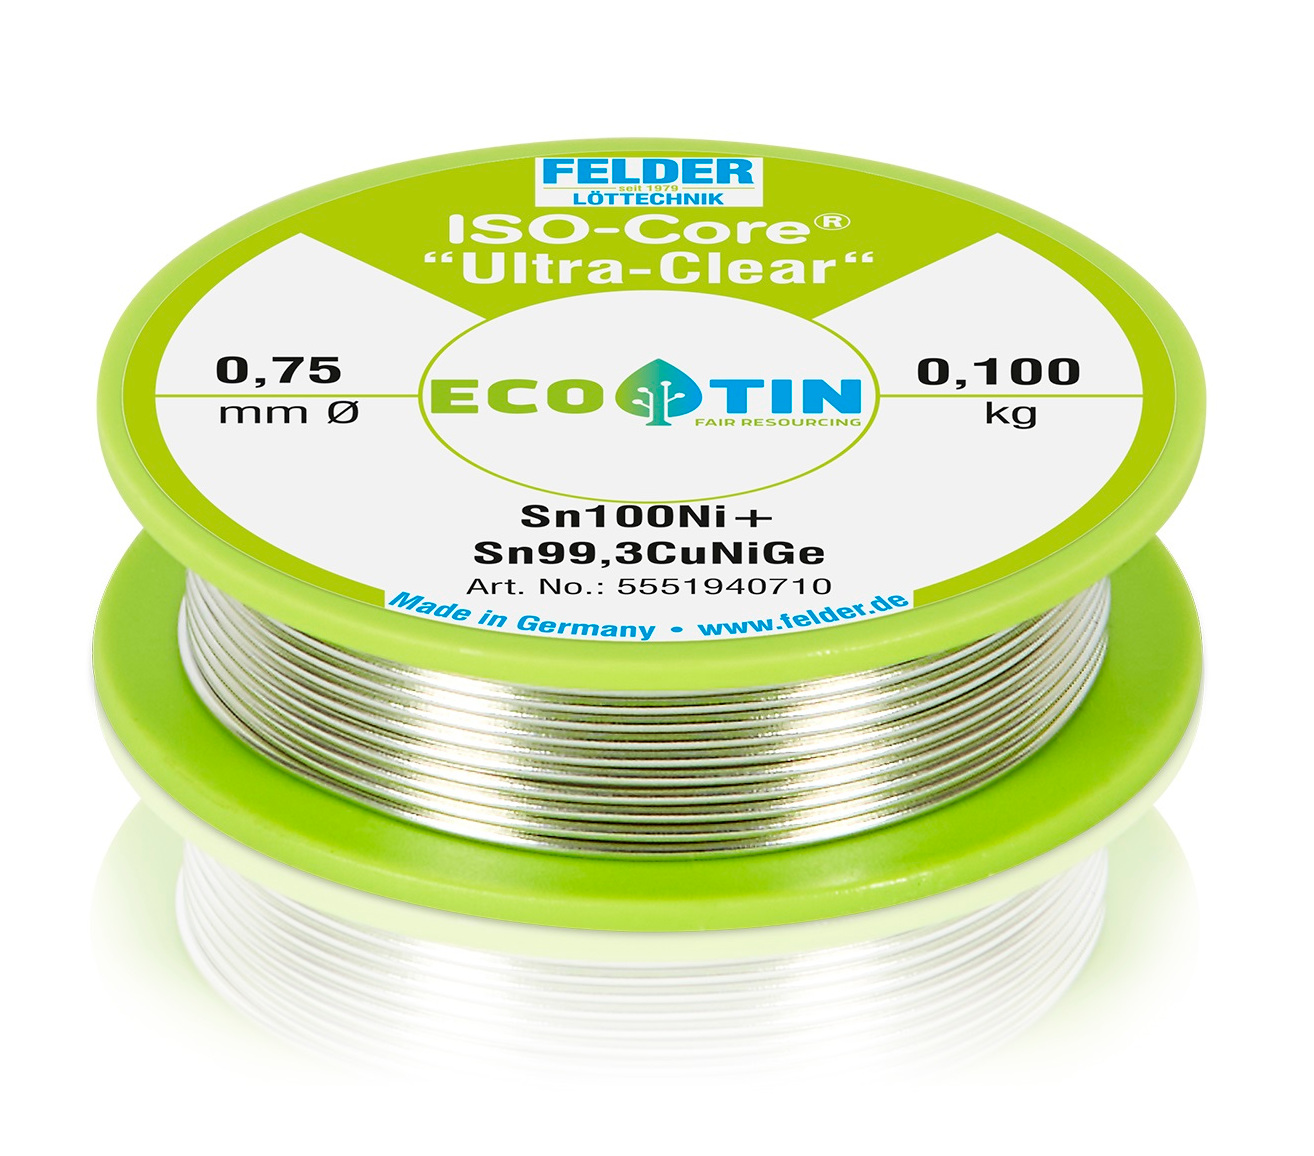
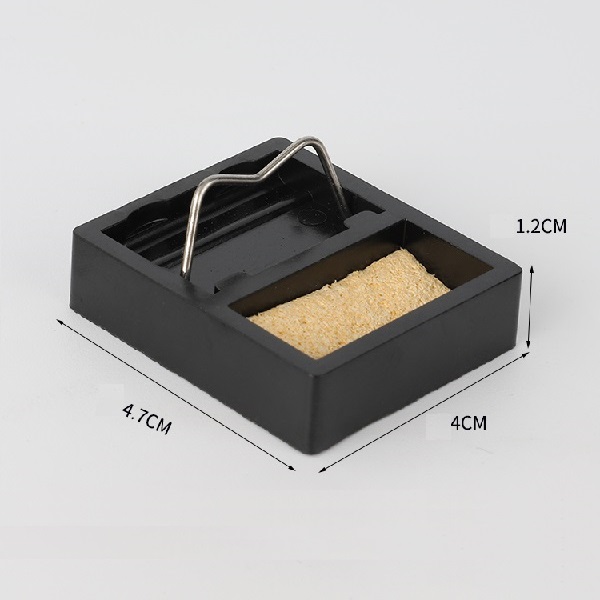
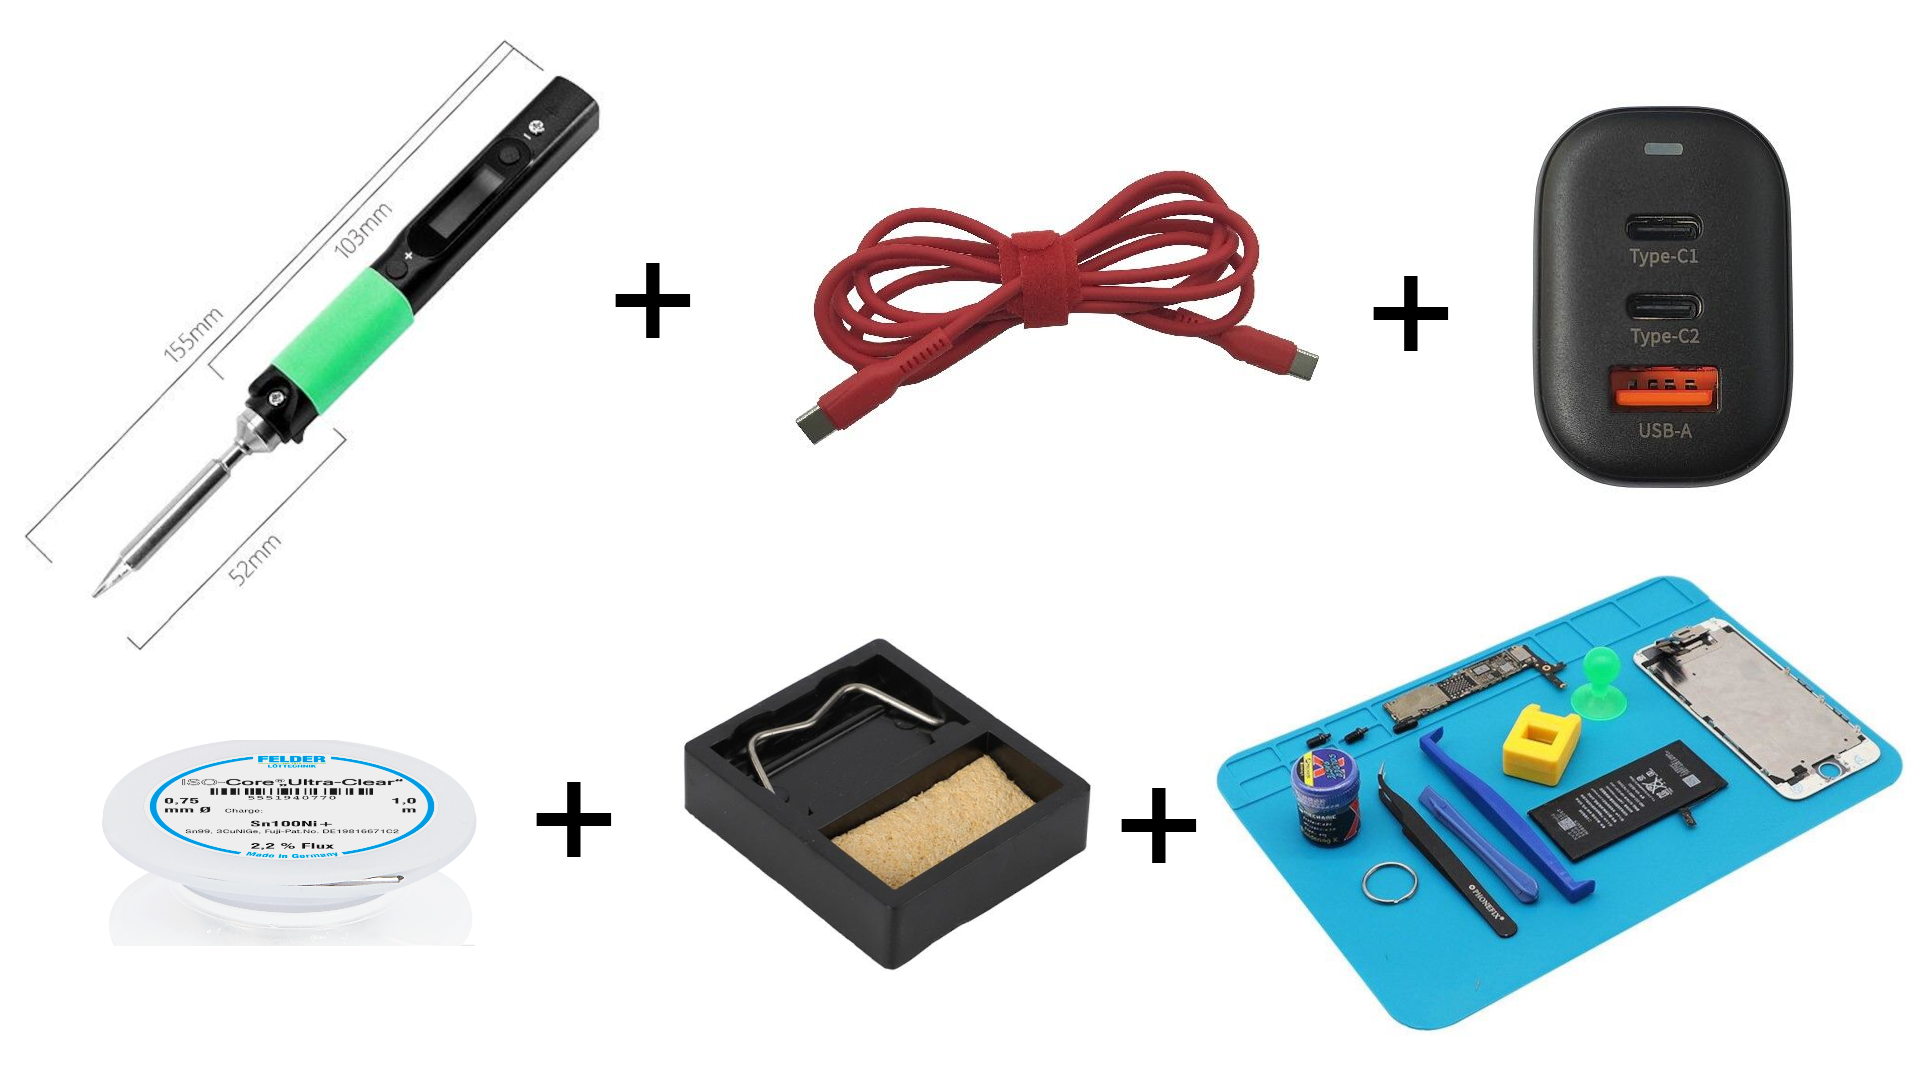
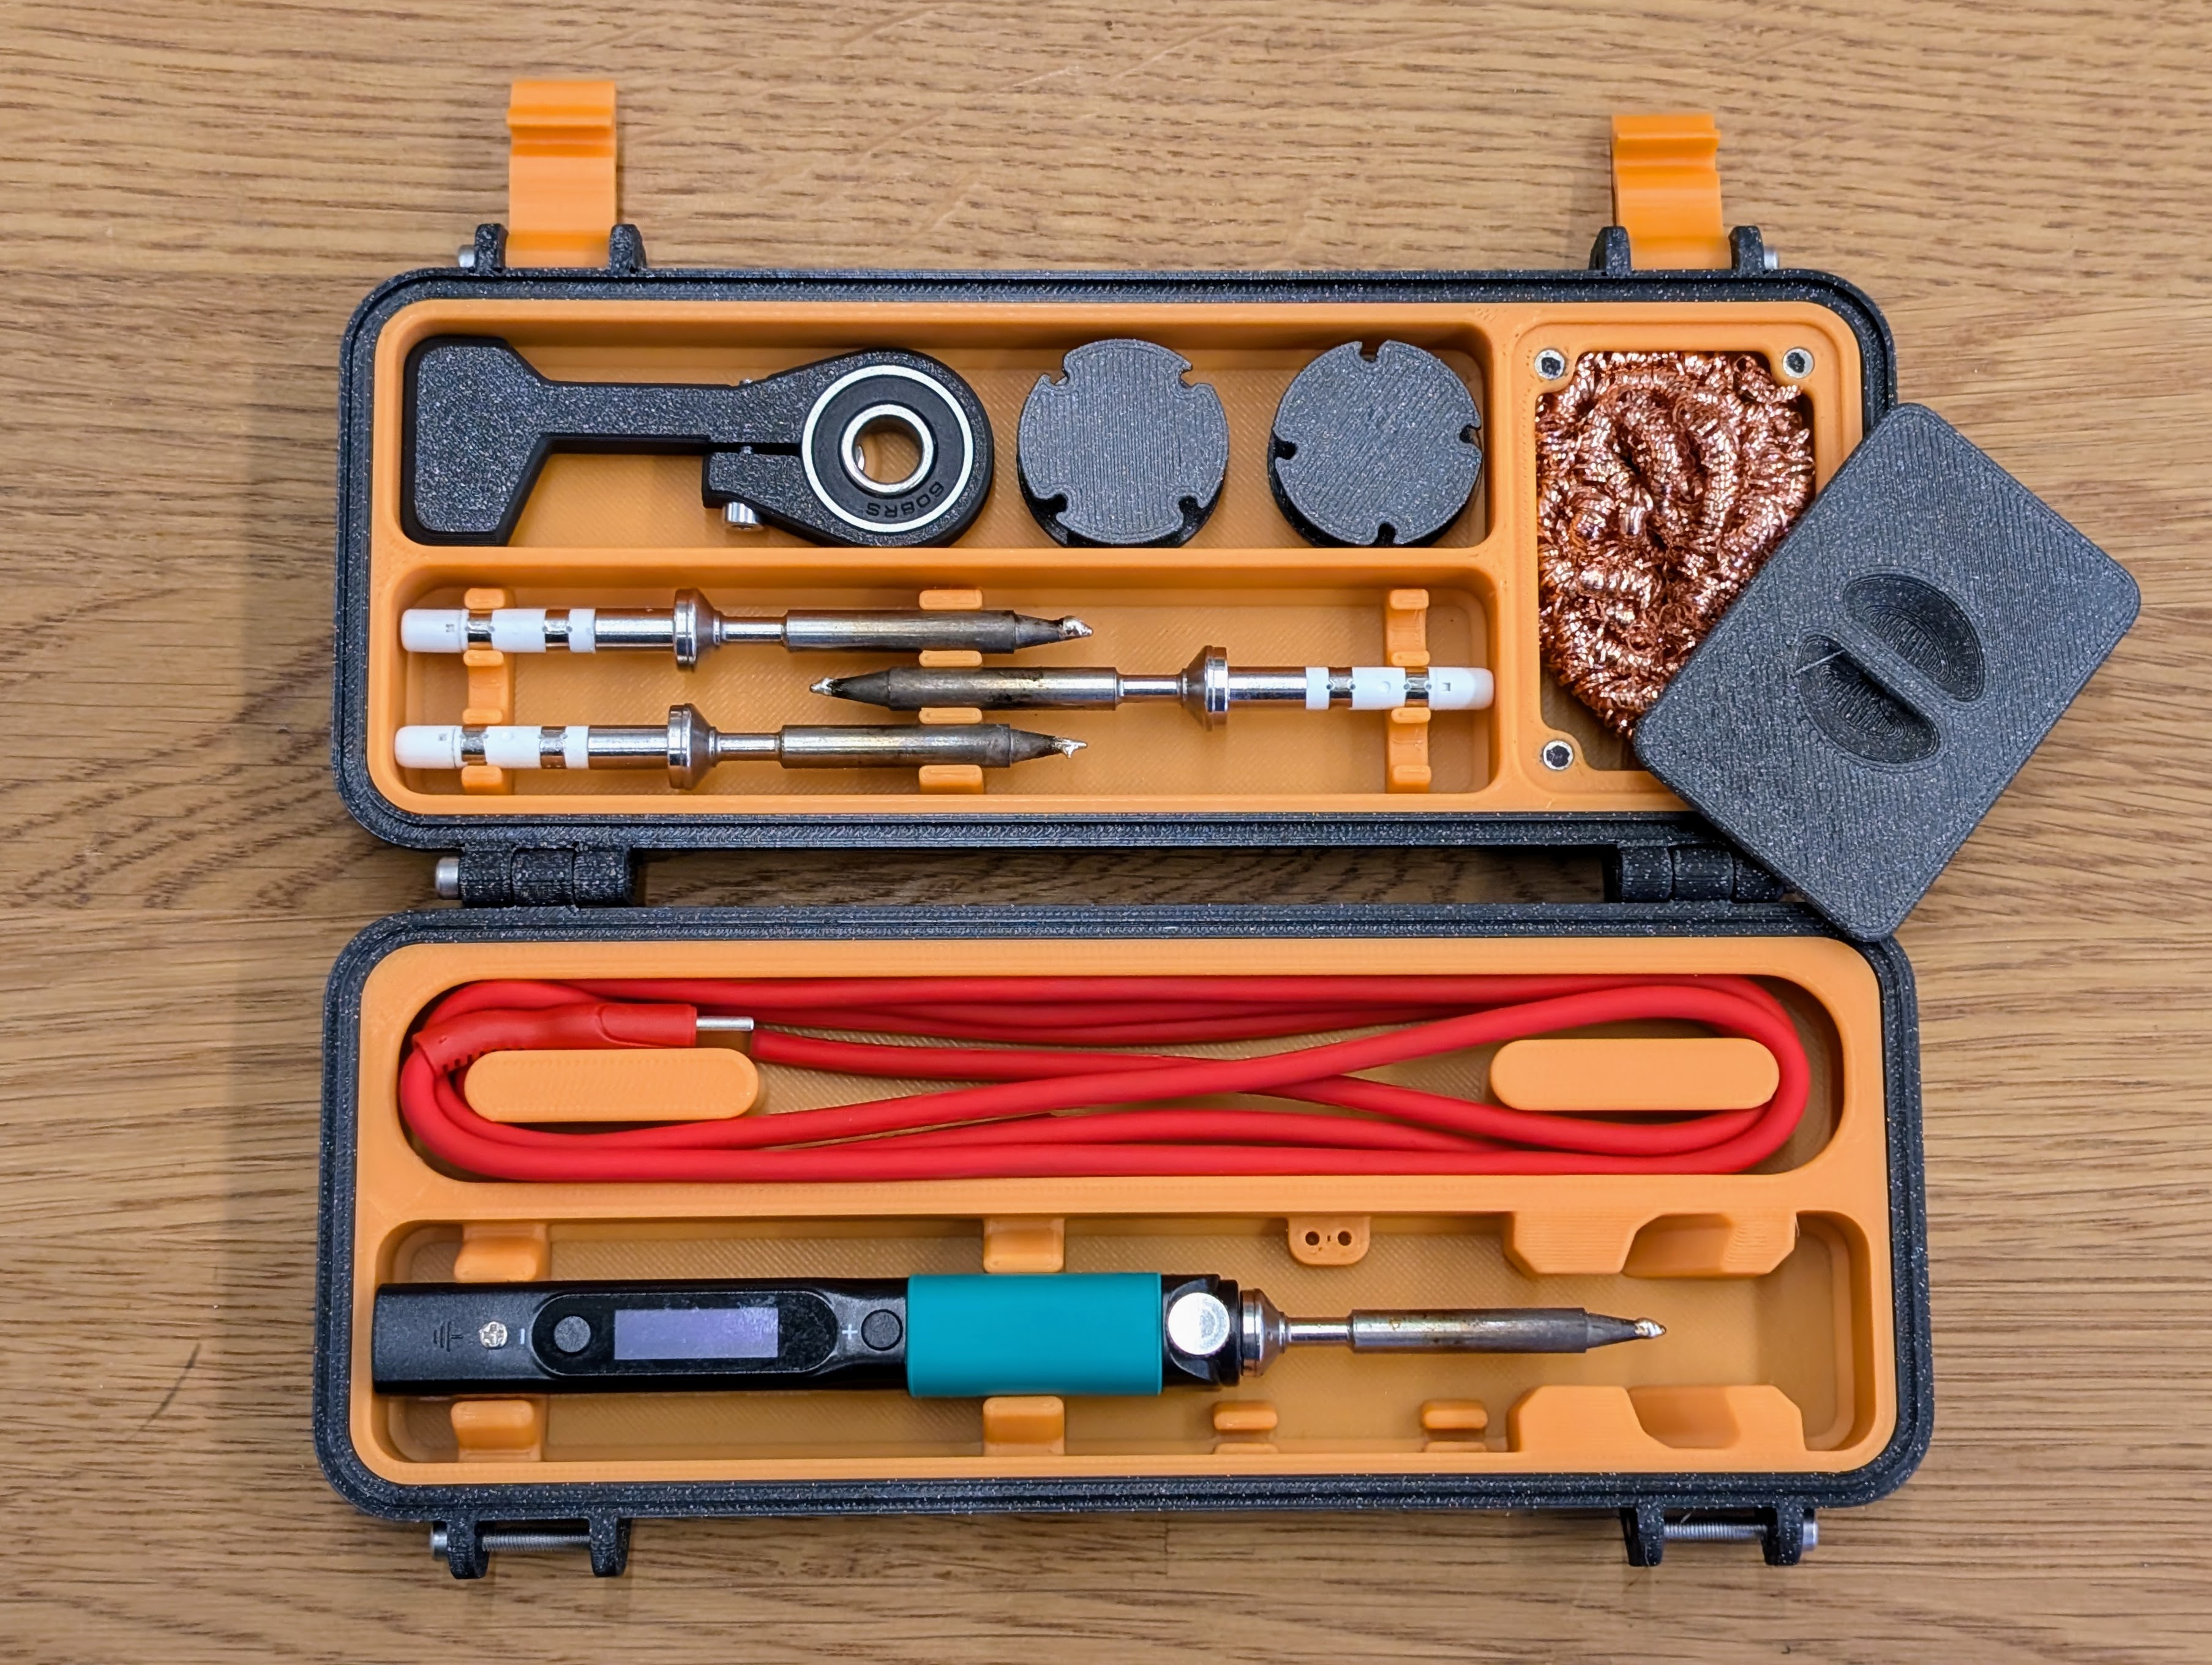
Here we describe what the minimum soldering workstation looks like: The soldering workstation
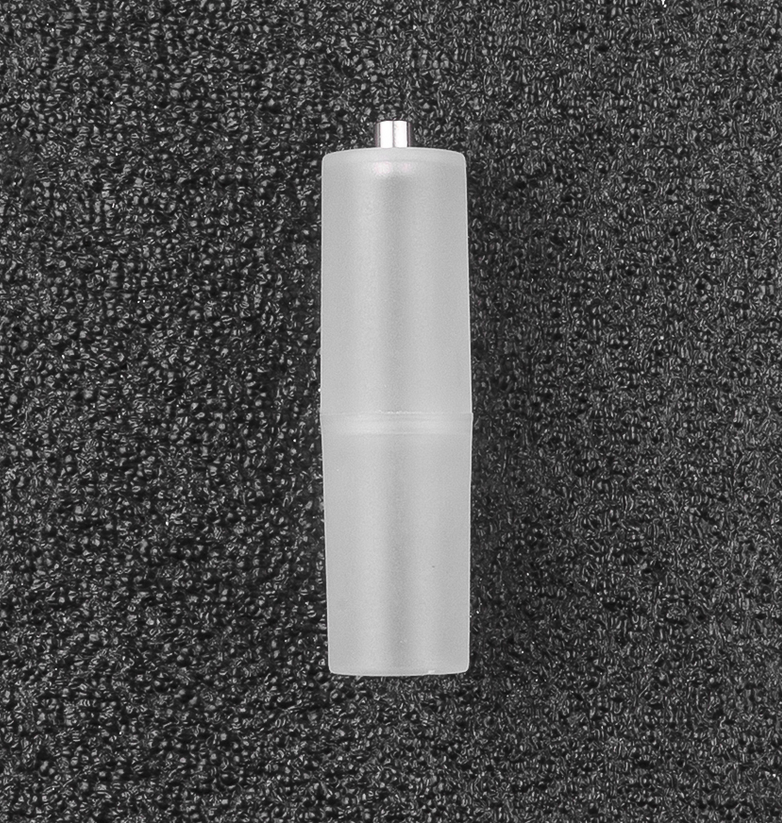
To make the butterfly glow, you need to buy one CR2032 battery per butterfly kit at the DIY store or a big supermarket/shop. It's best to buy 1-2 more batteries!
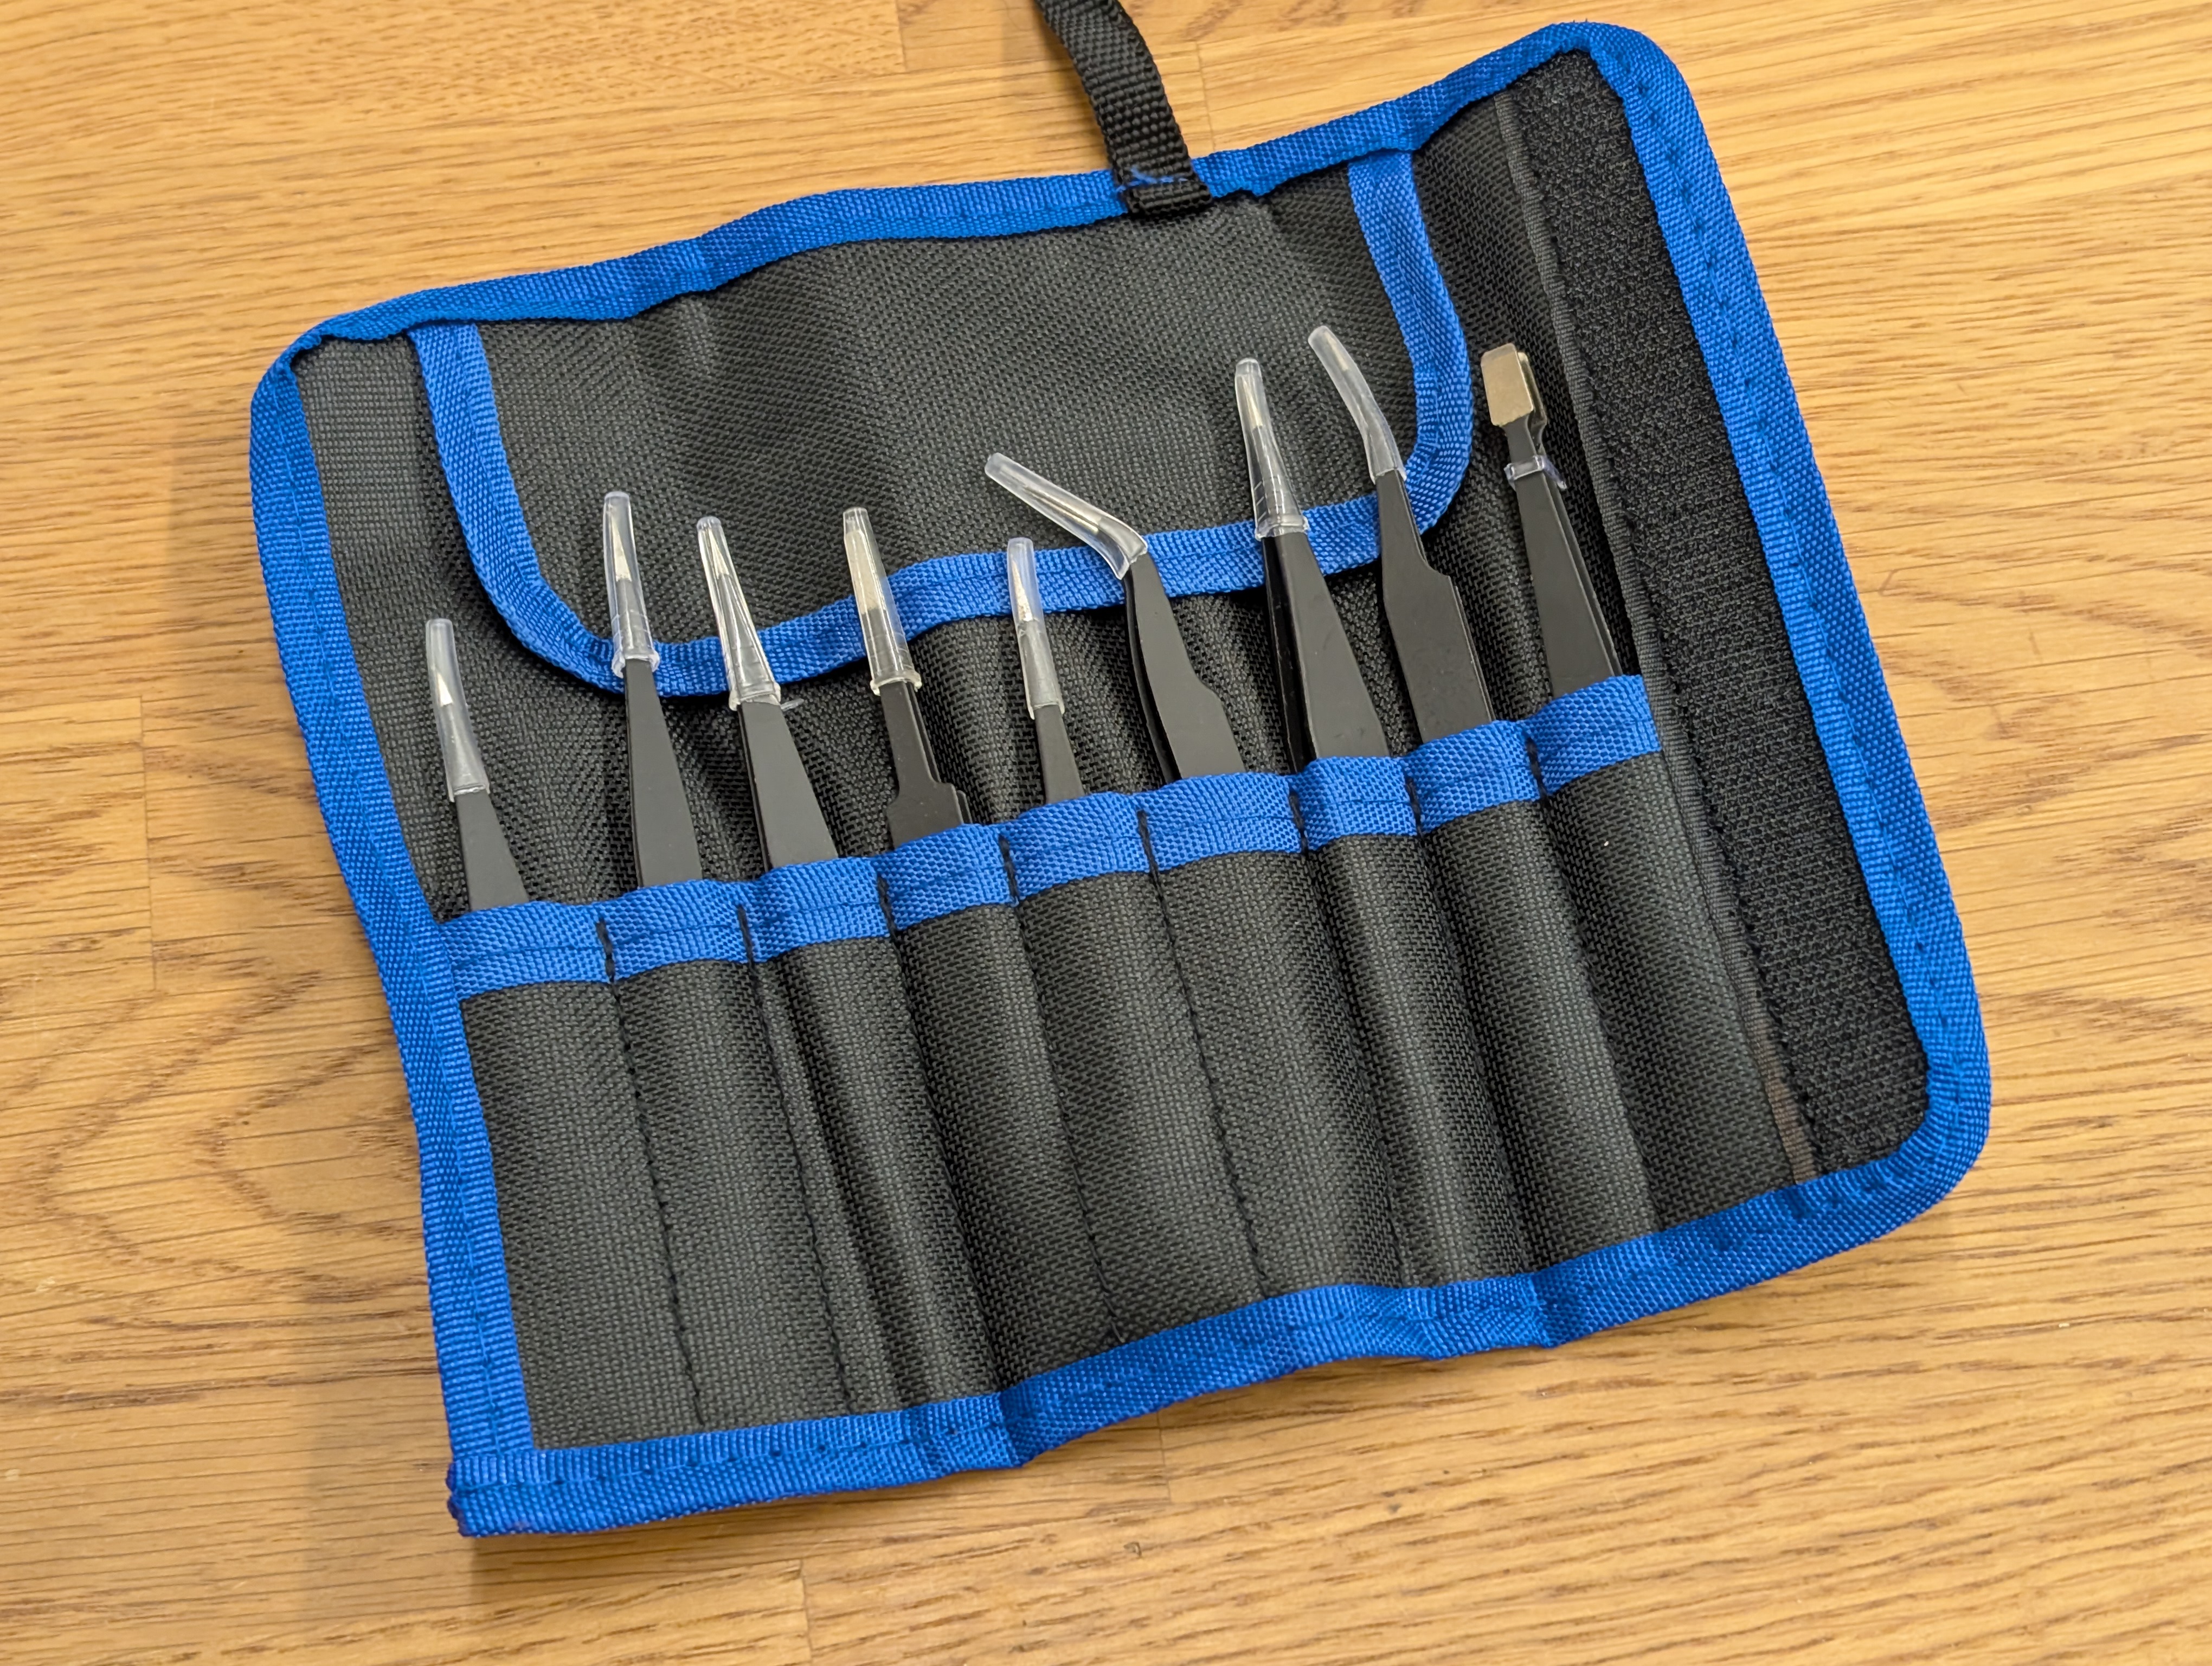
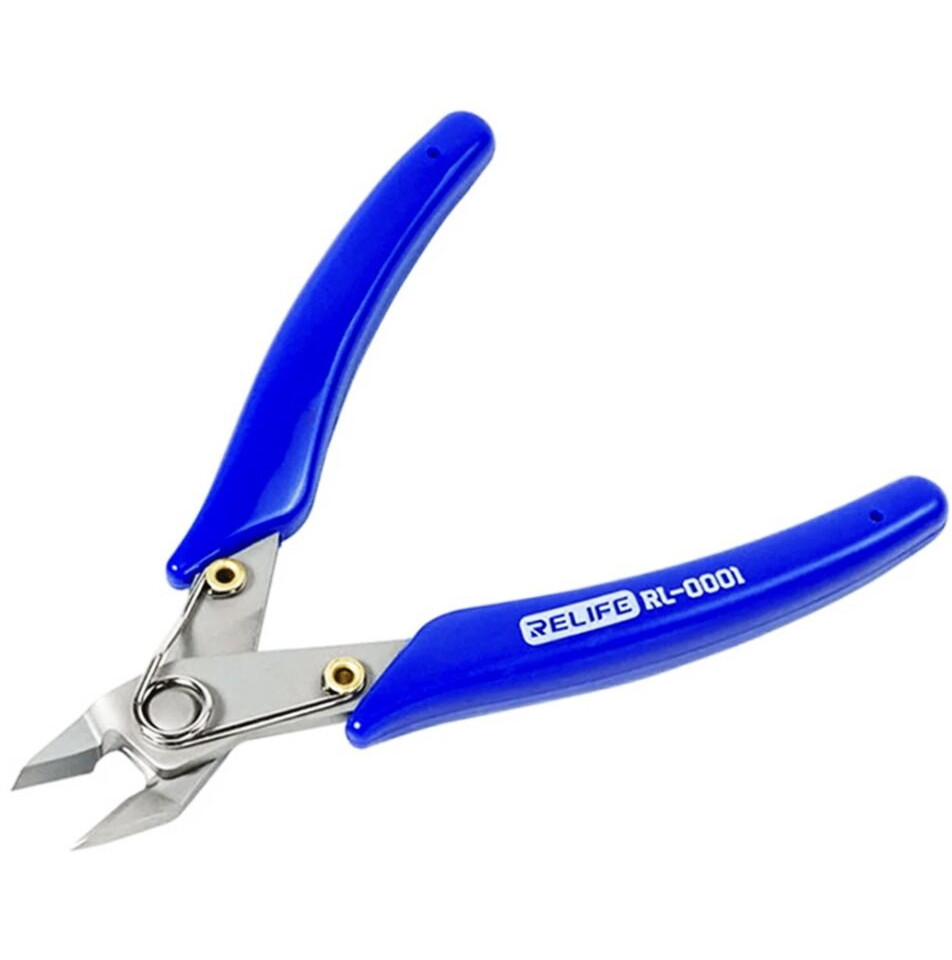
A pair of tweezers is also very useful for this kit :). A pair of round-nose pliers will help you bend the wire eyelets and the antennae. But you can also use a normal pair of pliers and a little patience.
Instructions and help
To make it easy for you to solder the kit, we have put together detailed instructions with lots of pictures and individual steps for each of our kits. There you will be guided step by step through the assembly and there are many tips and tricks on how to solder correctly. For most of our soldering kits there are also interactive circuits with the names of the components and the tracks. All instructions are available in German and English.
For environmental reasons we do not print our instructions. In fact, it is better to view them on screen, as you can then zoom into the high-resolution photos to see details. On each kit you will find a QR code or link to the instructions.
3D printed case
Lovingly packed for you by hand
All soldering kits are lovingly packed for you by hand in Germany. Unfortunately, it happens from time to time that a component is packed too much or too little. If something is too much: No problem! Keep the components and use them for your creations! If something is missing: No problem! Just send us an email and we will send you the missing parts.
Show us your butterfly
We at blinkyparts are super excited to hear what your butterfly soldering kit turned out to be. A pin? A hair clip? Did you decorate the butterfly's wings with stickers or did you make, tattoo or paint a pendant? A pin for your backpack or something completely different? Share your photo with us at
- Twitter/Mastodon: #SolderConnects
- Instagram: #SolderConnects or follow us on @blinkyparts_com.

