
Snapfit Case for the Rainbow Unicorn Soldering Kit

€1.50
Available, delivery time: 1-3 days
Product information "Snapfit Case for the Rainbow Unicorn Soldering Kit"
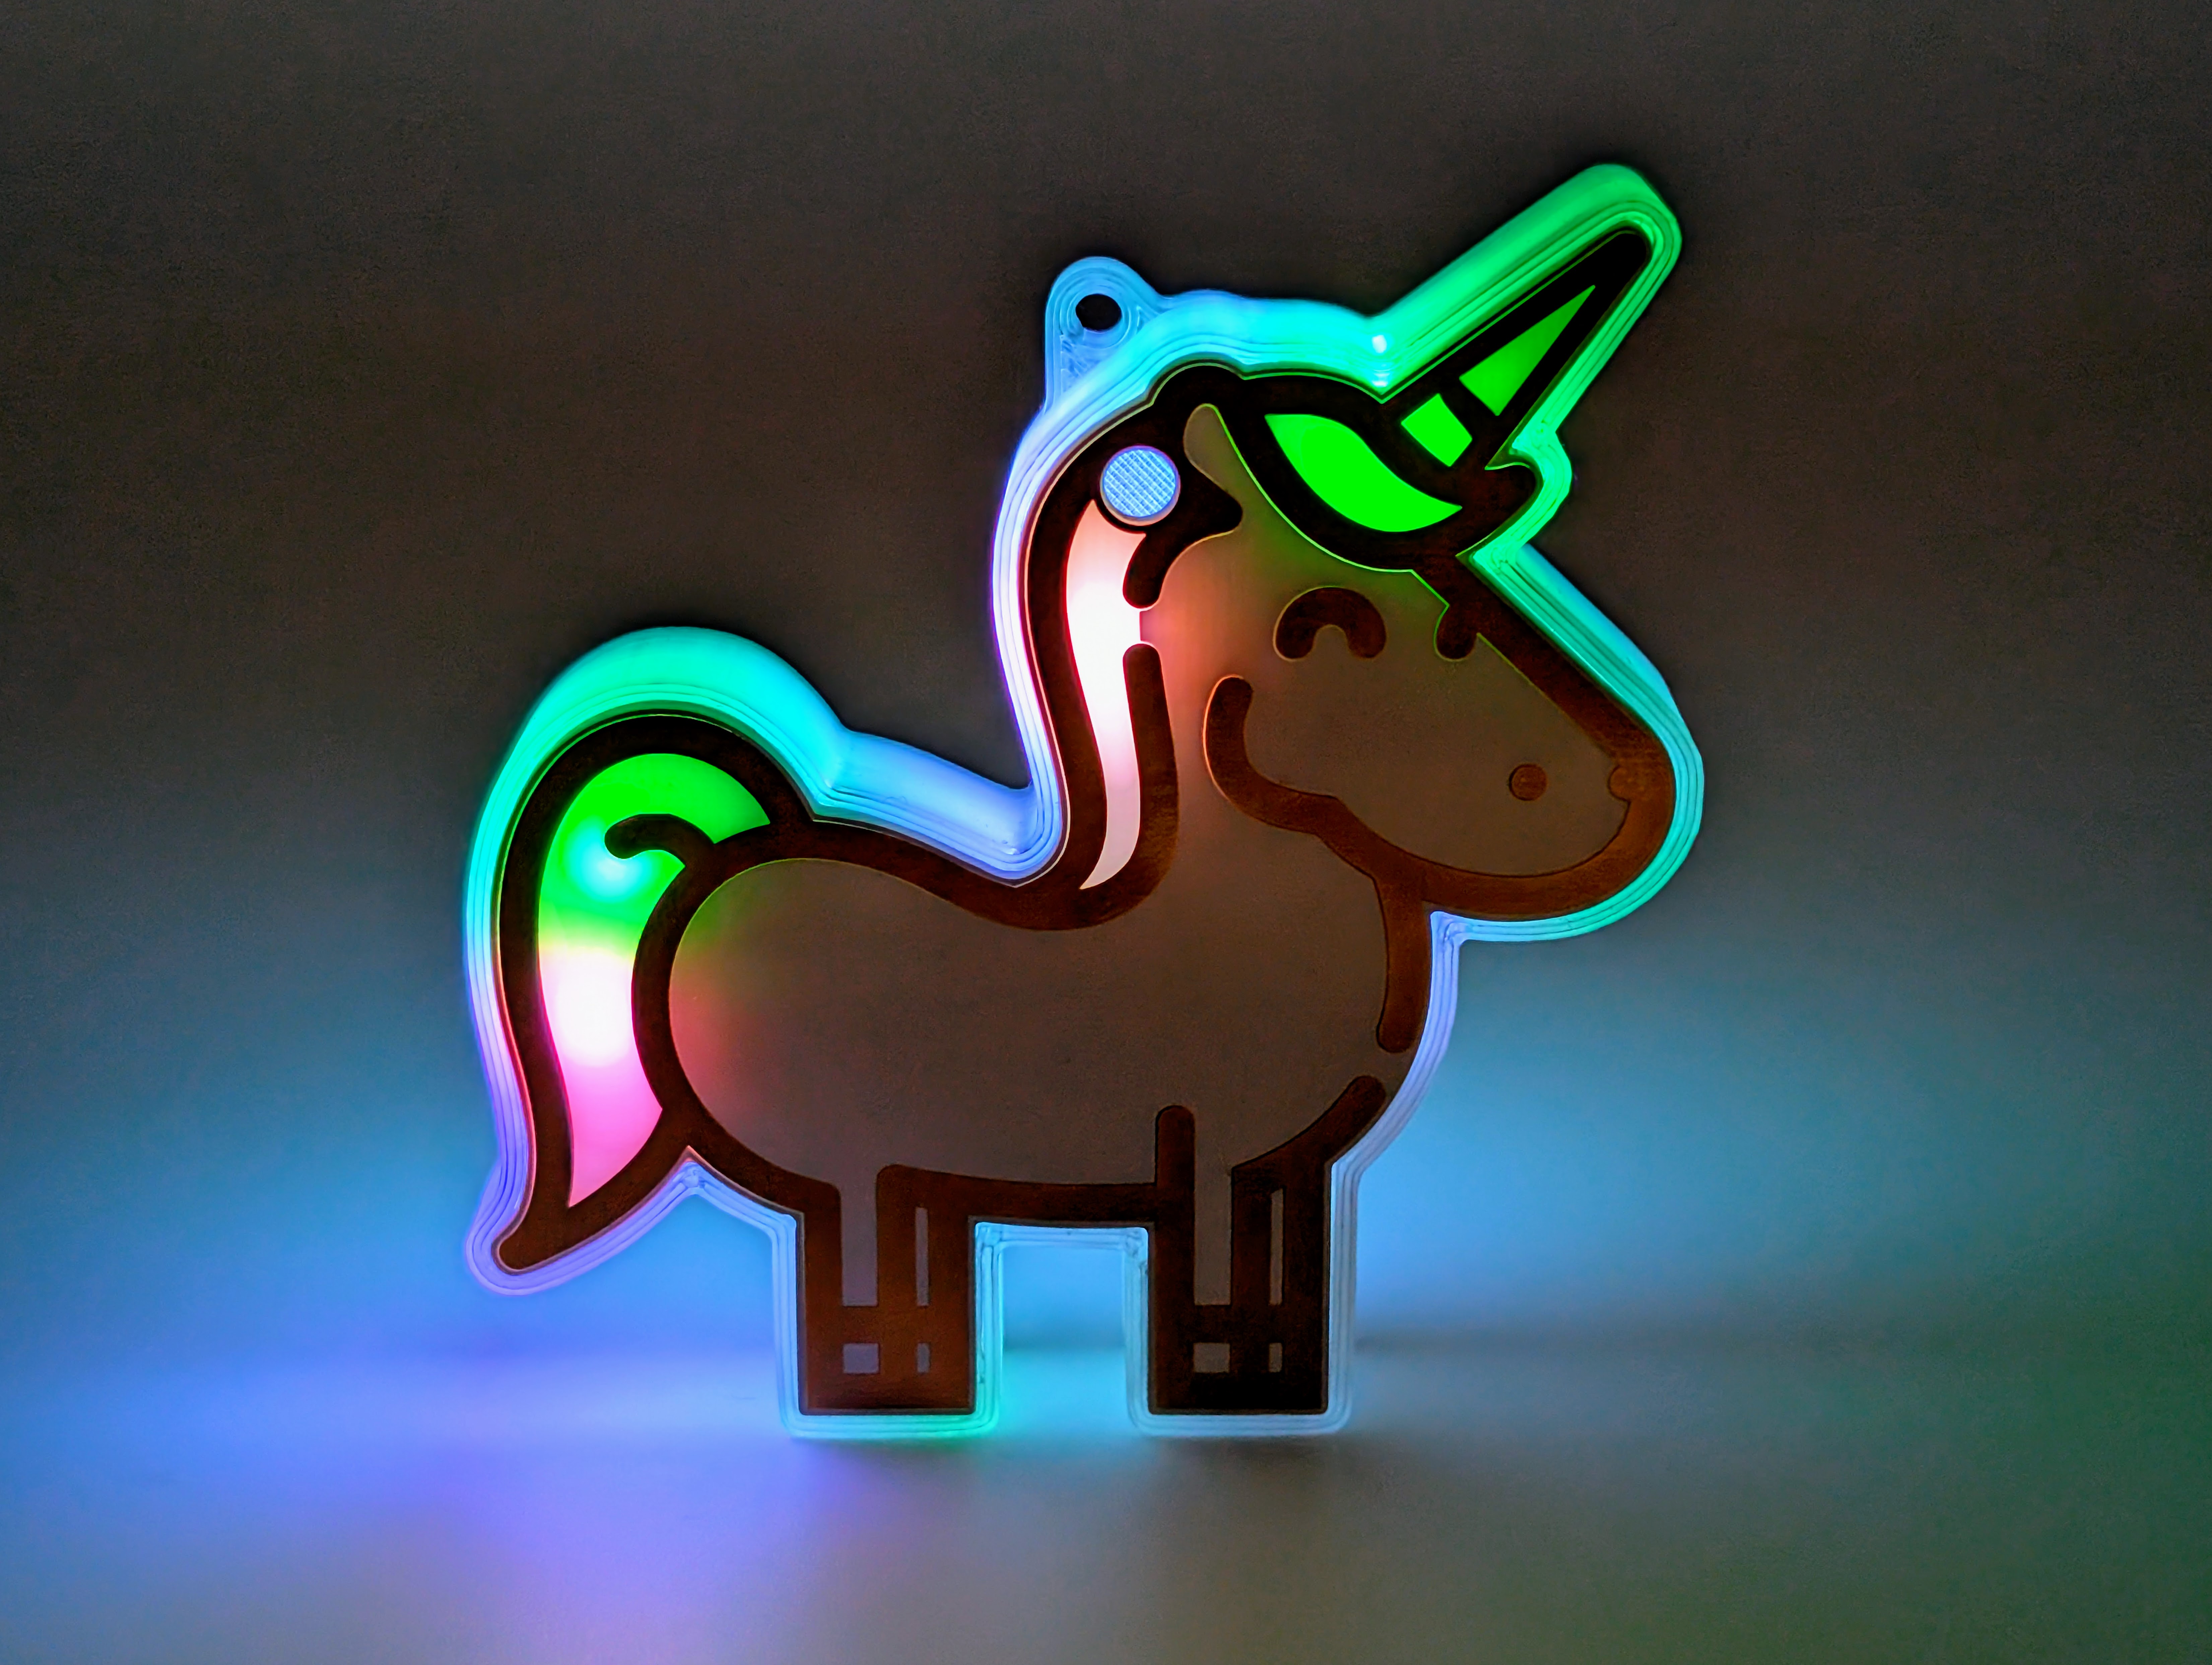
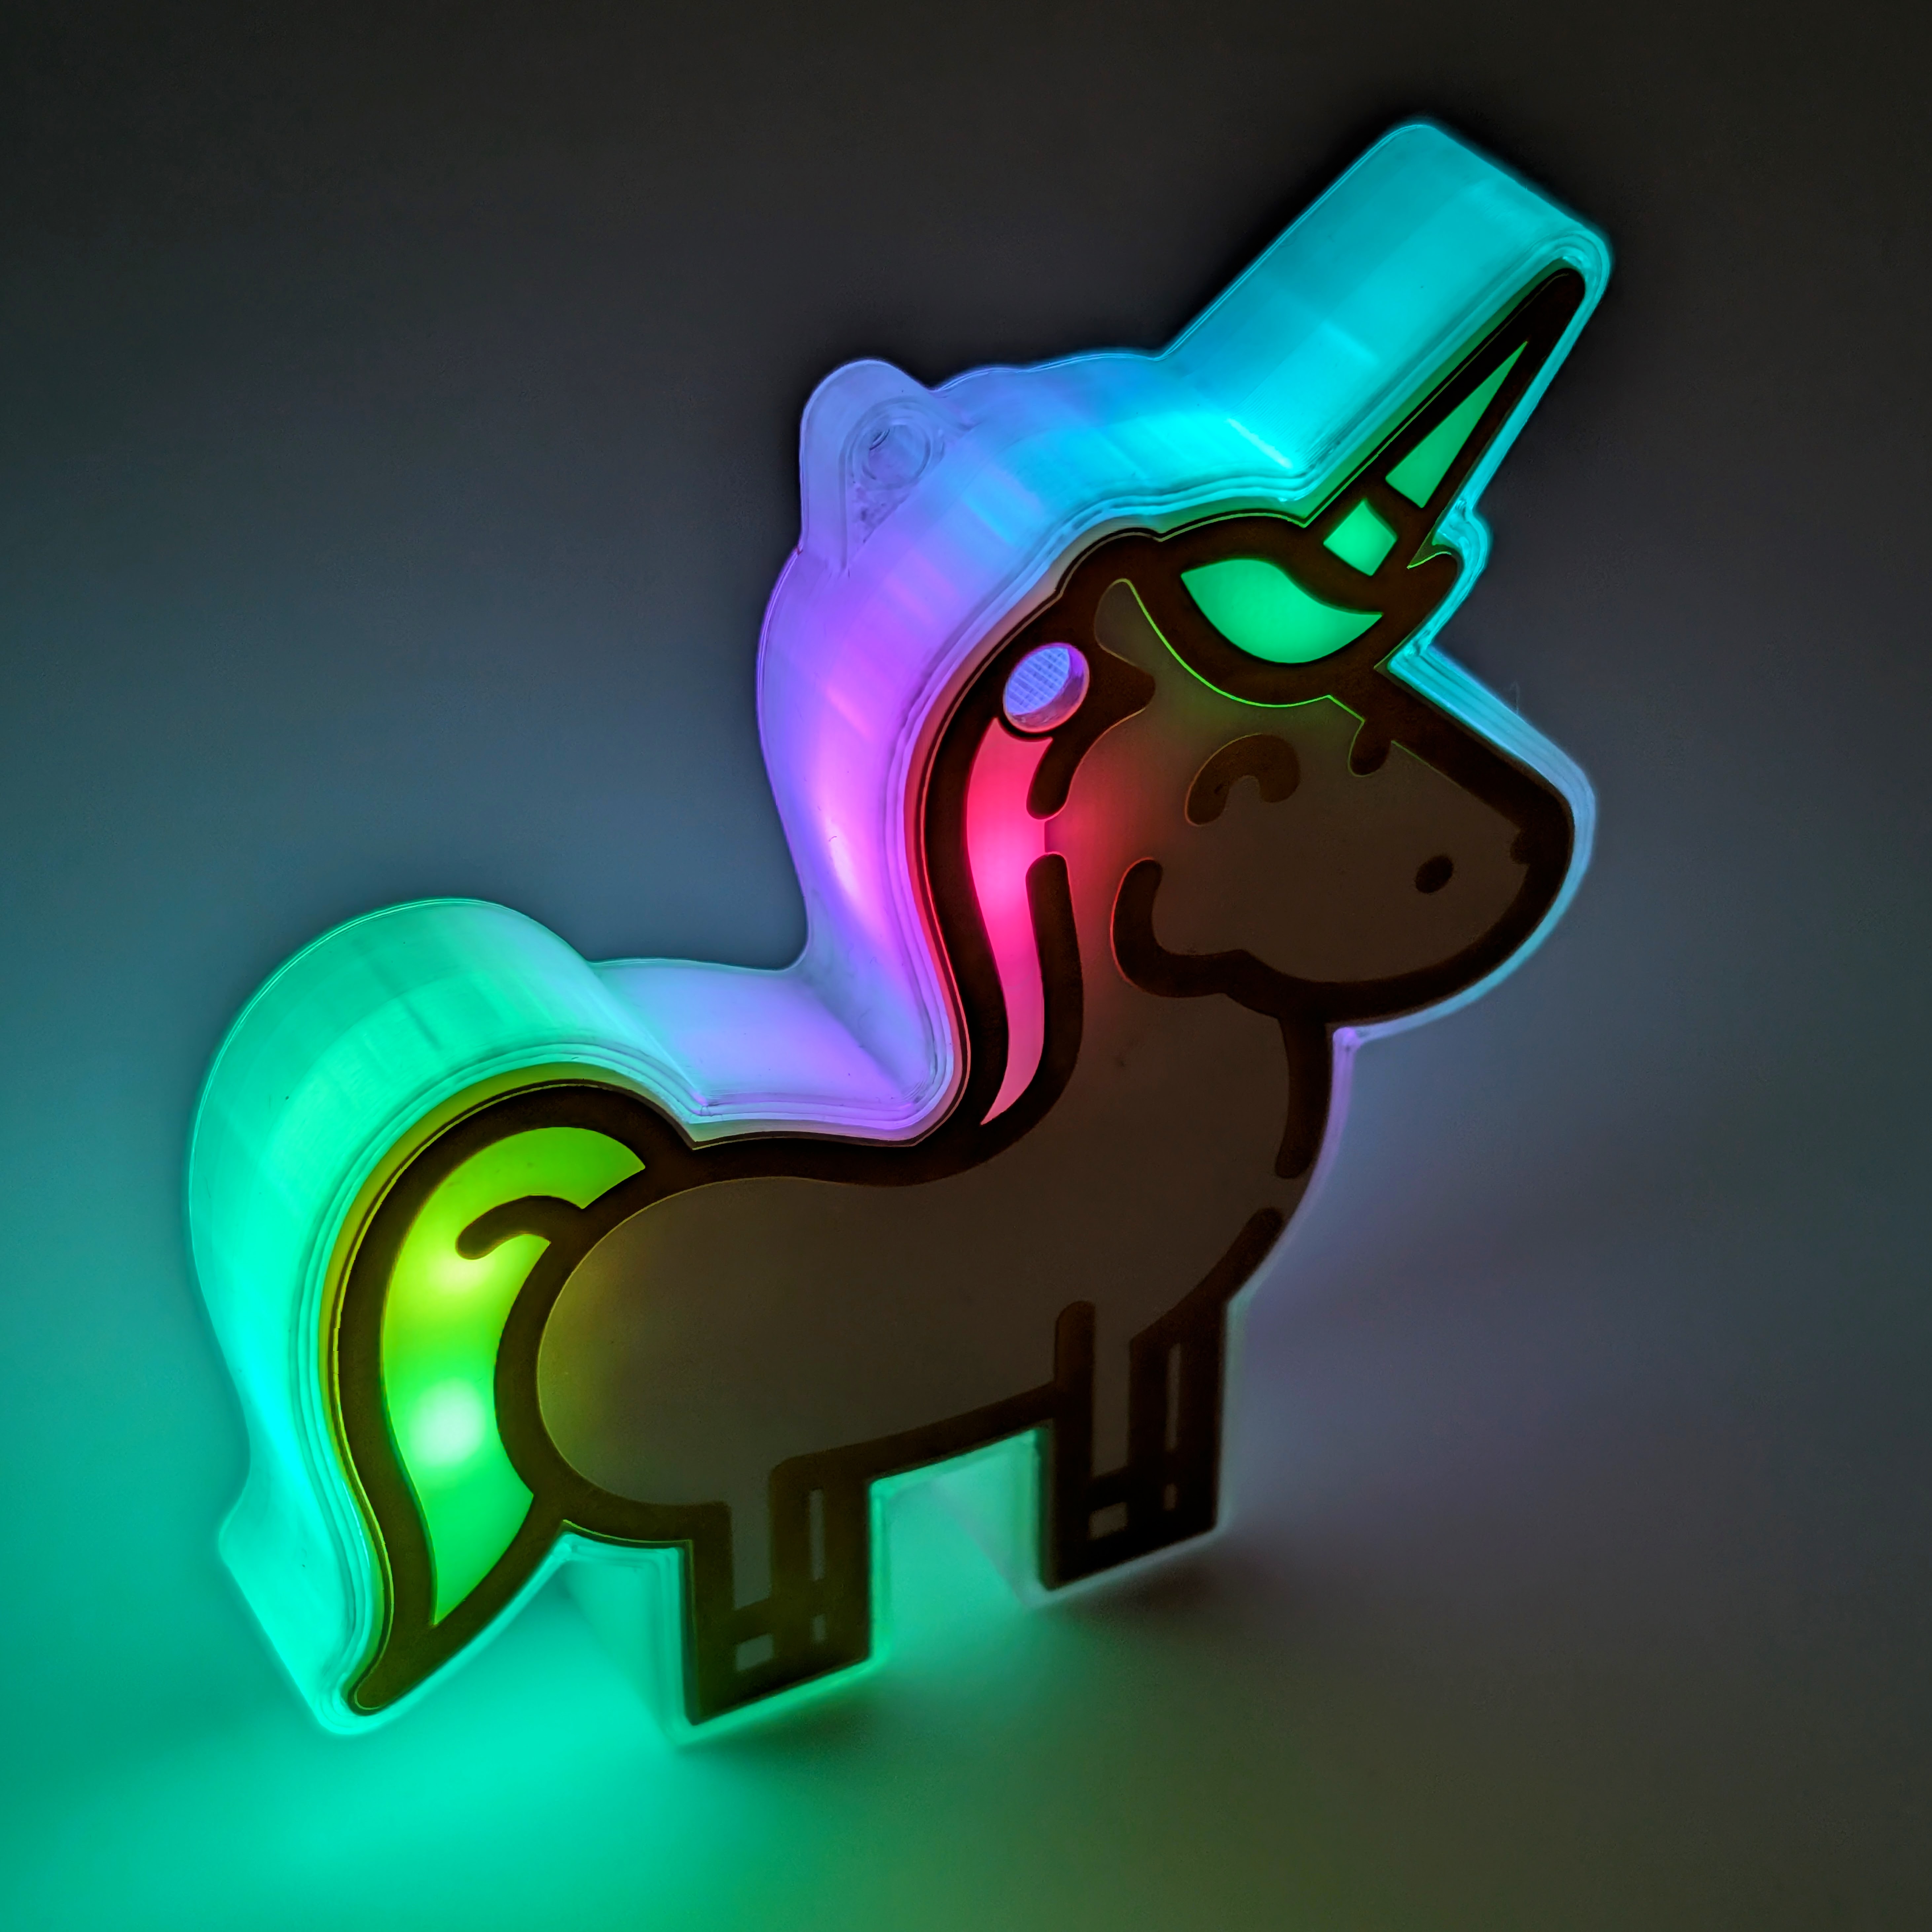
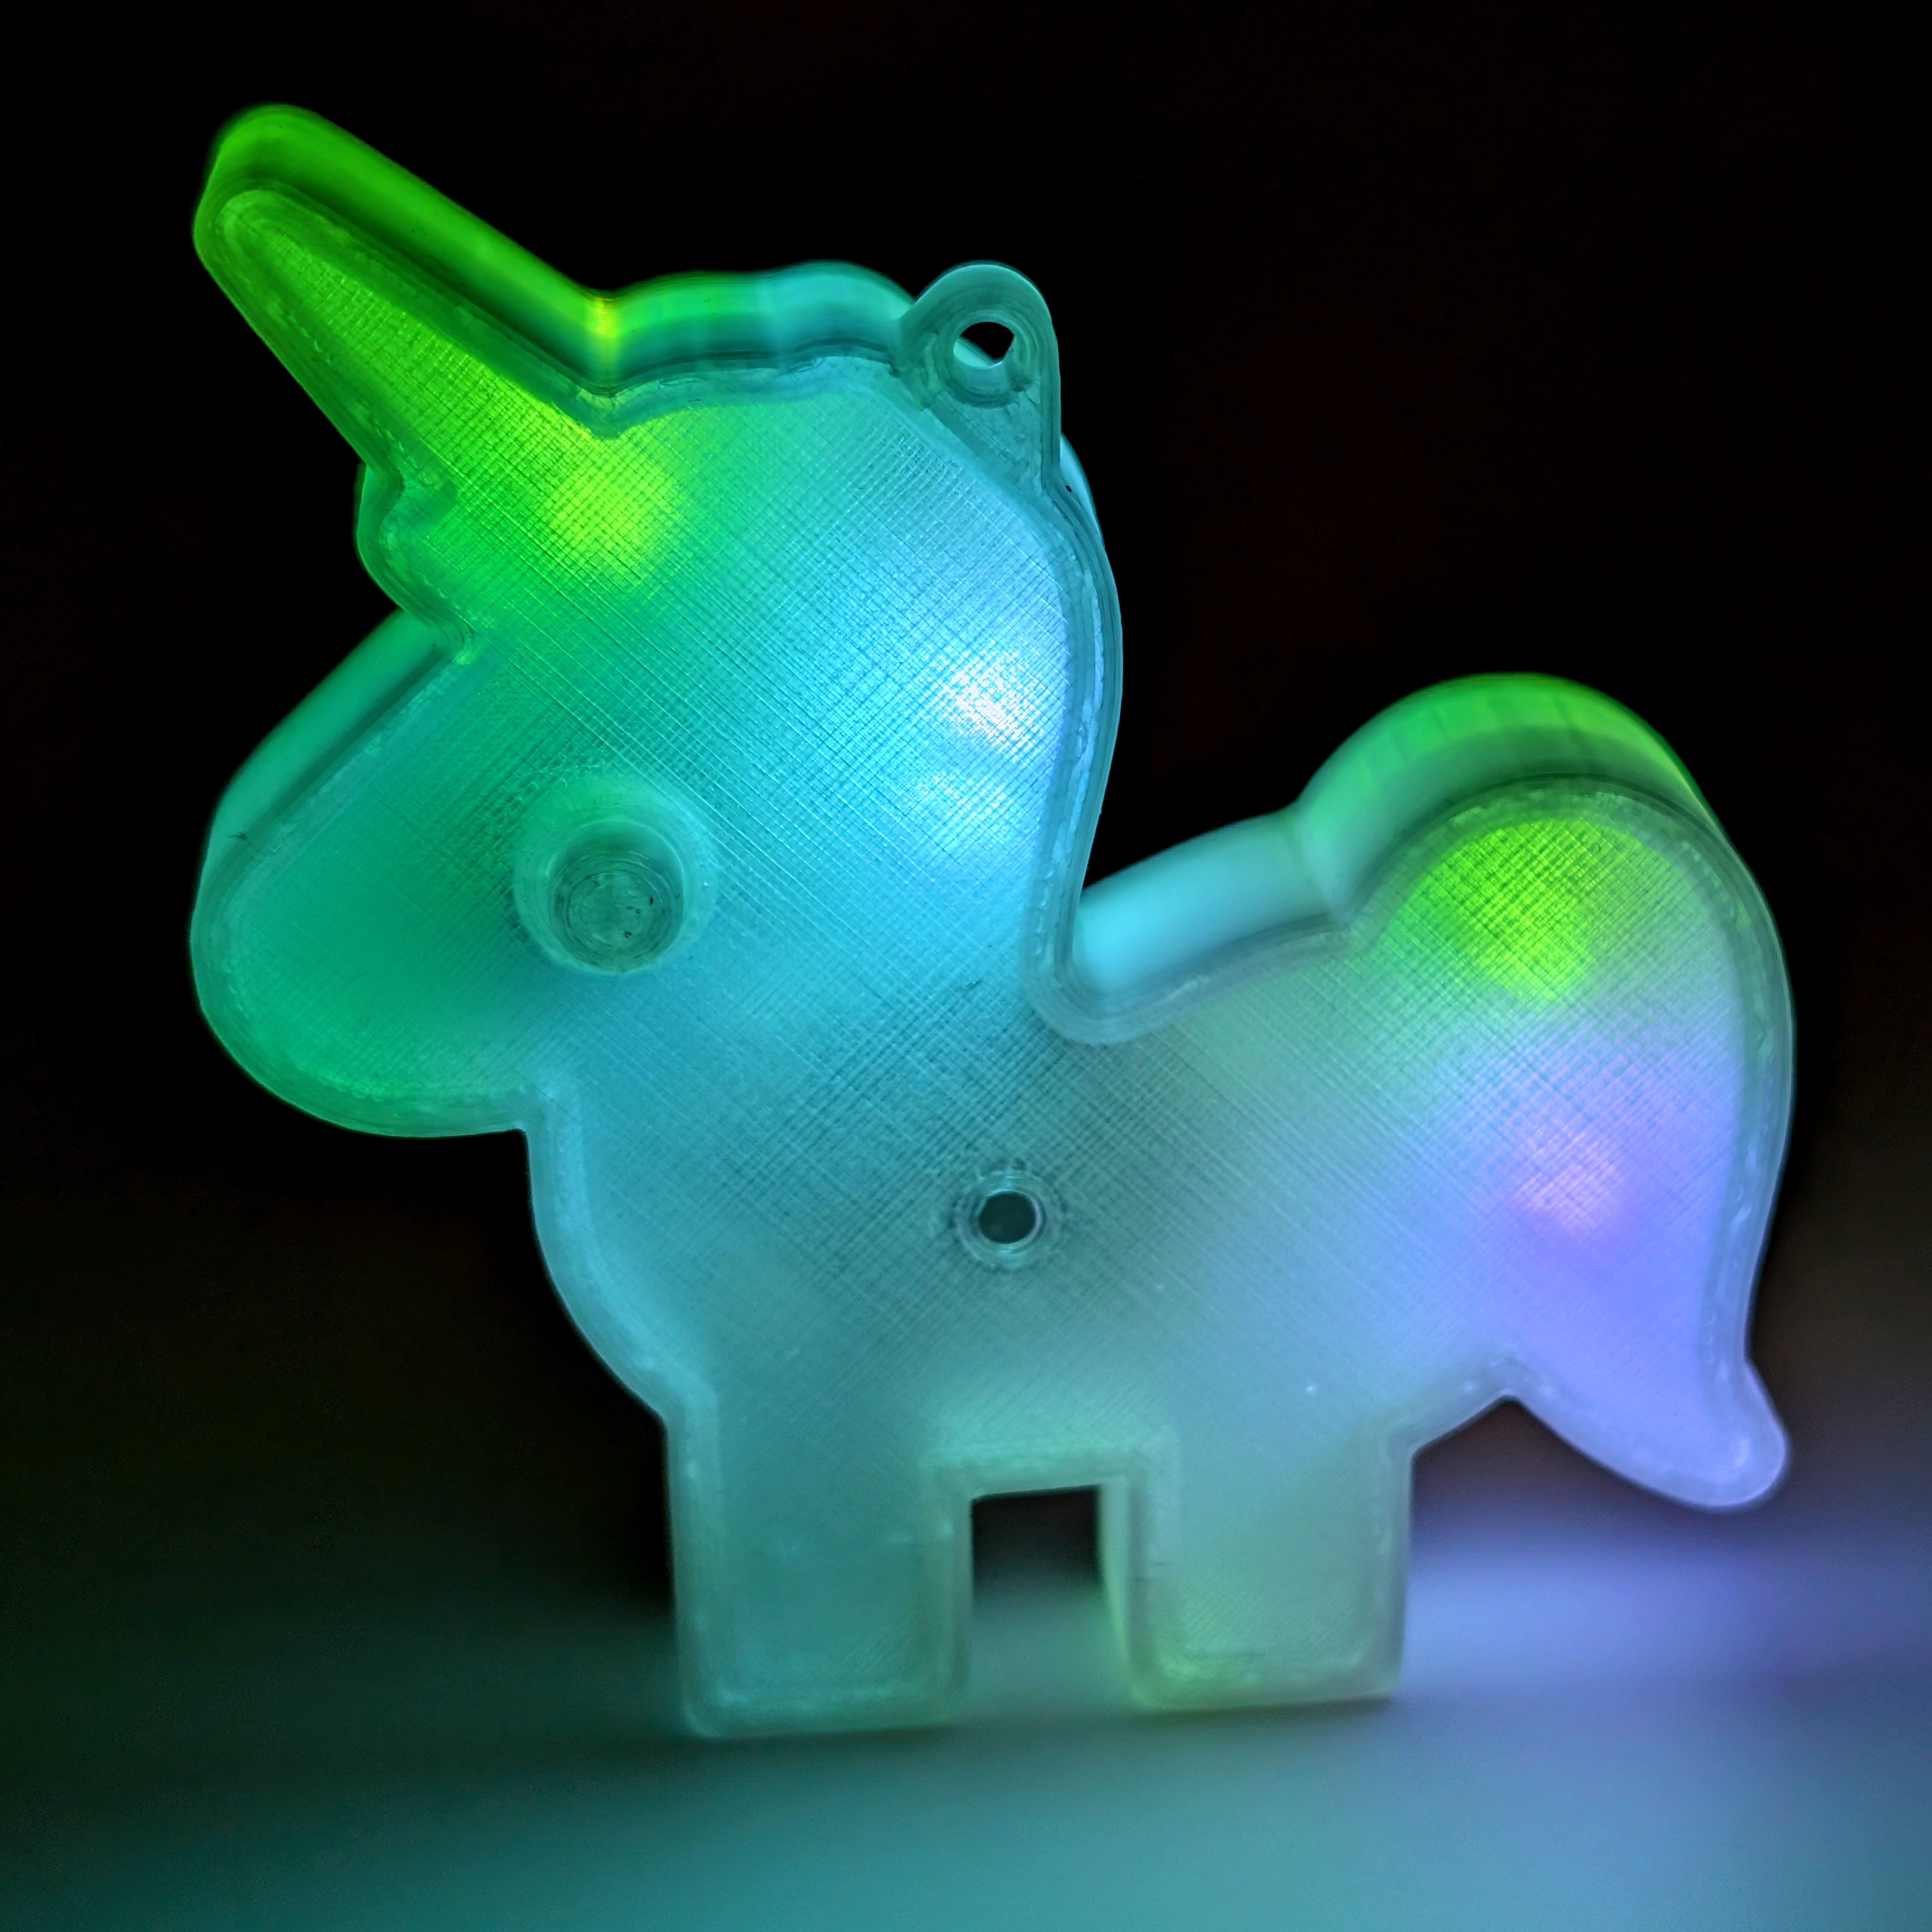
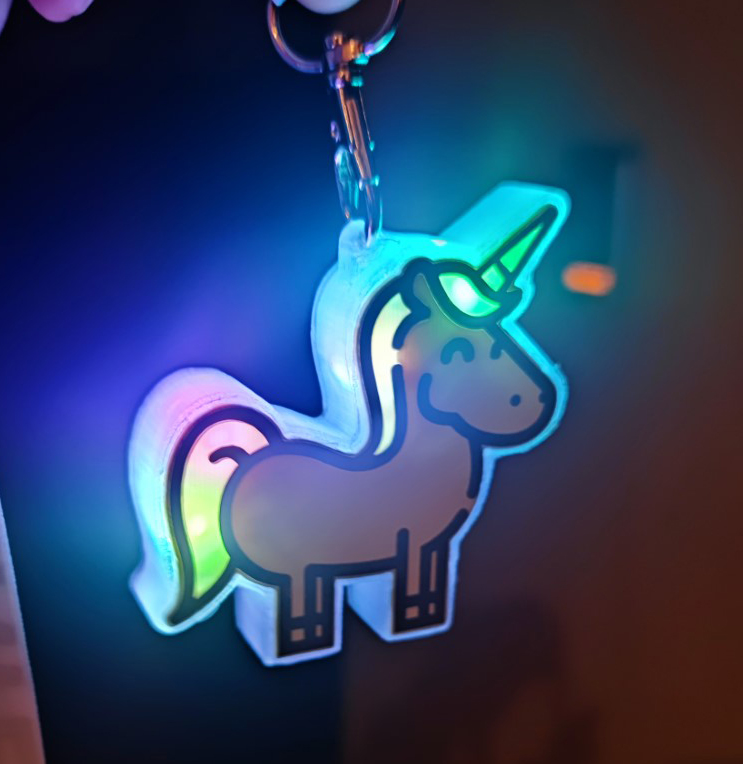
This Snapfit Case is the perfect addition to the Rainbow Unicorn Soldering Kit! It provides a stylish way to display your unicorn while enhancing its glow.
Product Details
- Custom-Fit Enclosure: Designed specifically for the Rainbow Unicorn Soldering Kit (sold separately).
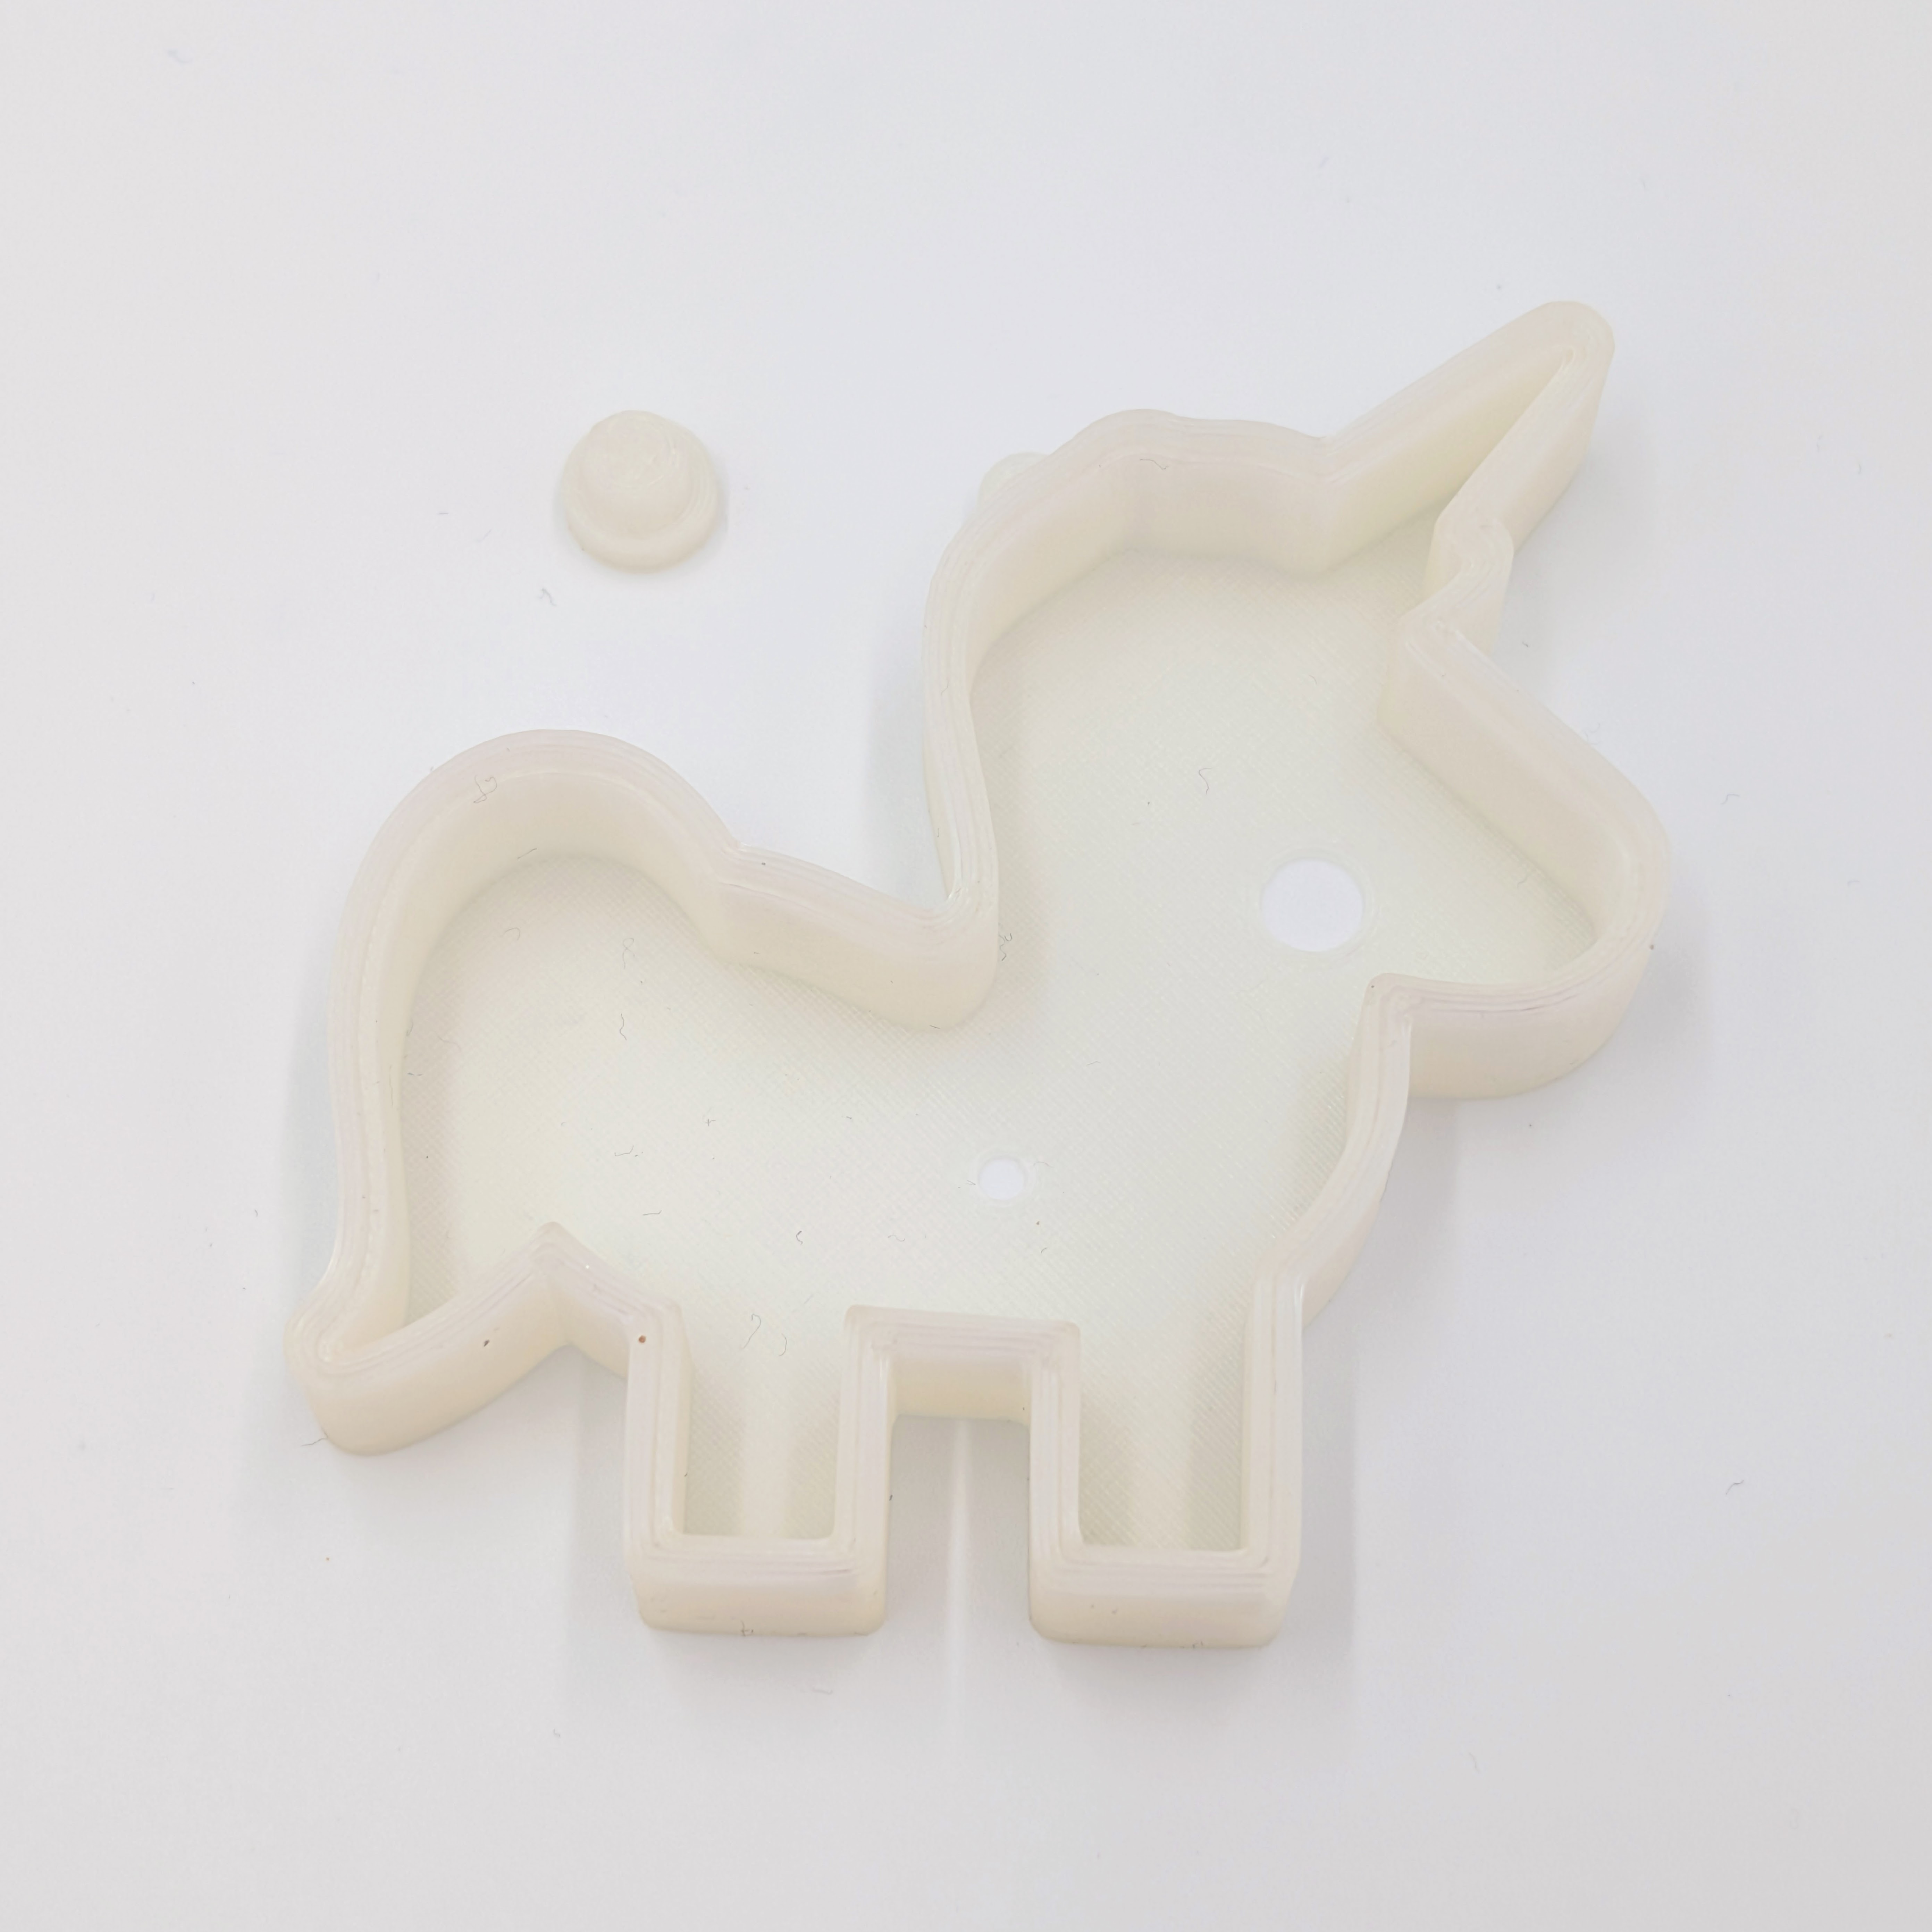
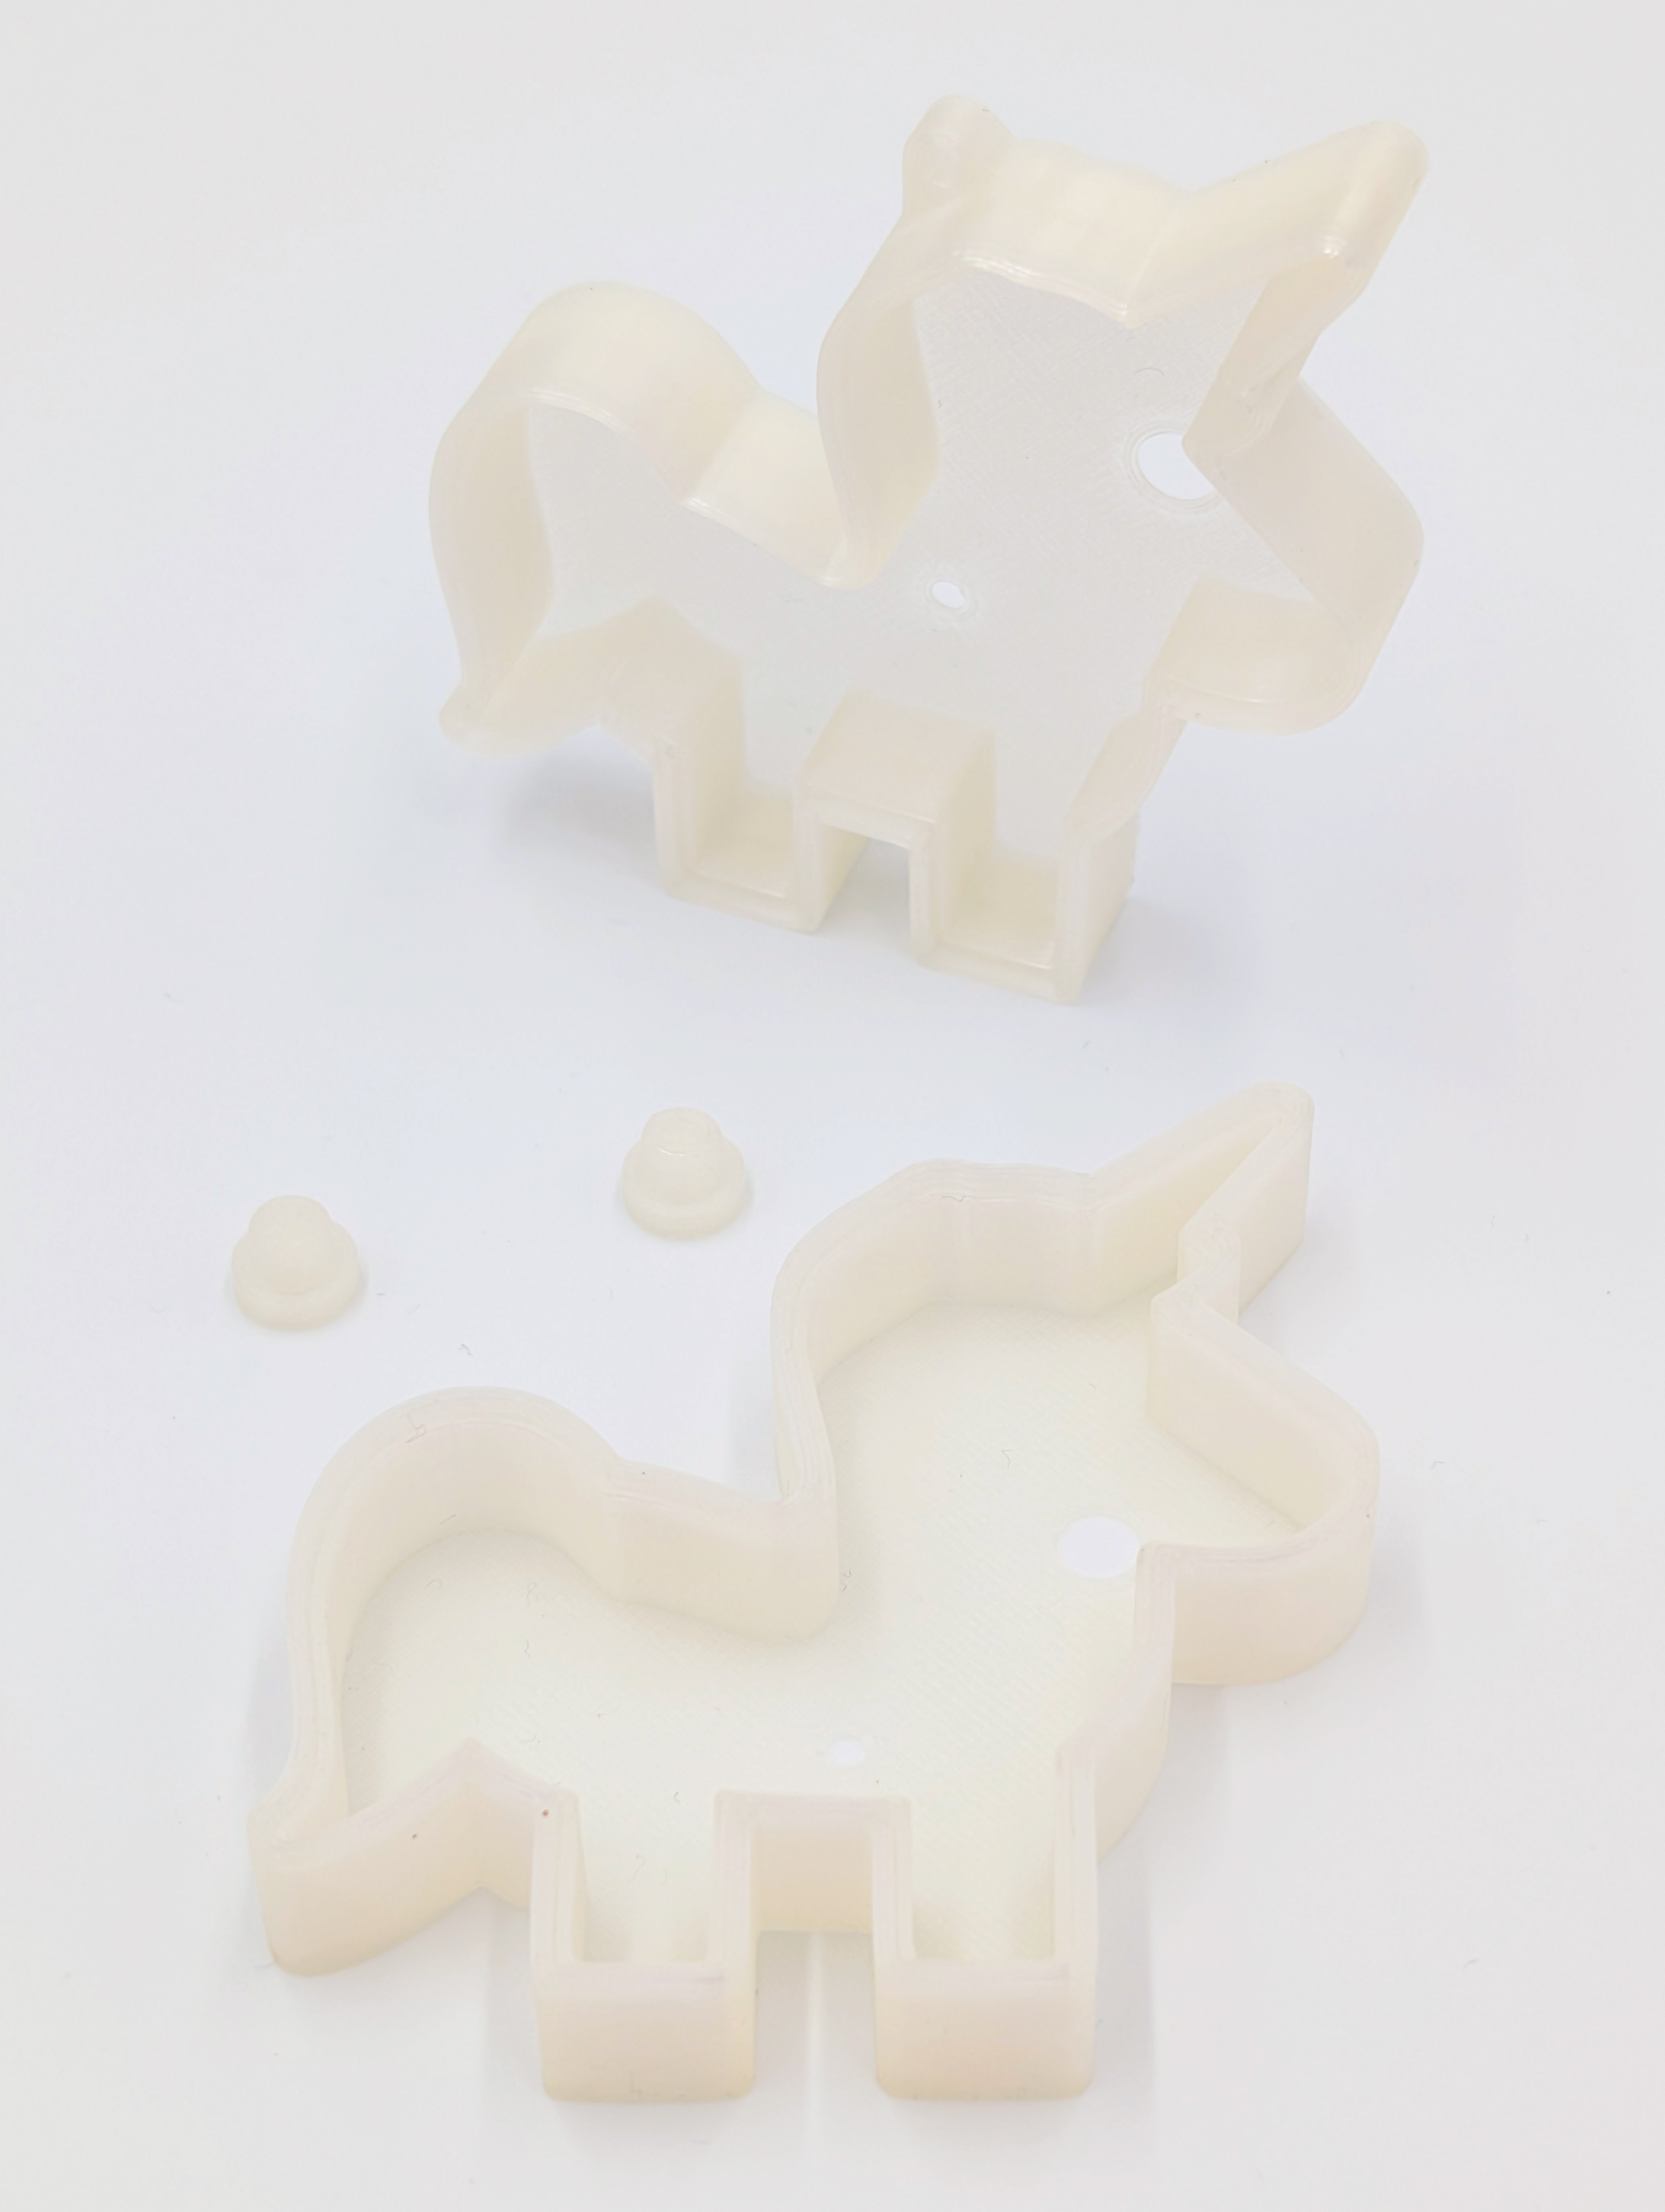
- Convenient On/Off Button: The two-piece design includes the main case and a button for easy power control of the unicorn.
- Optimized Light Diffusion: Made from recycled, milky-transparent PLA, ensuring a soft and even light distribution.
- Versatile Usage: Features a built-in loop, allowing it to be worn as a pendant on a necklace or attached to a keychain.
Sustainable Material
The case is 3D-printed using eco-friendly, recycled PLA. This material is highly durable and helps reduce plastic waste.
Important Note
The Snapfit Case is sold without the Rainbow Unicorn Soldering Kit! The kit must be purchased separately.
Acknowledgment
Stefan Daschek adapted the fantastic design by Christian Erhard, creating this Snapfit variant. You can find the files for 3D printing in our Wiki:
https://wiki.blinkyparts.com/de/Bausaetze/Einhorn
| Build Time: | 20-40 Minutes |
|---|---|
| Difficulty: | Easy |
| Manual and iteractive board: | https://binary-kitchen.github.io/SolderingTutorial/ |
| Target group: | Children, Grownup, Nerd |
Login
Weitere Blinke-Bausätze
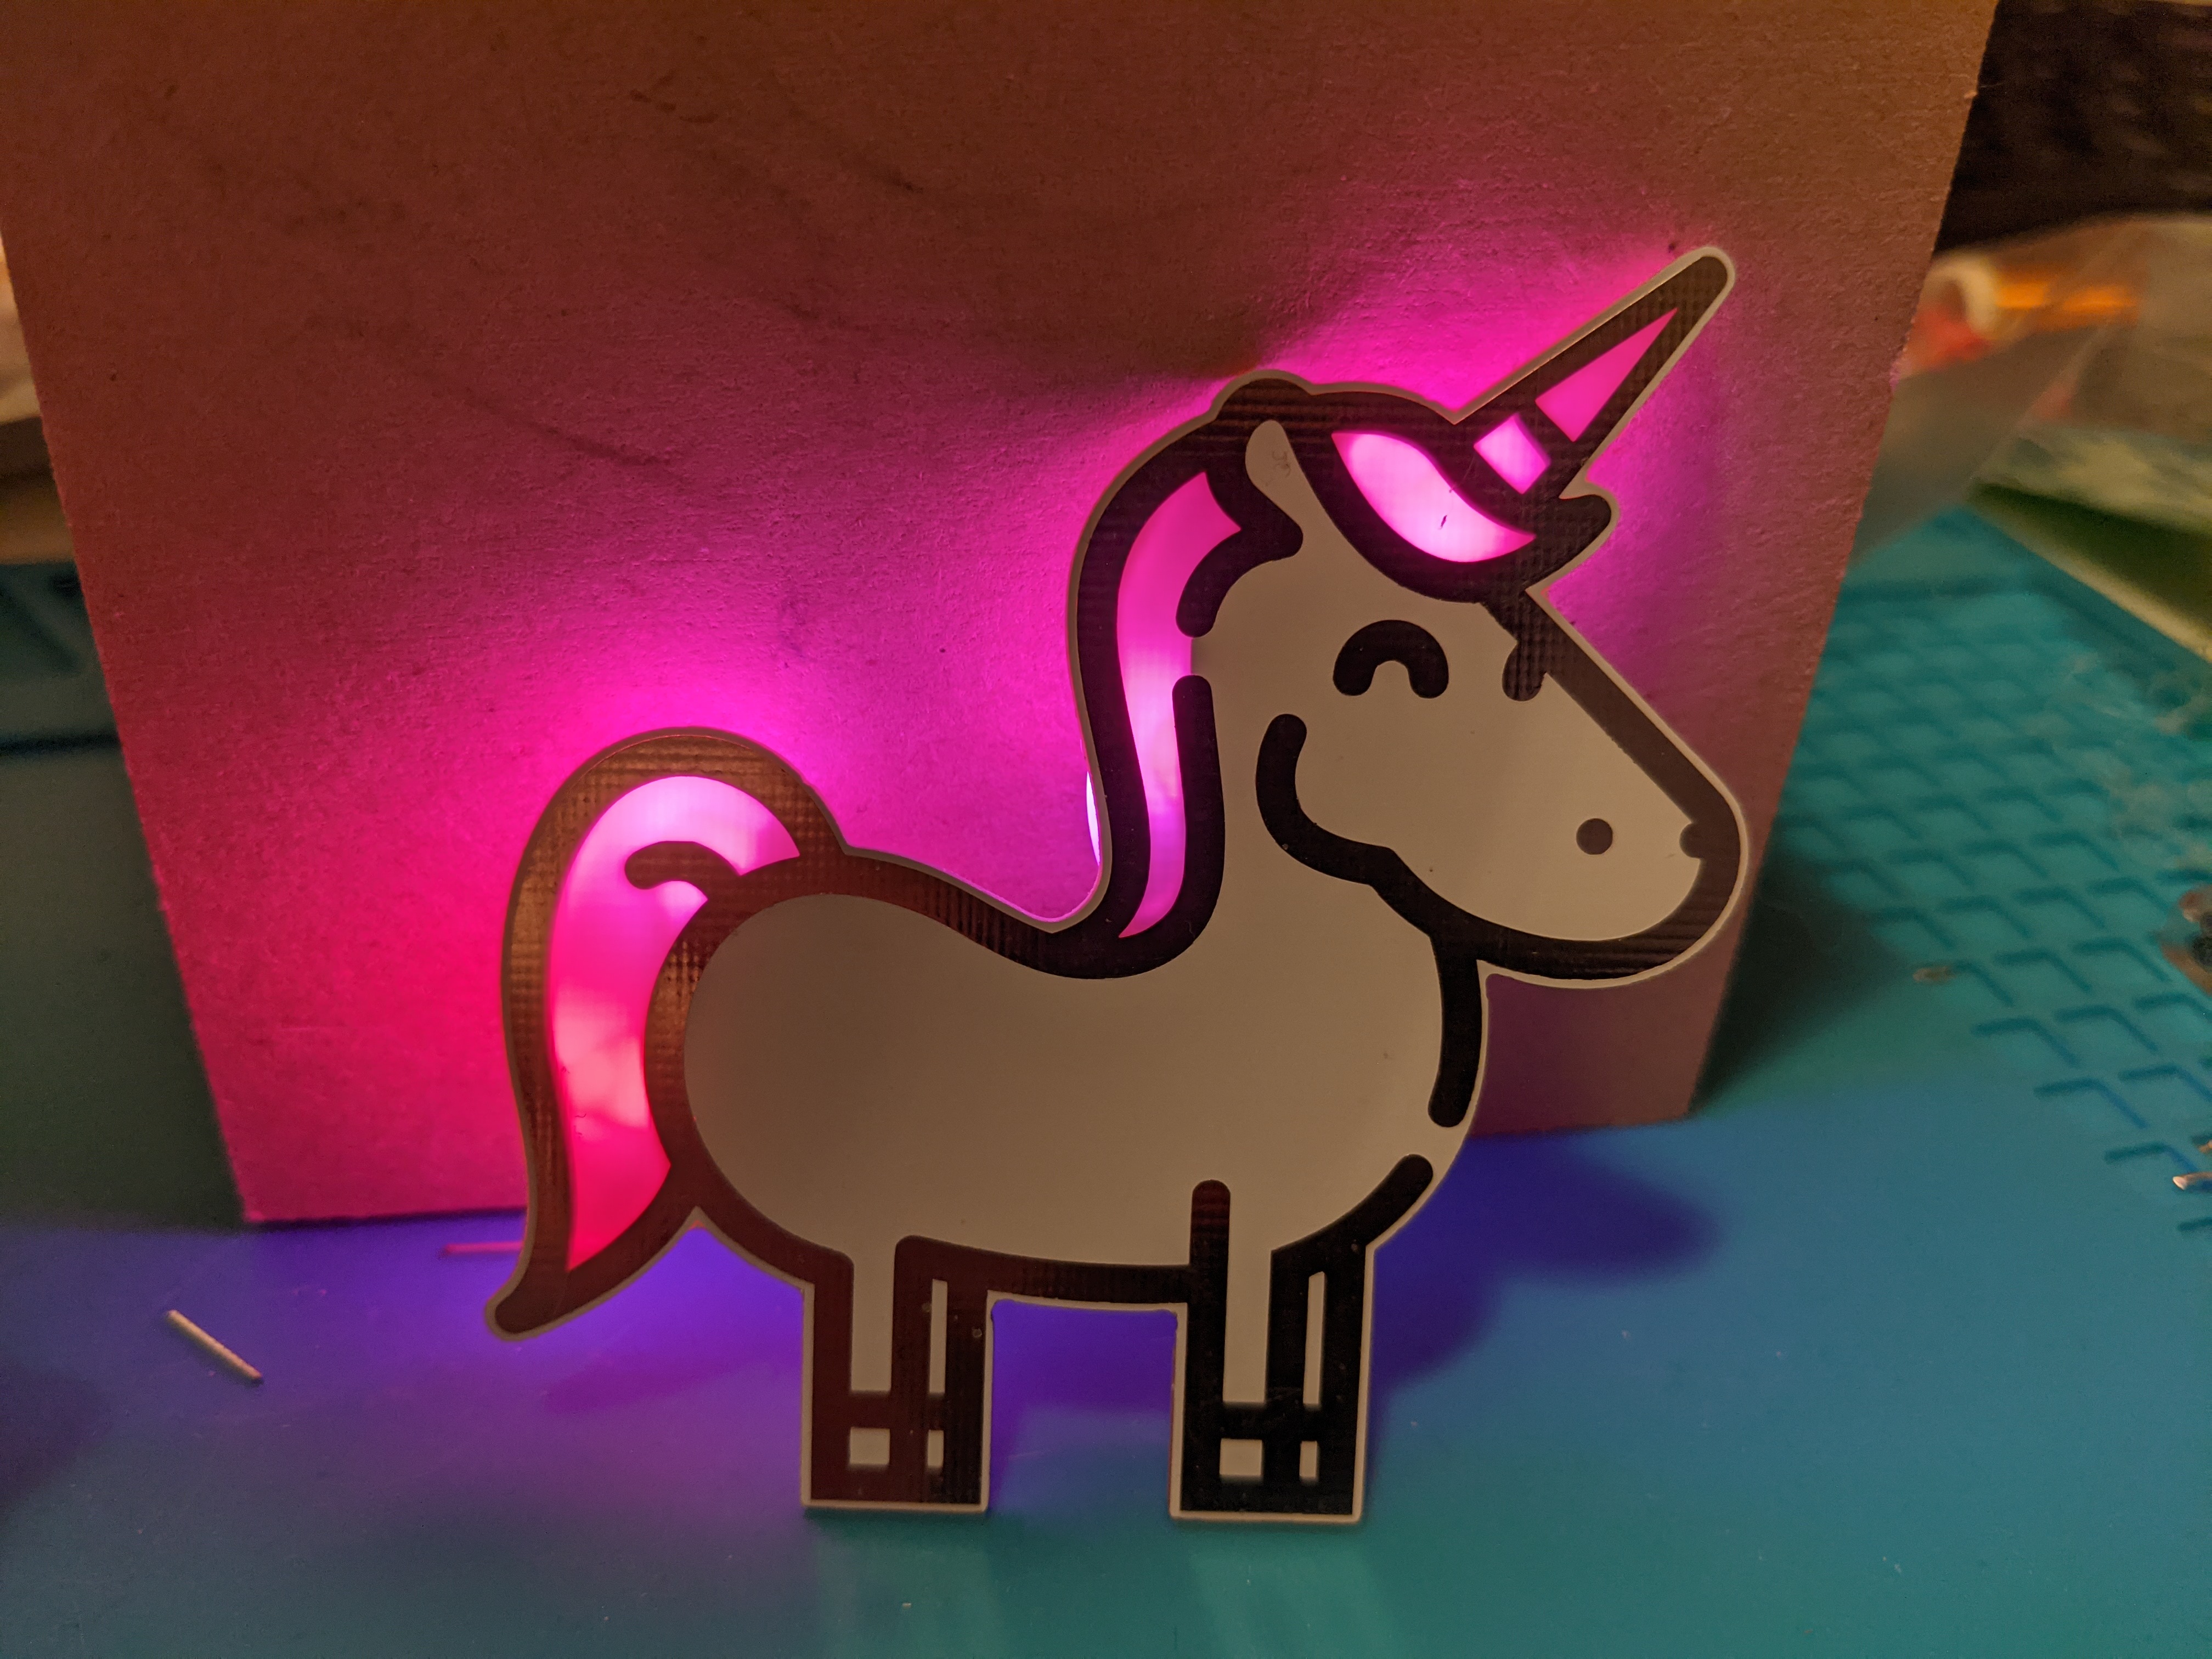
The great rainbow unicorn is something very special. Once soldered, the tail, horn and mane shine almost magically in all the colours of the rainbow. The best thing is: with this soldering kit you can easily make a great pin, pendant or necklace even as a beginner. You only have to solder 6 components on the back. For those who already know a bit about soldering: The LEDs are THT, i.e. through-hole components. They are soldered to the surface on the back. We used this trick to avoid having holes on the front. This way, the unicorn can shine in all its glory and shine without any flaws.For all those who are not yet that far: don't worry! Detailed and well-tested instructions will guide you through this little soldering adventure.A video of the rainbow colours can be found here: https://www.youtube.com/watch?v=b8JFJ-eYq9oTarget groupThe electronic soldering kit is designed for beginners. Adults and children alike can have fun with the unicorn soldering kit, although of course you should not let children solder alone. Relatively large components are used, which make it easy to learn how to solder. Only 6 components need to be soldered. This is also possible for absolute beginners in a reasonable amount of time. And the shape? Who isn't a unicorn fan, please? :) It's best to order one or two of these soldering kits, because as you can imagine, the unicorn soldering kit is a popular gift for friends, partners or children.The components in the unicorn soldering kitOur kits always contain all the components you need for soldering. Unfortunately, we cannot send you the batteries. However, you can get them from hardware stores and larger supermarkets (more on this below under "Tools and accessories"). The soldering kit includes:The circuit boardThe circuit board is the heart of the unicorn. It forms the outline and the place to solder all the components. The board is made of fiberglass material which is coated with a gold alloy. A white coating of varnish is applied on top of it. Some parts of the board are slightly transparent. This creates the great effects on the tail and horn! RGB LEDsThis is where the magic happens! RGB stands for red-green-blue and describes the different colours of the LED. It looks like one LED, but there are 3 tiny little LEDs that slowly change through an integrated circuit. This gives you all the colours of the rainbow. Look closely, the black dot you find in the LED is the entire circuit! Yes really, so tiny! Just connect 3V and the LED lights up in all colours. There are four RGB LEDs in the Unicorn soldering kit.The SMD battery holderThe battery holder for CR2032 batteries is included in the kit in an SMD version. It is soldered onto the surface like the other components. How to do this is described in the soldering instructions. The battery itself is then simply plugged in. The battery lasts for 4-8 hours of continuous operation. So you should switch off your unicorn to save some power. You can get more in any well-stocked supermarket, in hardware stores and Swedish furniture stores.A switchOf course, a switch is also included! The switch is easy to operate and therefore ideal for children (and adult hands). The switch locks and stays in the position (on or off) you want the switch to be in. A great perceptible "click" provides haptic and acoustic comfort.Needed toolsHow the minimal soldering workplace looks like is described here: The soldering workplace To make the unicorn glow, you need to get one CR2032 battery per unicorn at the hardware store or a big supermarket/shop. Also, a pair of tweezers is very helpful for this kit :) Instructions and helpTo make it easy for you to solder the kit, we have put together detailed instructions with lots of pictures and individual steps for each of our kits. There you will be guided step by step through the assembly and there are many tips and tricks on how to solder correctly. For the majority of our soldering kits there are also interactive circuits with the names of the components and the tracks. All instructions are available in German and English. For environmental reasons we do not print our instructions. In fact, it is better to view them on screen, as you can then zoom into the high-resolution photos to see details. On each kit you will find a QR code or link to the instructions.You can find all the instructions as PDF files at the following link: https://binary-kitchen.github.io/SolderingTutorialJust click on "DE" or "EN" for the relevant kit and you can download a PDF.CaseGot a 3D printer at home? Print your own unicorn enclosure! The wonderful Christian Erhardt has designed and published an enclosure. You can find the print data here: https://github.com/Binary-Kitchen/rainbow_unicorn/tree/master/caseLovingly packed for you by handAll soldering kits are lovingly packed for you by hand in Germany. Unfortunately, it happens from time to time that a component is packed too much or too little. If something is too much: No problem! Keep the components and use them for your creations! If something is missing: No problem! Just send us an email and we will send you the missing parts. Show us your unicornWe at blinkyparts are super excited to hear what your unicorn soldering kit turned out to be. A pin? A hair clip? Did you tattoo or paint the unicorn? A pin for your backpack or something completely different? Share your photo with us atTwitter/Mastodon: #SolderingConnectsInstagram: #LötenVerbindet or follow us under @blinkyparts_comHelp others with your feedbackIt is often difficult to judge whether a soldering kit is something for oneself. Help others by giving us a rating, a feedback. How did it work? What equipment did you have? What did you like most about it? What is your unicorn doing now? Just leave a review here on the product page under "Reviews".
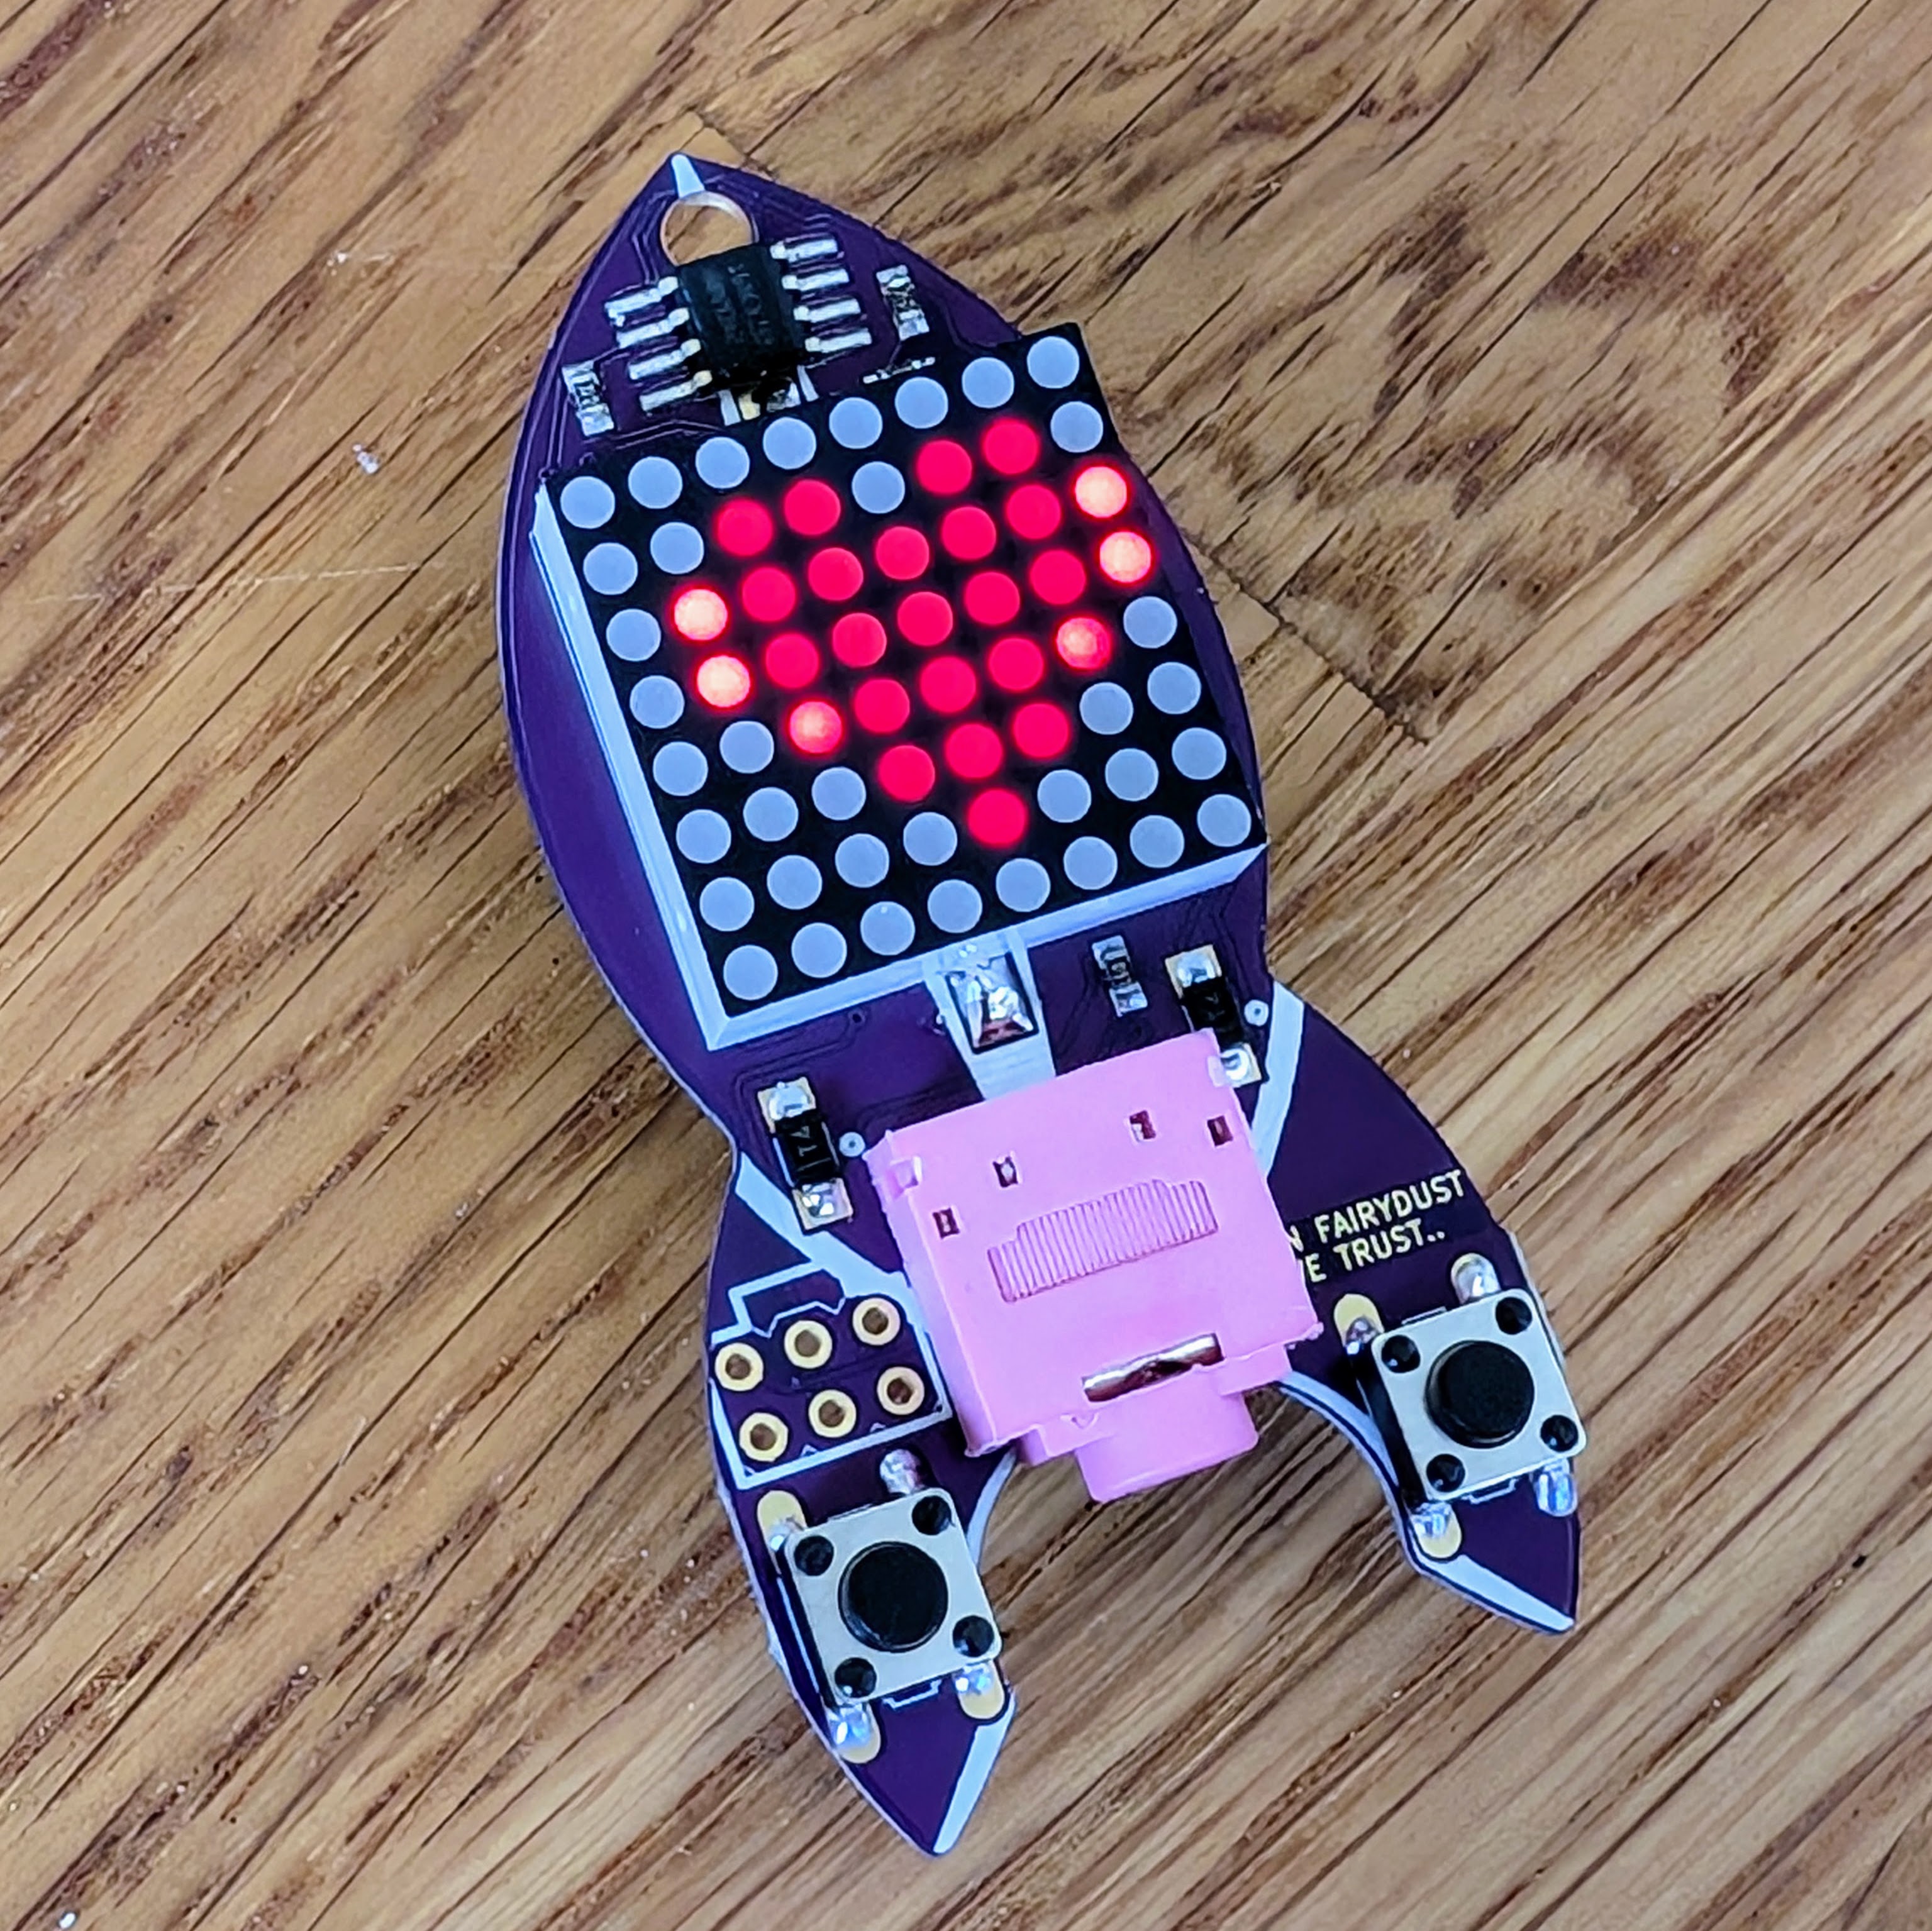
The BlinkenRocket Mini is a lovingly designed soldering kit perfect for children, students, schools, hackerspaces, and electronics workshops. It playfully teaches the basics of soldering – from simple to slightly more advanced components. Technical highlight: Programming is done via audio transmission. No special programming adapters are needed – texts and animations can be transferred directly from a smartphone, computer, or MP3 player. Use the online editor at editor.blinkenrocket.de to easily create and send your content. Features of the BlinkenRocket Mini 64 LEDs in an 8×8 dot-matrix display Audio interface for easy programming (smartphone, PC, MP3 player) No USB programming adapter required Perfect for soldering workshops, schools, and maker events Kit Contents 1× Pre-assembled BlinkenRocket PCB 1× 8×8 dot-matrix LED display 2× Push buttons 1× 3.5 mm audio jack 1× CR2032 battery holder (Battery not included) Optional Programming Accessories 3.5 mm audio cable (male-to-male) 3.5 mm to USB-C adapter 3.5 mm to Lightning (iPhone) adapter Optional Accessories Snapfit Case: For a stable and stylish display, check out the matching Snapfit Case made from rPLA – sustainably produced with a glittering black finish. Further Information & Guides ➡️ Wiki article with technical details & print data ➡️ Step-by-step soldering guide Open Source – Standing on the Shoulders of Giants The BlinkenRocket was originally developed by the Chaos Computer Club Düsseldorf e.V. and shack e.V., later improved by the Metalab Vienna. The project was maintained for years by overflo – now proudly continued by blinkyparts. ❤️ Source code and documentation available on GitHub: ➡️ github.com/blinkenrocket Order now and light up the sky!

This Snapfit Case is the perfect addition to your BlinkenRocket! It provides a stable base and stylishly showcases the glowing rocket design. Product Details Perfect Fit: Designed specifically for the BlinkenRocket (sold separately). Stable Display: Allows the BlinkenRocket to stand upright – perfect as a decorative display or table light. Sparkling Finish: Made from rPLA Funkelnde Nacht – a black, glittering recycled PLA from the Recyclingfabrik. Simple Design: One-piece snapfit construction, easy to assemble without glue or screws. Open Source: Fully open-source case licensed under CC BY-SA 4.0. Sustainable Material Printed using recycled rPLA from the Recyclingfabrik. This eco-friendly material is made from recycled plastics and gives the case its elegant, starry-night glitter effect. License & Credits The design was created by Axel and released as an open-source project under the CC BY-SA 4.0 license. BlinkenRocket MiniRocket Case © 2025 by Axel is licensed under CC BY-SA 4.0. You can find the original design files here: ➡️ GitLab – BlinkenRocket MiniRocket Case Note The Snapfit Case is sold without the BlinkenRocket kit. The kit is available separately. More Information For additional information and 3D printing instructions, visit our Wiki: ➡️ BlinkenRocket Wiki
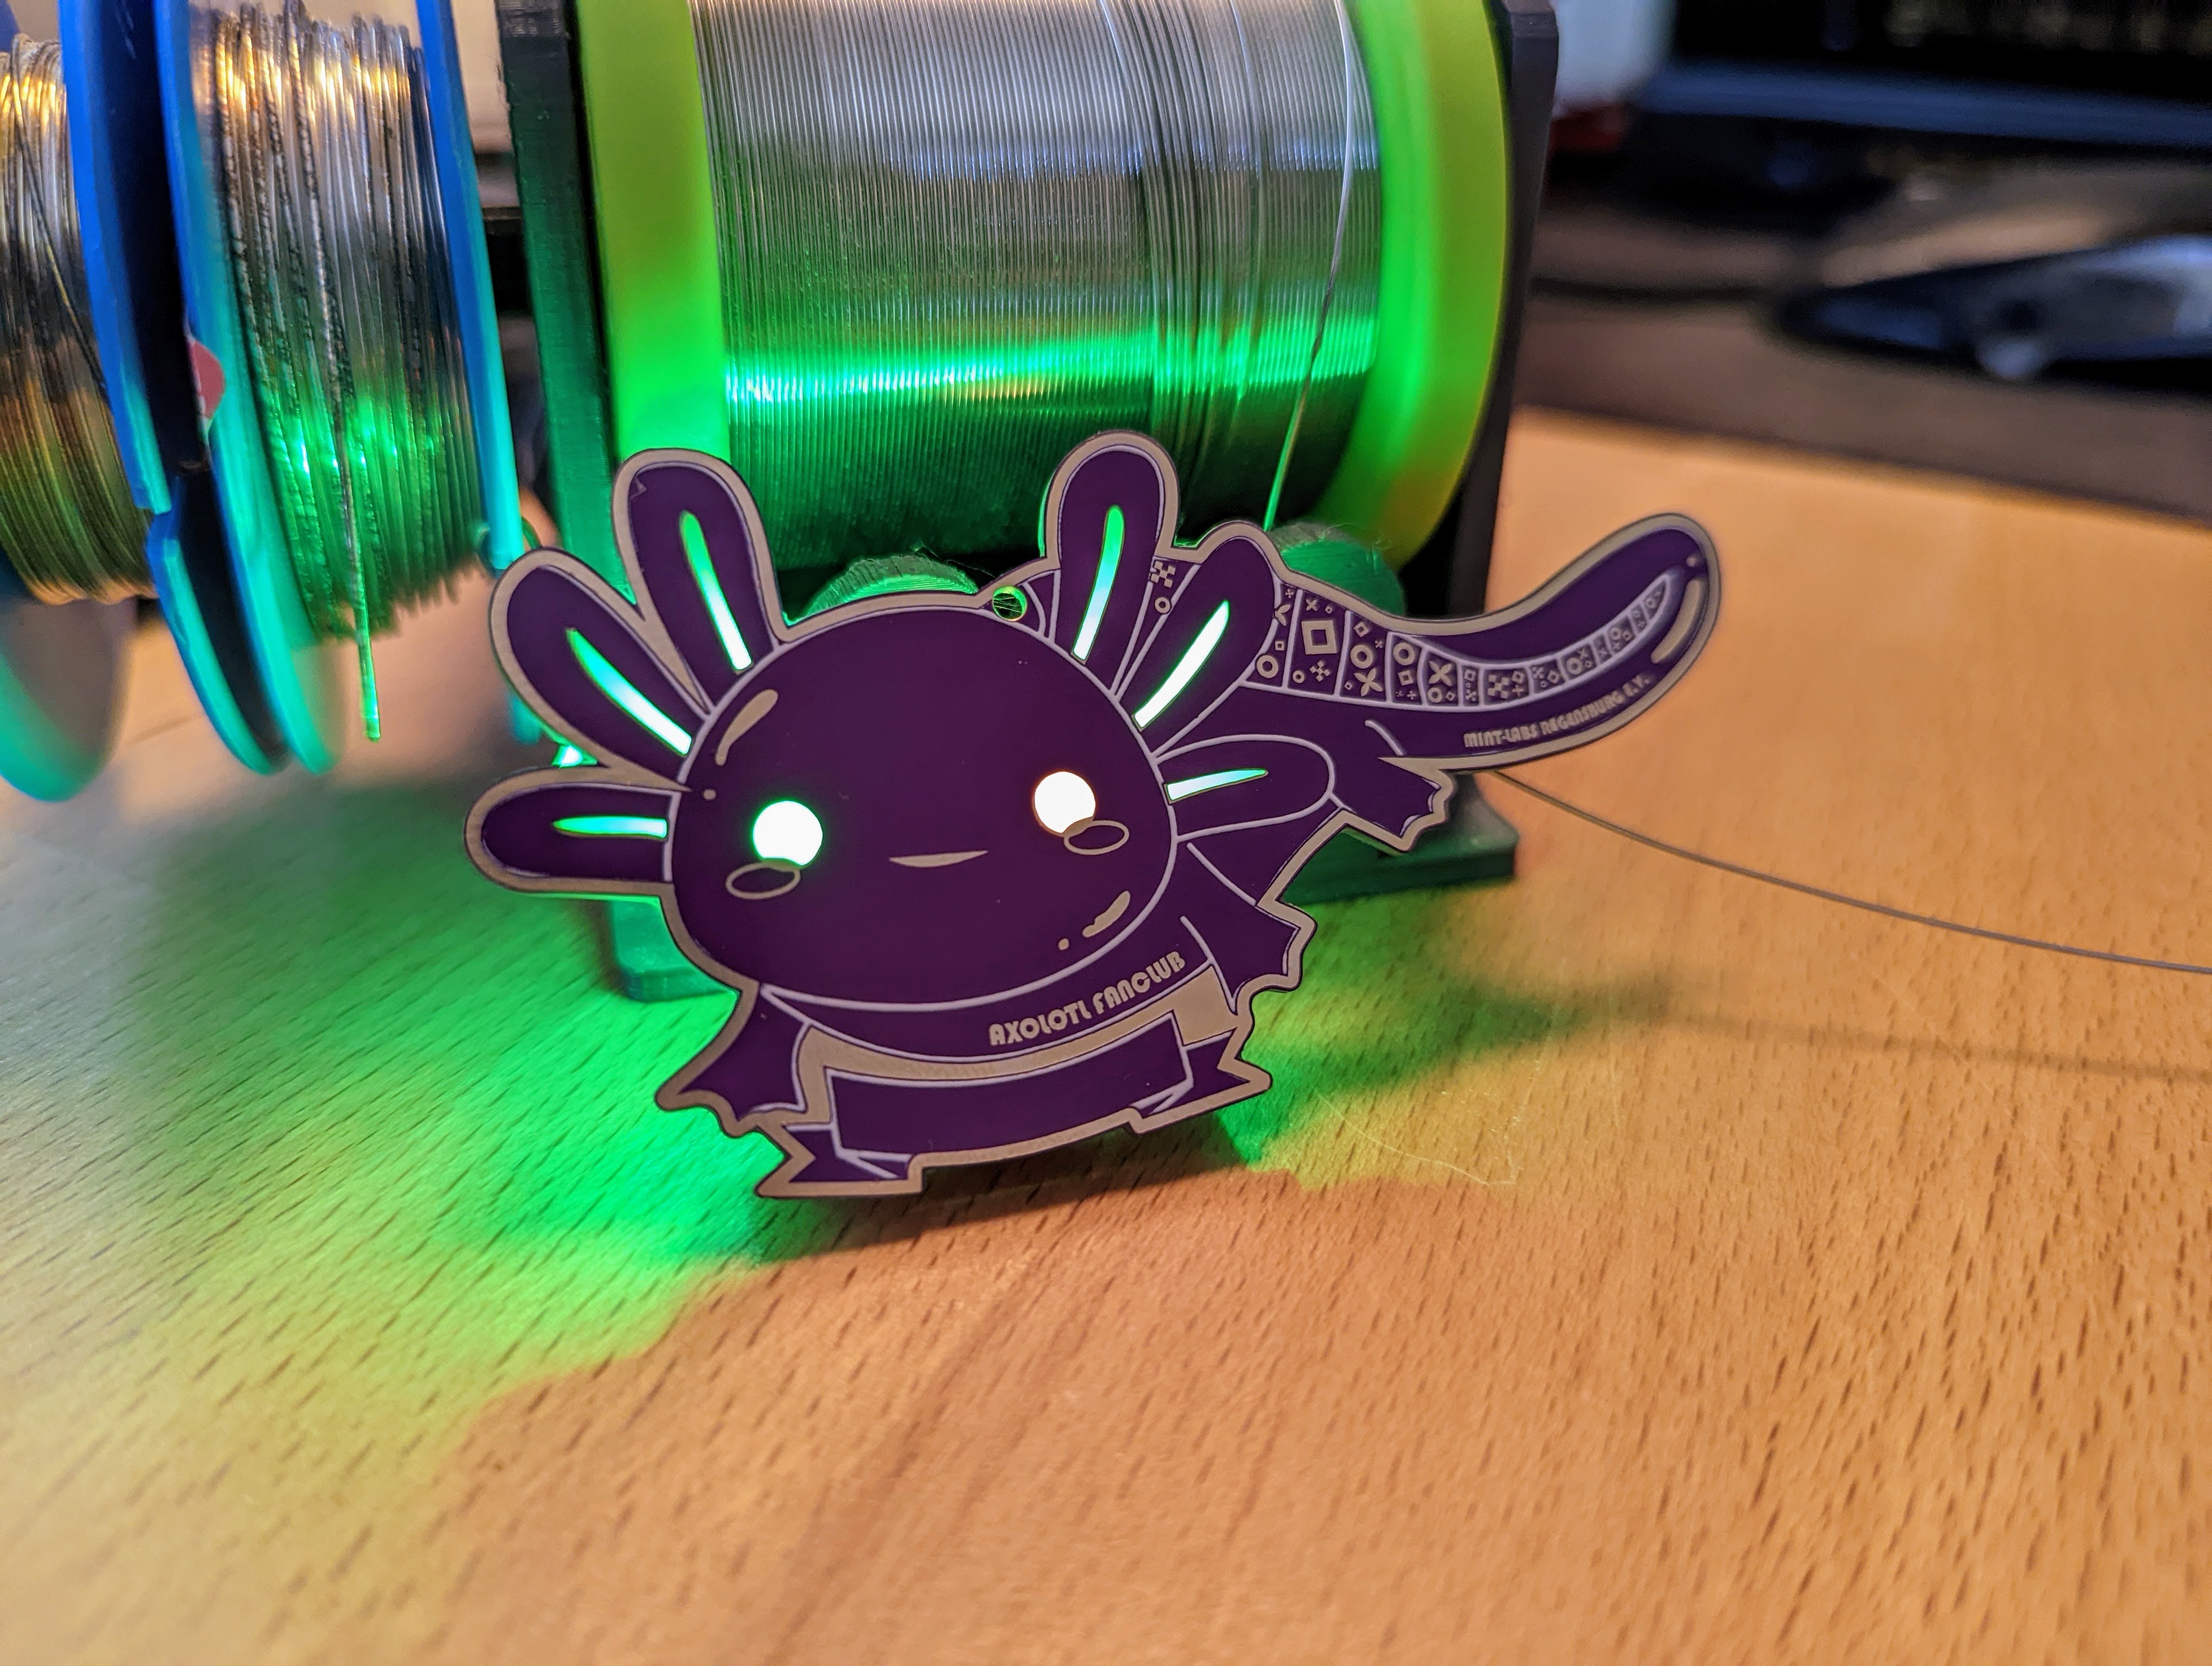
How cool are axolotls? If you're already a fan – or just about to become one – this soldering kit is the perfect match! With the Axolotl Soldering Kit, you can build your own glowing badge: its eyes and gills light up in all the colors of the rainbow. What is a Soldering Kit? A soldering kit is a beginner-friendly electronics project where you solder a few components to create a working device. In this case, it's a cute Axolotl that becomes a colorful badge, necklace, keychain, or desk decoration – your choice! Perfect for Beginners and Kids This electronics kit is designed for absolute beginners. It's ideal for children (with adult supervision) and adults alike who want to learn how to solder quickly and enjoyably. The kit uses large, easy-to-handle components – you only need to solder 6 parts. Your Finished Axolotl Will Look Like This See the glowing rainbow animation in action here: Watch Axolotl LED animation What is an Axolotl? The Axolotl is a Mexican aquatic salamander that stays in its larval stage for life – and it’s famous for its ability to regenerate limbs, organs, and even parts of its brain and heart. Incredible, right? What's Included in the Axolotl DIY Kit? This kit includes everything you need for the soldering project – except for the battery: Custom PCB shaped like an Axolotl with gold-plated fiberglass and purple solder mask – partially translucent for glowing effects 4 RGB LEDs (THT type) with built-in color-shift circuits SMD battery holder for CR2032 coin cells Slide switch – easy to use for kids and adults alike What Else Will You Need? 1x CR2032 battery (available at hardware stores or supermarkets) Soldering iron & solder A tweezers (optional, but helpful) Need help setting up your soldering station? Here’s a helpful guide: How to set up a soldering workshop Step-by-Step Instructions We’ve created a detailed step-by-step tutorial with pictures for each kit. You’ll find helpful tips for soldering safely and successfully. The instructions are available in both English and German. You’ll find a QR code on your kit leading to the tutorial. View all kit instructions here: https://binary-kitchen.github.io/SolderingTutorial Who Are the MINT Labs? This kit was developed in collaboration with MINT-Labs Regensburg, a non-profit that promotes STEM education for kids and adults. If you're ever in Regensburg, Germany – stop by and say hello! Hand-Packaged with Love All of our soldering kits are carefully hand-packed in Germany. Occasionally a part might be missing – if so, no worries! Just send us a quick email and we’ll send the missing piece your way. Show Off Your Axolotl Badge! Did you turn your Axolotl into a necklace? A hairclip? A glowing backpack charm? Share your creation with us: Instagram or Mastodon: #LötenVerbindet Follow us on Instagram: @blinkyparts_com Help Others with Your Feedback Wondering if this DIY electronics kit is right for you? Check out the reviews – or even better: leave one yourself! Tell others how your soldering experience went, what tools you used, and what made your Axolotl project special.