OpenDTU NRF - Your evaluation for your balcony solar system compatible with Hoymiles HM series (NRF module)

€36.99*

Available, delivery time: 1-3 days

Product number: blink237542
Product information "OpenDTU NRF - Your evaluation for your balcony solar system compatible with Hoymiles HM series (NRF module)"
The energy turnaround is in full swing and great balcony power plants are sprouting up on every balcony. It's beautiful!

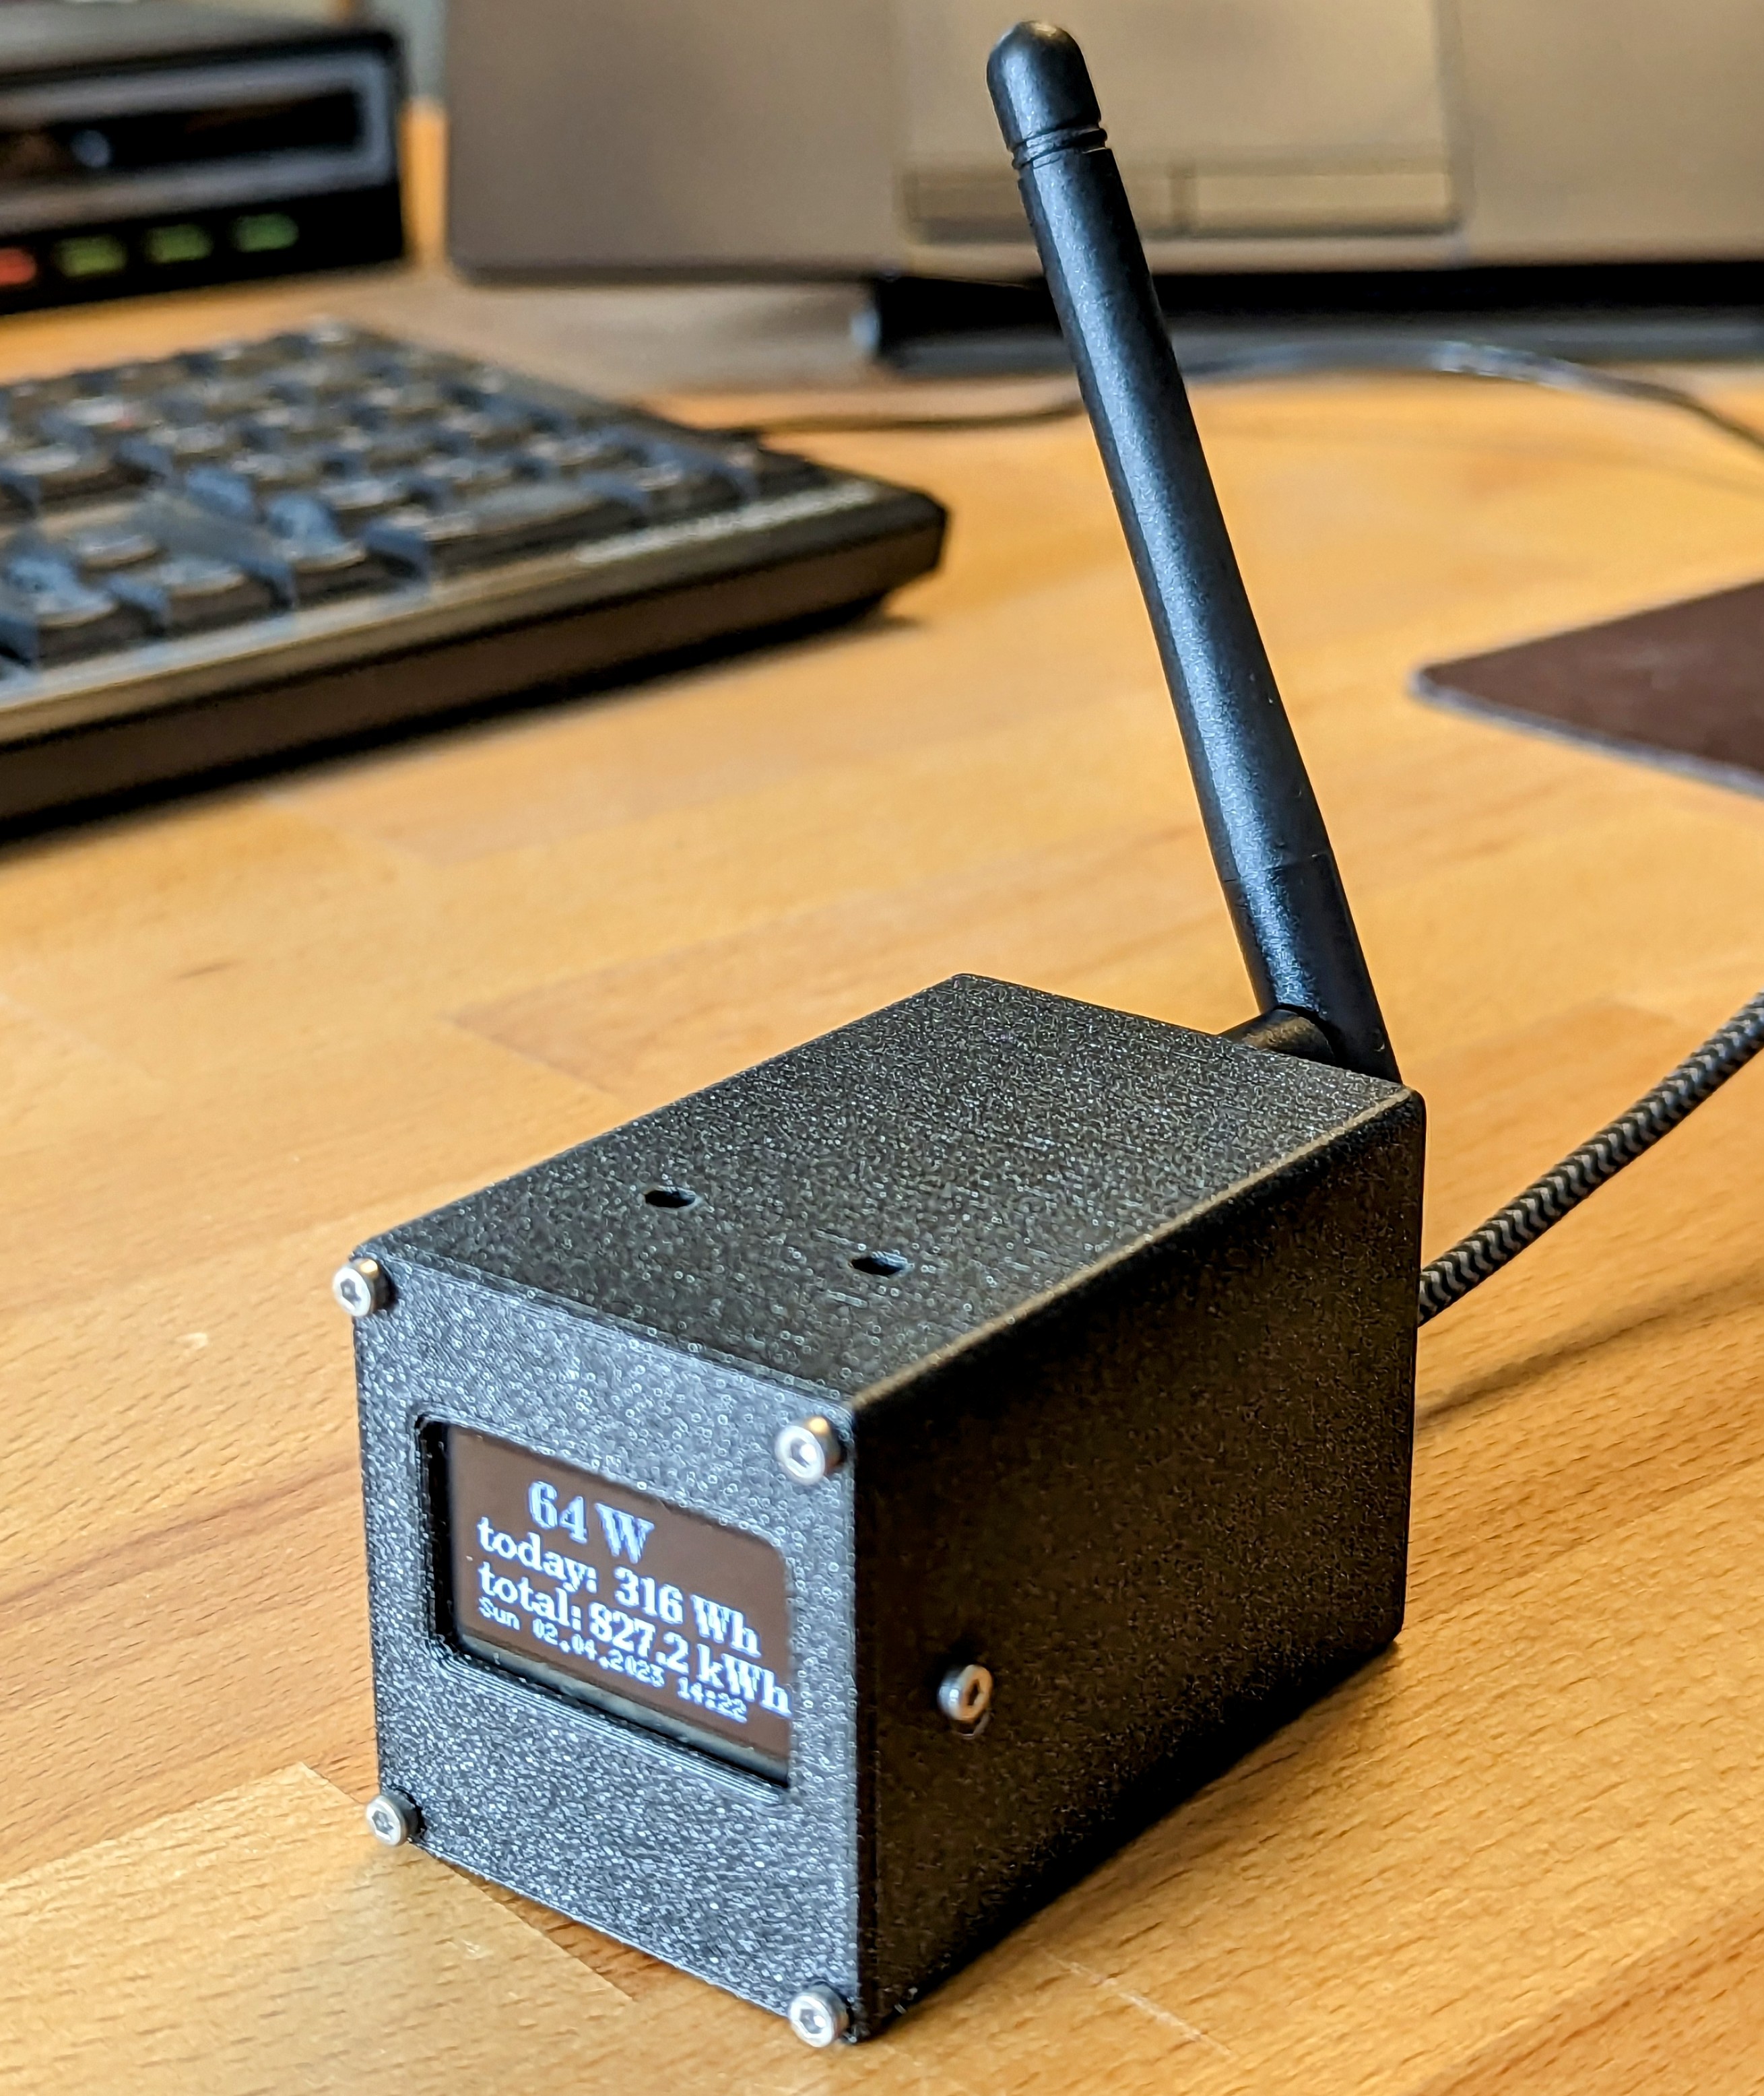
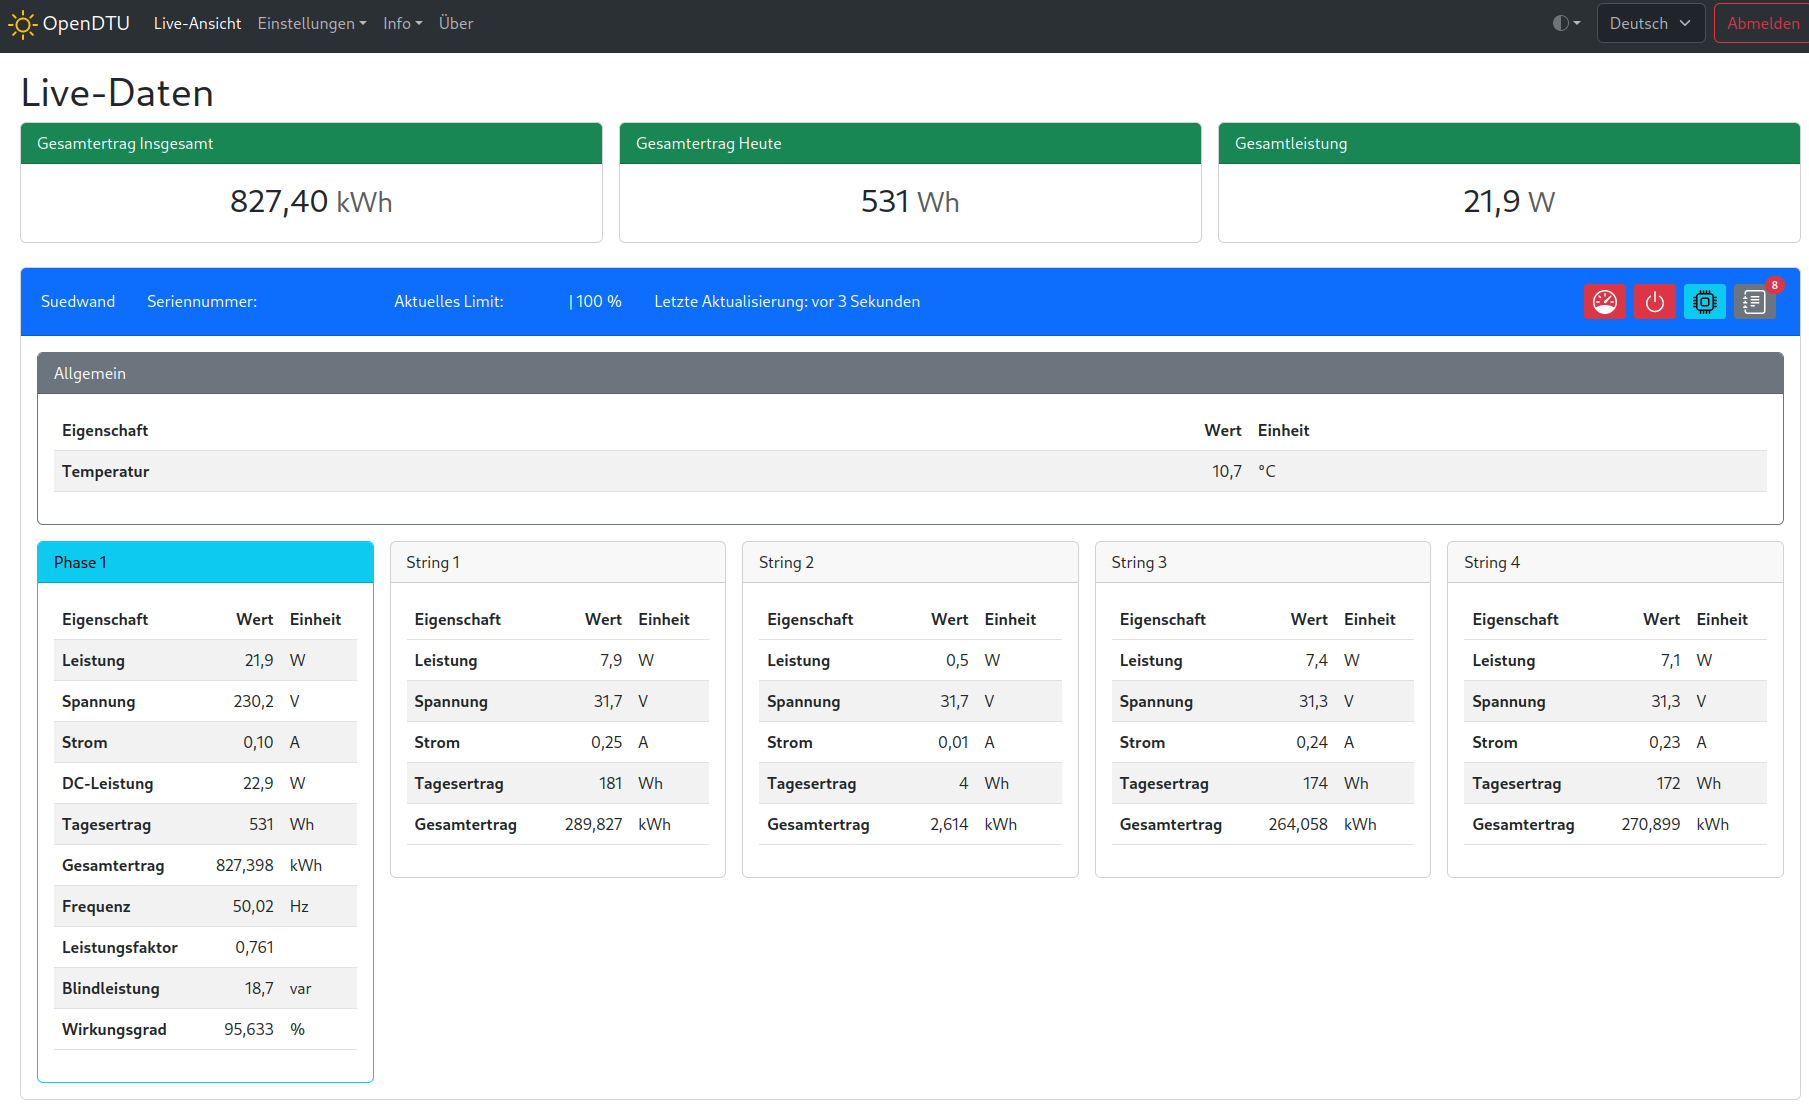
With this OpenDTU Board kit you can read out your balcony solar power plant, display the data and even control it. The prerequisite is an inverter from Hoymiles. A small display always shows the current power production.

The project was started by Thomas and Jan and can of course be found under open source licence here:https://github.com/tbnobody/OpenDTU (there you will also find a list of compatible inverters).

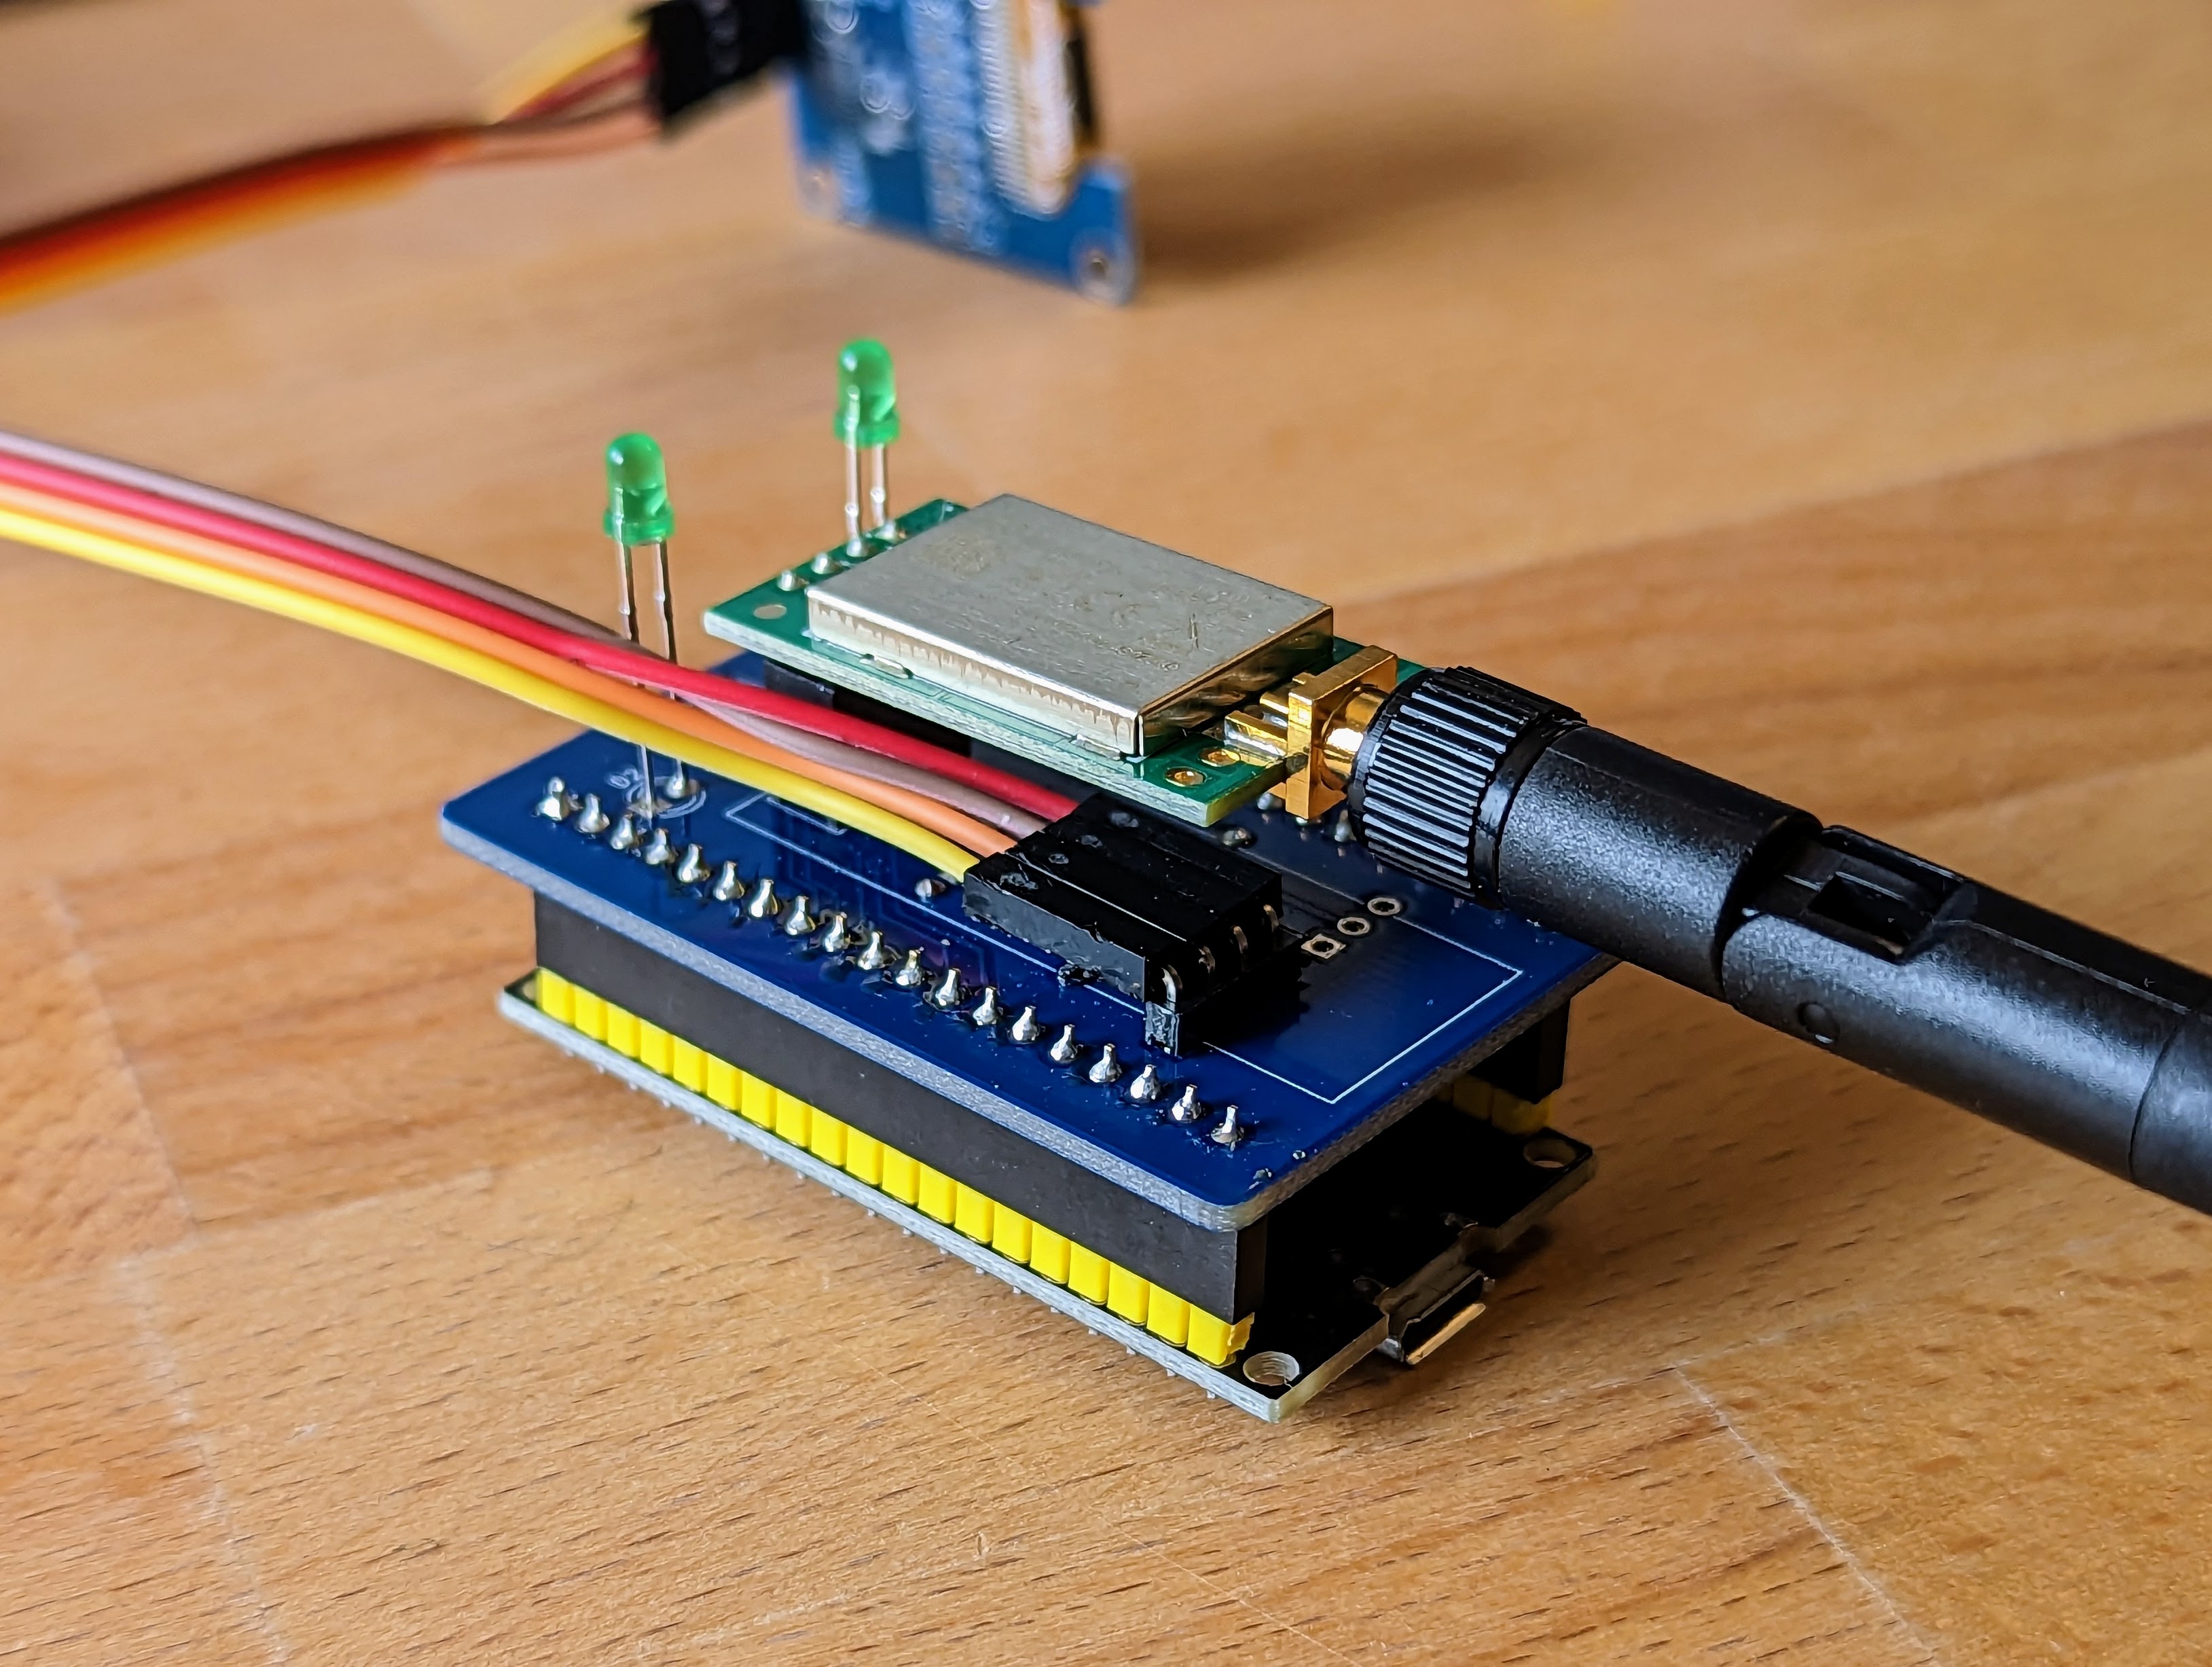
This breakout board is 100% compatible and was created together with the developers of the software. On the board there is a special radio module that speaks the radio standard of the inverters. This is read out by an ESP32 module, processed and can be further processed via WLAN, e.g. with MQTT.

The board also has connections for a display and an RGB LED strip, which may be supported in a future version.

Scope of Delivery

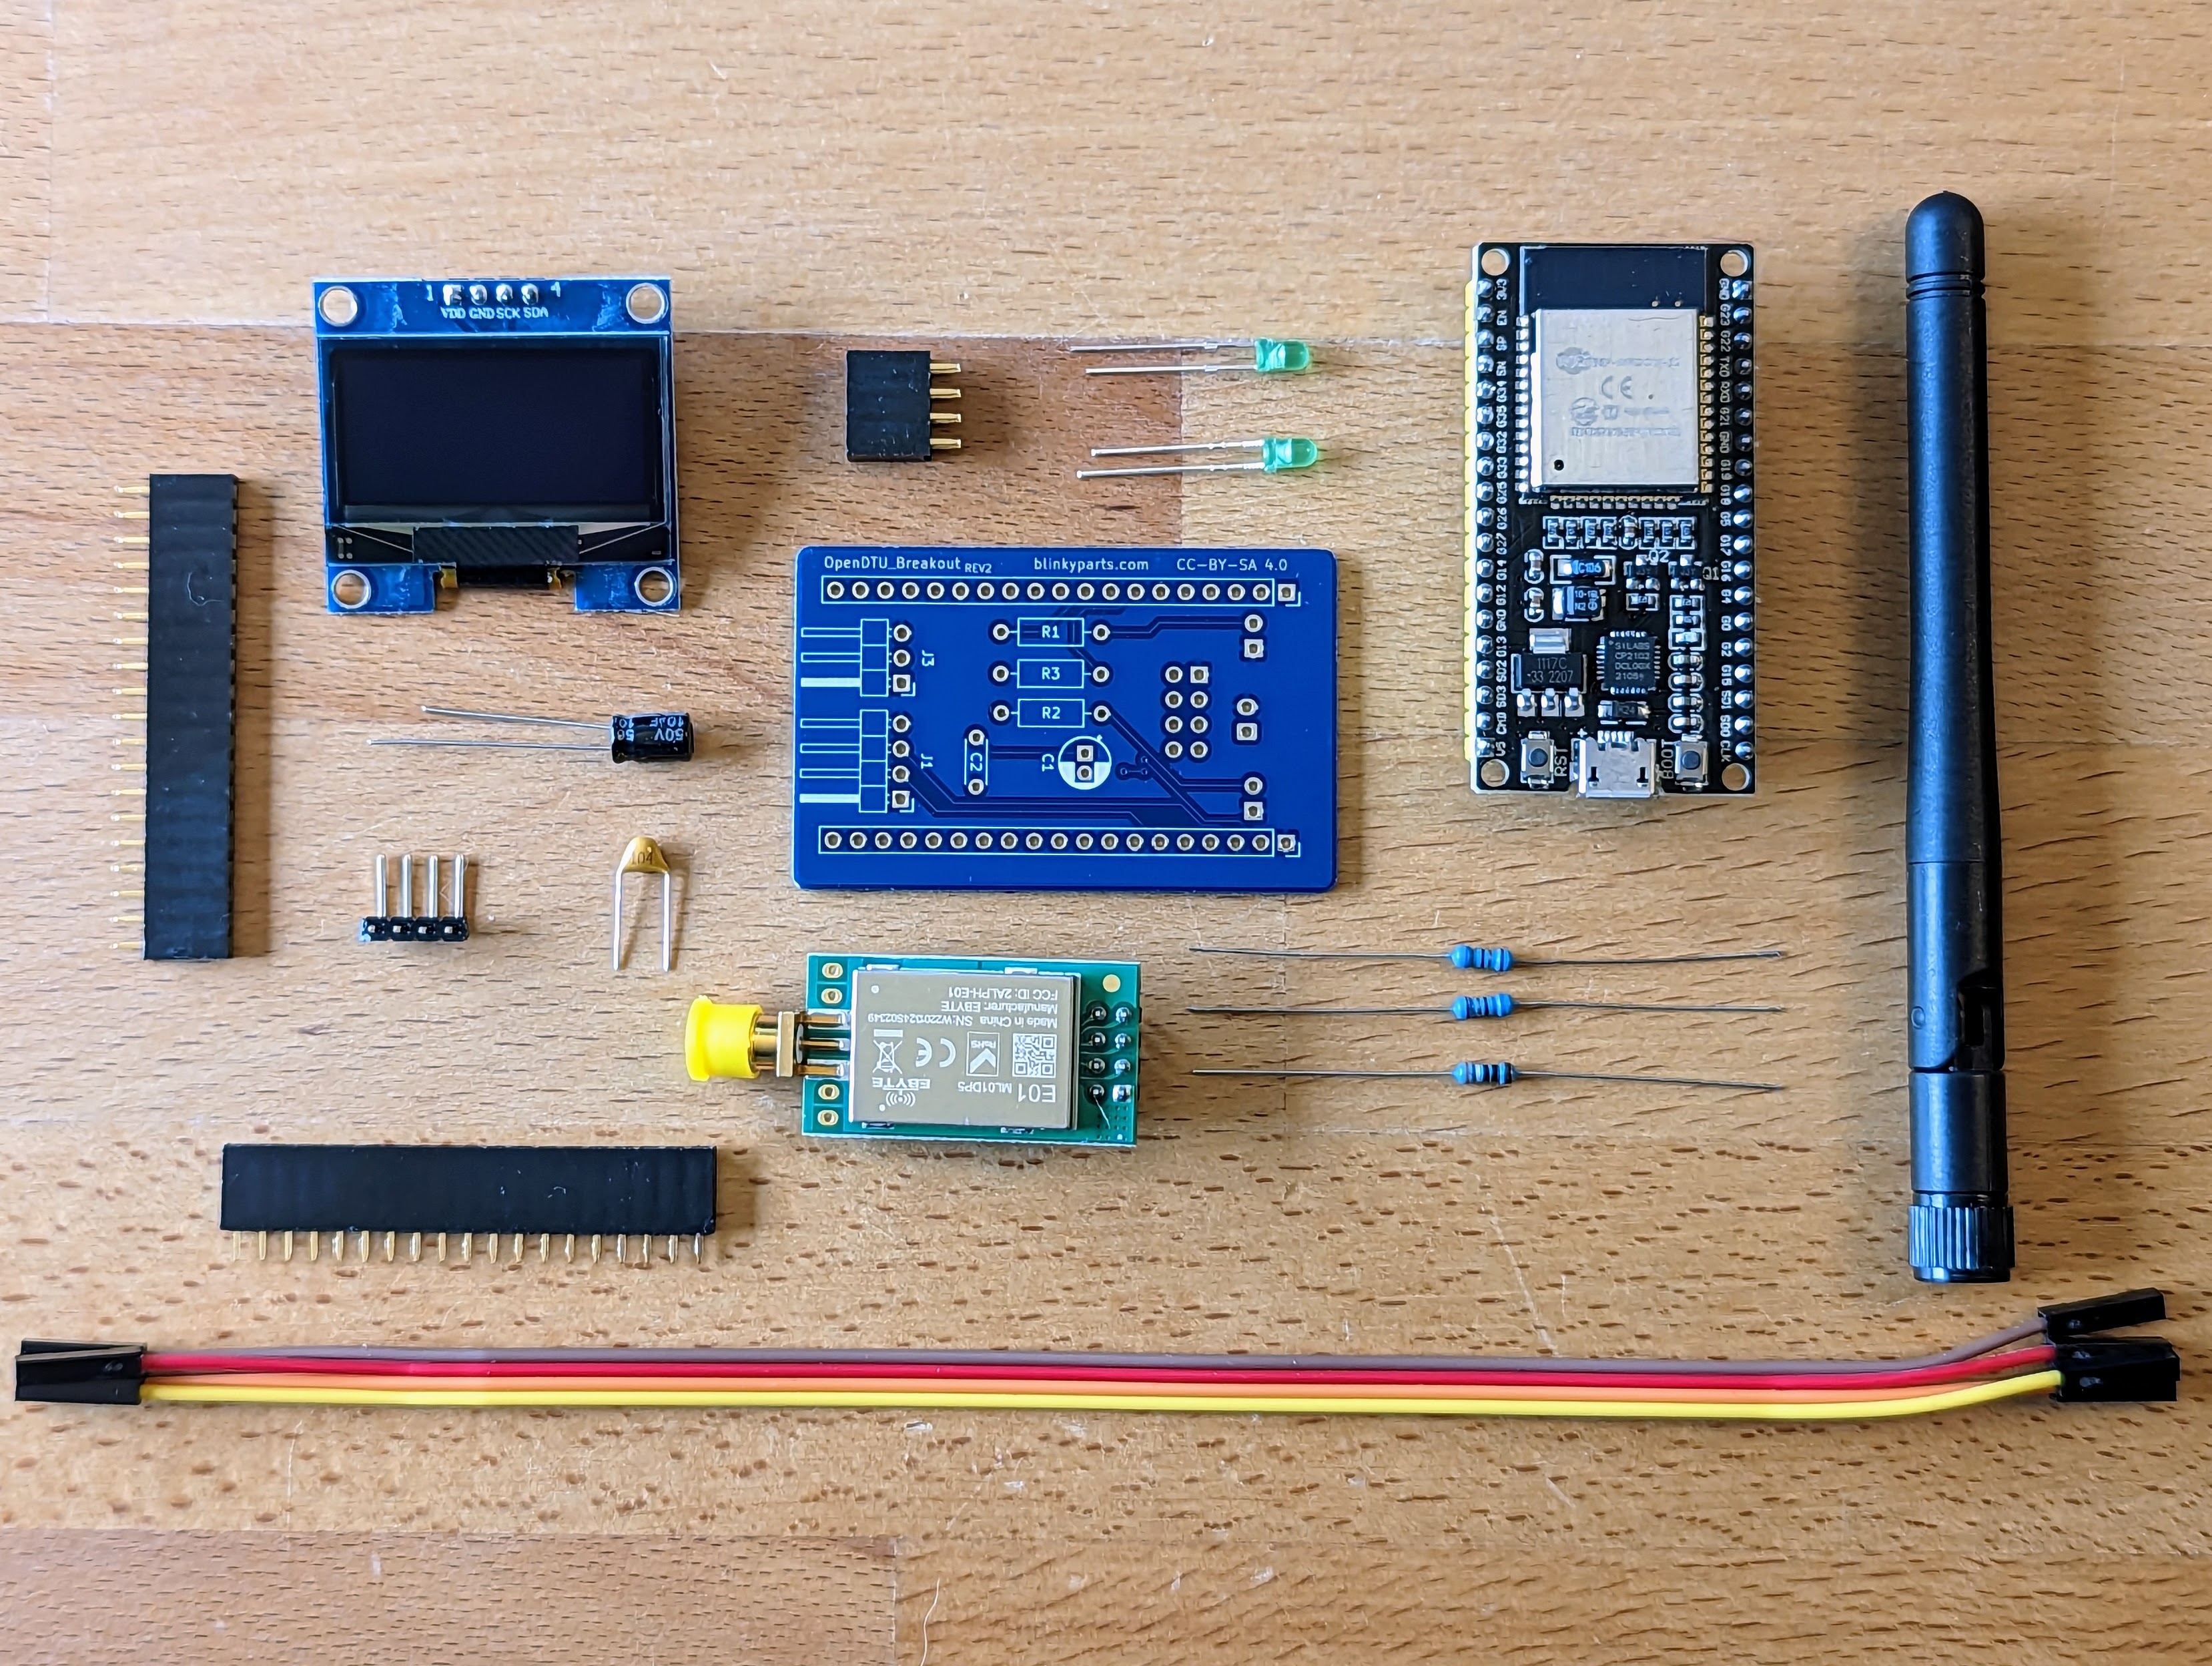
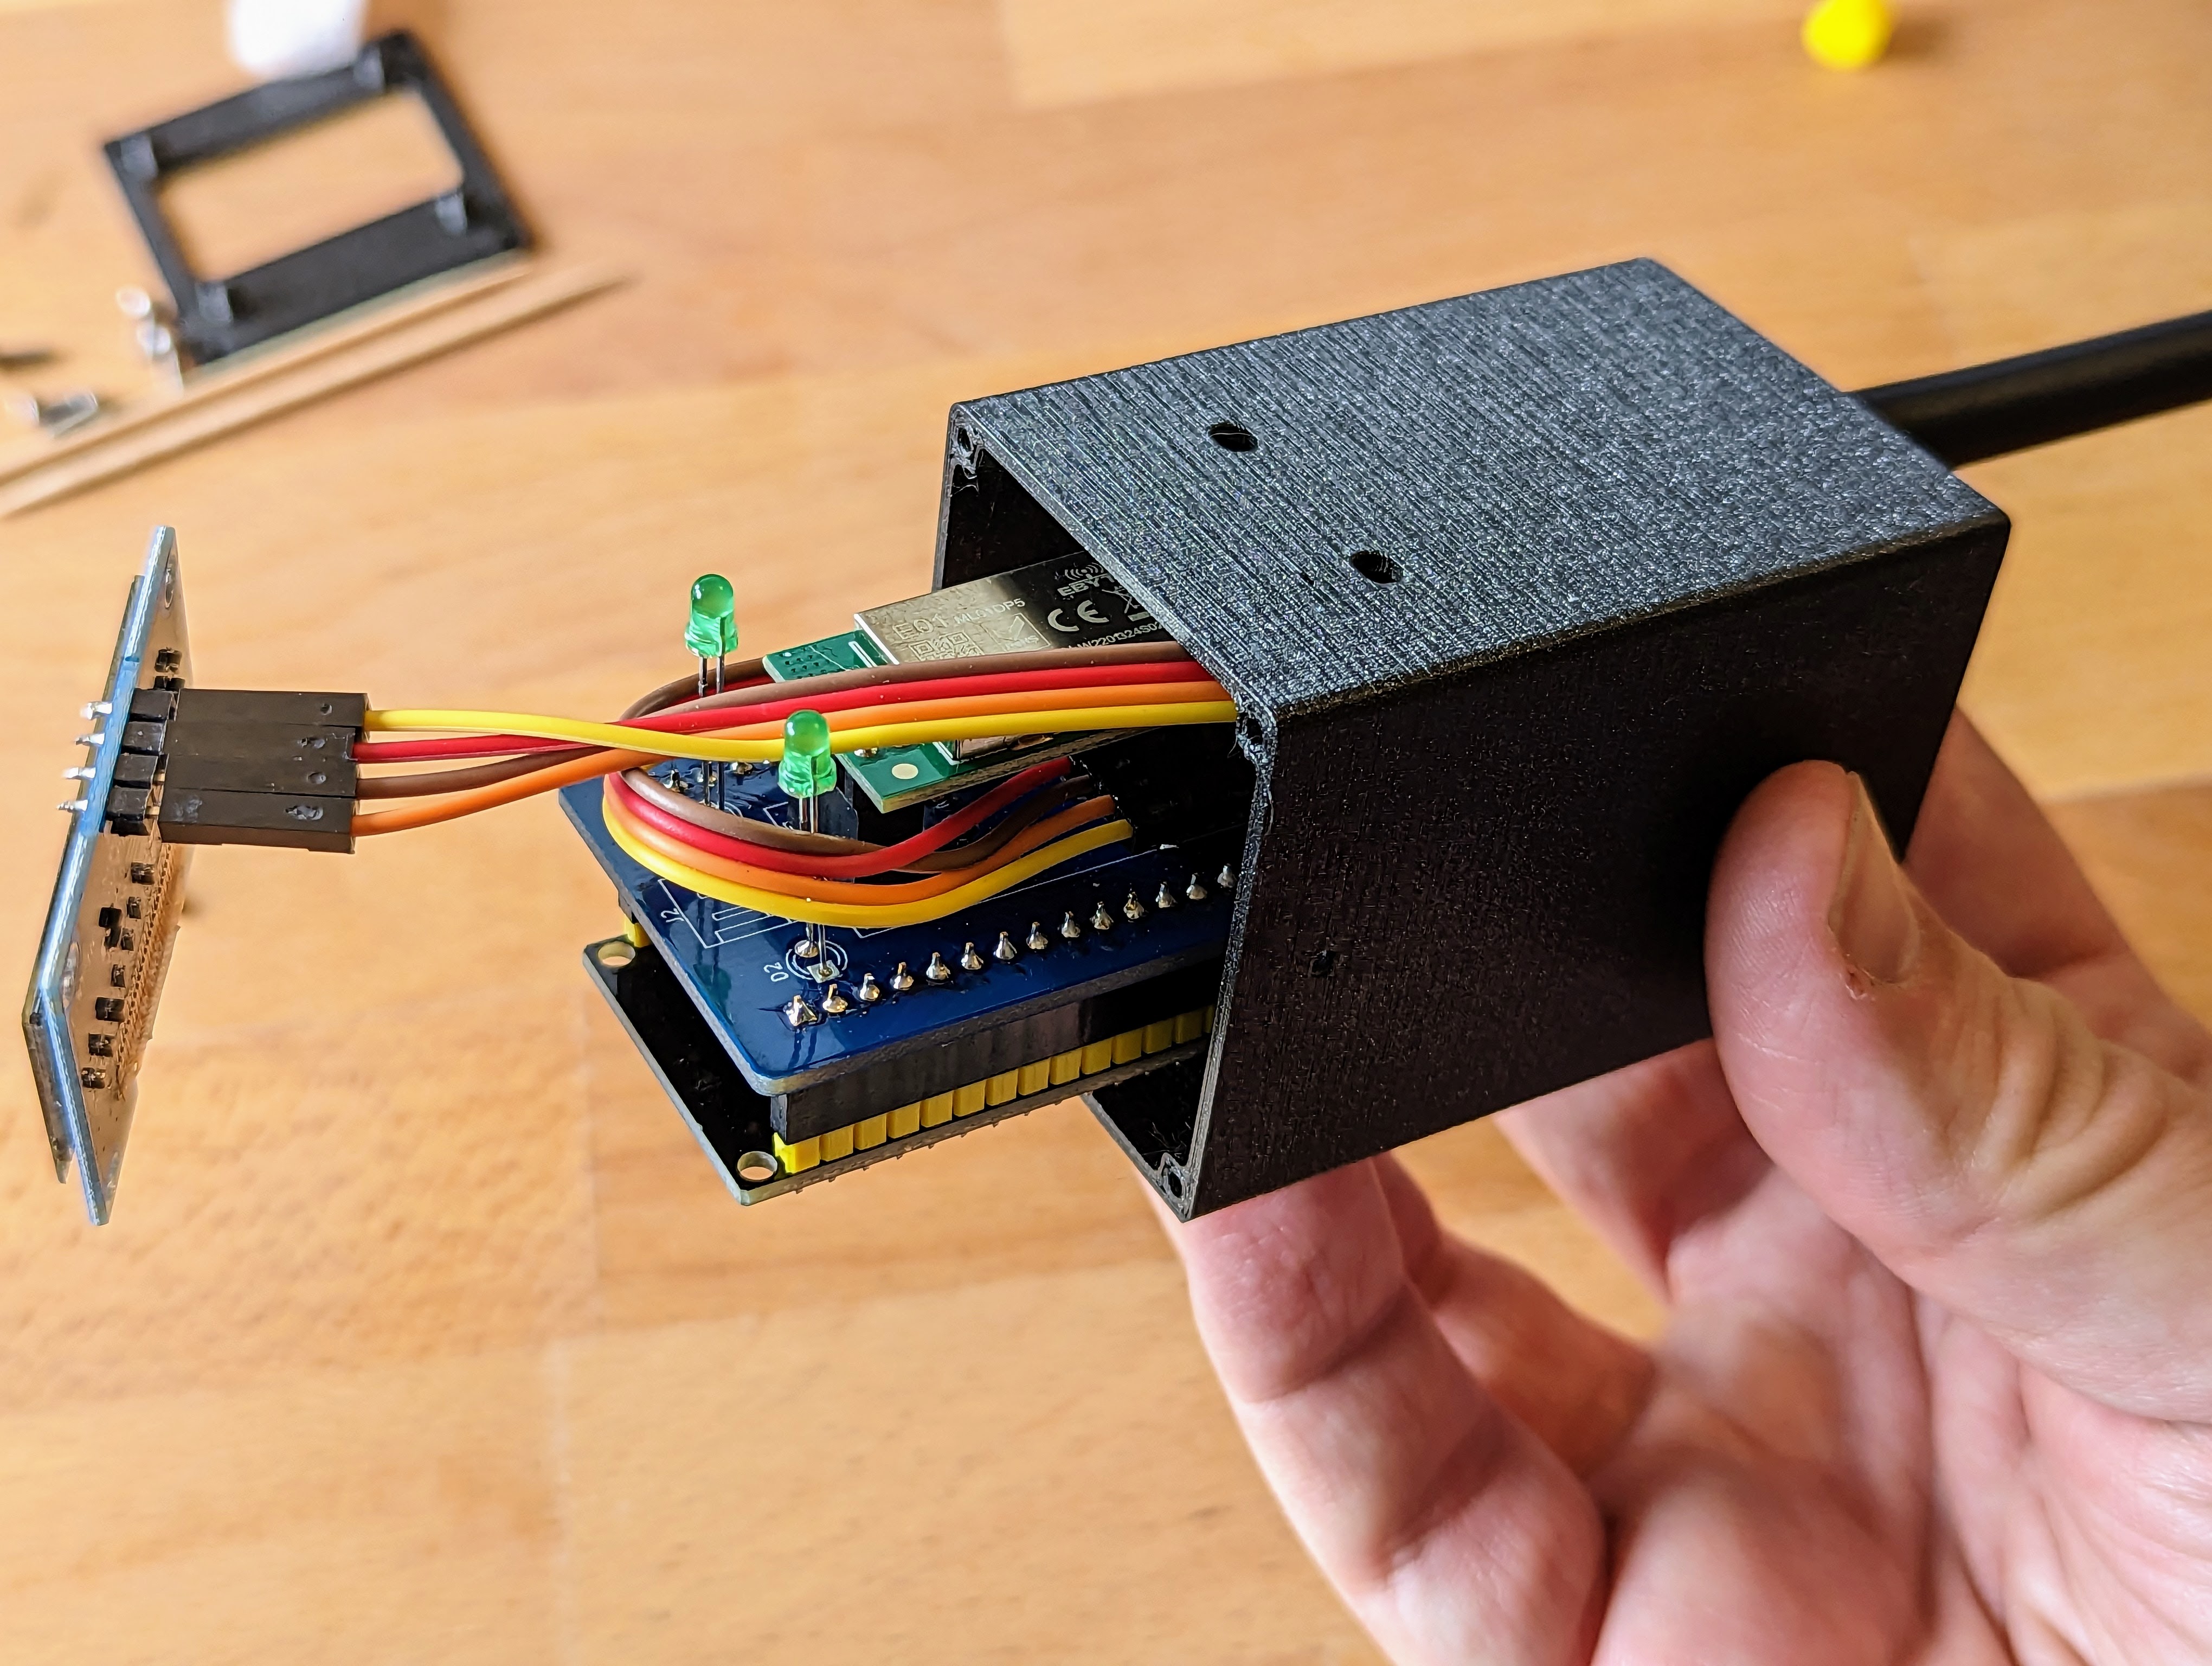
In the scope of delivery, you will receive all the necessary components: a display, an ESP32, and an antenna module. You just need to solder them together and enter your Hoymiles serial number, and you're ready to go! The ESP32 is already pre-flashed.

Compatibility

This kit uses the NRF24L01+ module and is compatible with the following Hoymiles models:

  • Hoymiles HM-300
  • Hoymiles HM-350
  • Hoymiles HM-400
  • Hoymiles HM-600
  • Hoymiles HM-700
  • Hoymiles HM-800
  • Hoymiles HM-1000
  • Hoymiles HM-1200
  • Hoymiles HM-1500
  • Solenso SOL-H350
  • Solenso SOL-H400
  • Solenso SOL-H800
  • TSUN TSOL-M350
  • TSUN TSOL-M800
  • TSUN TSOL-M1600

Features

  • Read out live data from the inverter Display the inverter's internal event log
  • Display inverter information such as firmware version, firmware build date, hardware revision and hardware version
  • View and set the current inverter threshold
  • Power off/on function of the inverter
  • Uses ESP32 microcontroller and NRF24L01+ multi-inverter support
  • MQTT support (with TLS)
  • Home Assistant MQTT Auto Discovery support
  • Beautiful and fancy WebApp with visualisation of current data
  • Firmware upgrade via the Web UI Standard source
  • supports up to 10 inverters
  • Time zone support
  • Prometheus API endpoint (/api/prometheus/metrics)
  • English, German and French web interface
  • Direct connection of displays (SSD1306, SH1106, PCD8544)
  • Dark theme in the web interface

The Housing

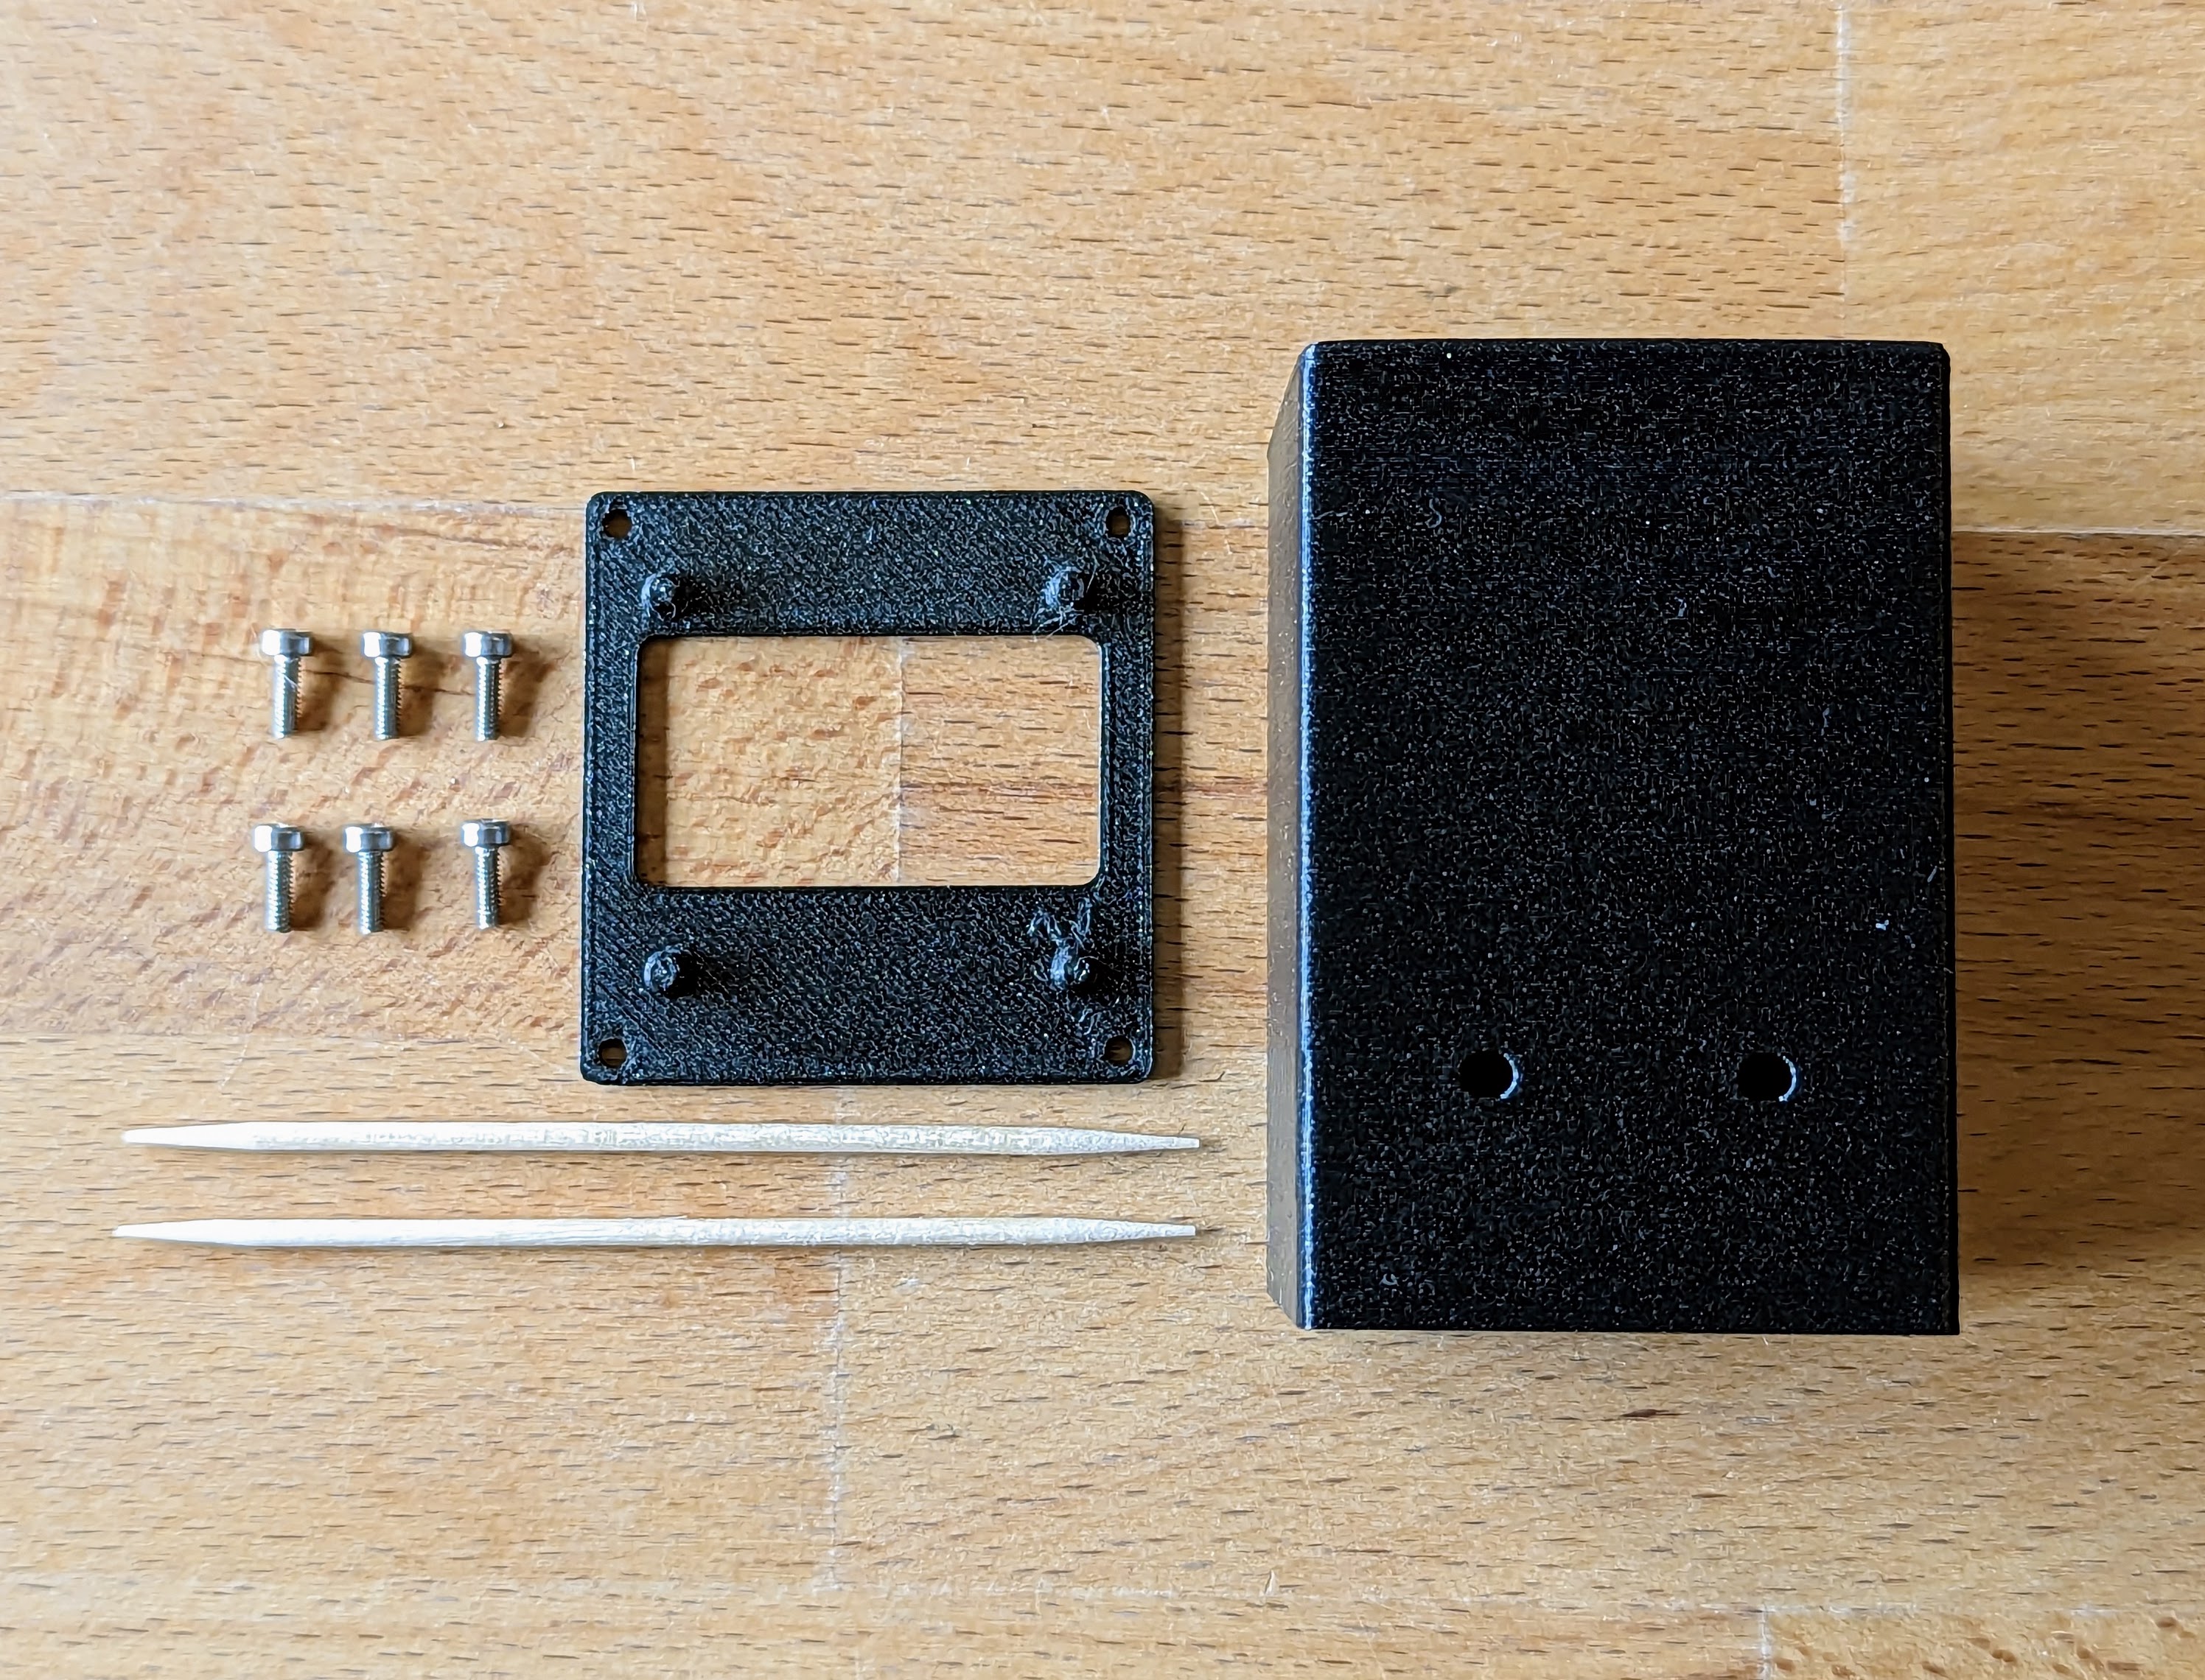
The kit comes with a high-quality 3D printed housing. You can also print it yourself. We have published the files here:https://www.printables.com/de/model/441037-opendtu-breakoutboard-case

Target Group

This kit is designed for all those who have a solar power plant at home and a suitable Hoymiles inverter. Without the inverter and the solar panels the kit is just a nice paperweight with display ;). The electronics kit for soldering is designed for beginners. Relatively large components are used, which make it easy to learn how to solder. This is also possible for absolute beginners in a reasonable time.

Required tools

What the minimum soldering workstation looks like is described here: Der Lötarbeitsplatz
You will also need a micro USB cable and a suitable USB power supply. Two toothpicks are very practical. An electric side cutter is also very useful for this kit :)
 

Instructions and help

To make it easy for you to solder the kit, we have put together detailed instructions with lots of pictures and individual steps for each of our kits. There you will be guided step by step through the assembly and there are many tips and tricks on how to solder correctly. For the majority of our soldering kits there are also interactive circuits with the names of the components and the tracks. All instructions are available in German and English.

The instructions also describe the software part as far as the software is installed, connected to your WLAN and you have set up your inverter. Everything else is self-explanatory in the web interface.

For environmental reasons, we do not print our instructions. It is even better to view them on screen, as you can then zoom into the high-resolution photos to see the details. On each kit you will find a QR code or link to the instructions.

You can find all the instructions as PDF files at the following link: https://binary-kitchen.github.io/SolderingTutorial
Just click on "DE" or "EN" for the right kit and you can download a PDF.

Lovingly packed for you by hand

All soldering kits are lovingly packed for you by hand in Germany. Unfortunately, it happens from time to time that a component is packed too much or too little. If something is too much: No problem! Keep the components and use them for your creations! If something is missing: No problem! Just send us an email and we will send you the missing parts.


Show us your solar system and your OpenDTU evaluation

We at blinkyparts are super excited to hear what your solar system looks like and how/what you did with your OpenDTU kit. Share your photo with us at

  • Twitter/Mastodon: #SolderingConnects
  • Instagram: #SolderingConnects or follow us on @blinkyparts_com

Help others with your feedback

It is often difficult to judge whether a soldering kit is something for you. Help others by giving us a rating, a feedback. How did it work? What equipment did you have? What did you like most about it? What does your solar system do? Just leave a review here on the product page under "Reviews".
Build Time: 1-2 Hours
Difficulty: Easy, Medium
Manual and iteractive board: https://binary-kitchen.github.io/SolderingTutorial/
Target group: Grownup, Nerd

10 of 10 reviews

5 out of 5 stars


100%

0%

0%

0%

0%


Leave a review!

Share your experiences with other customers.


September 24, 2023 11:00

Absolut Top

Nach schneller Lieferung wurde der Bausatz ausgepackt. Einzelteile überprüft, alles vorhanden. Die Bauteile sind in kurzer Zeit problemlos zusammenzulöten. Nachdem alles zusammengsteckt und in das Gehäuse eingebaut war, konnte es über den Micro-USB Anschluß mit Strom versorgt werden. Zunächst zeigt es im Display "offline" an. Nach dem Einrichten der WLAN-Verbindung mittels des Handys funktionierte das Teil aber auf Anhieb. Gelötet habe ich mit einer Lötstation LS 8936 von DayTools. Hier mußte ich wegen der dünnen Lötspitze allerdings eine Temperatur von 450 Grad Celsius einstellen, damit keine kalten Lötverbindungen entstehen. Anschließend sollte die gelötete Platine auf saubere Lötverbindungen und evtl. Lötbrücken unbedingt kontrolliert werden. Hier ist eine Lupe empfehlenswert. Wie die Vorredner bereits geschrieben haben, sind die beiden Leuchtdioden sehr hell. Mich stört es nicht, aber wer will kann hier Vorwiderstände mit einem höheren Wert als die dem Bausatz beiliegenden (R1 und R2) verwenden. Absolut Top Bausatz, der auch für Anfänger problemlos machbar ist. Nachtrag: Die LED`s kann man übrigens auch in den Hardware-Einstellungen abschalten, sodaß nur noch das Display in Betrieb ist. Die beigefügten Inbus-Schrauben M2x6 lassen sich nur sehr streng in das Gehäuse einschrauben. Bei Verwendung eines nicht mehr sehr guten 1,5 mm Inbusschlüssels kann es passieren, daß der Schlüssel beim Einschrauben in den Schraubenköpfen durchdreht. Ich habe deshalb eine gehärtete Inbusschraube M2 (schwarze Ausführung) in die 6 Bohrungen rein- und wieder rausgedreht. Somit war das Gewinde vorgeschnitten und die beigefügten Inbusschrauben ließen sich mühelos festziehen. Wer einen M2 Gewindebohrer hat kann natürlich auch diesen verwenden.


September 23, 2023 13:07

Bonne idée ce kit

Bonne idée ce kit complet qui me permet de voir l’état et le rendement de ma station Sunology City. L’interface web est superbe, félicitations aux développeurs. Fred

August 6, 2023 19:25

Brilliant kit

Excellent way to package the OpenDTU software (which itself is an amazing piece of reverse-engineering). Only up and running for a few days, but already working well with MQTT and HomeAssistant, which seems much more reliable than the Hoymiles hardware (I have had 2 DTU Pro boxes both of which have failed within 6 months of use, hence my order here). Very clear instructions on how to put all the hardware together - and really appreciate the brown paper bag way of packaging with no printed instructions (they are all on this site, so no need for me to print either). All the parts were correct (down to the screws). Having the firmware pre-flashed makes it extremely quick to set up. HomeAssistant configuration was also simple thanks to the options already provided in OpenDTU.

August 6, 2023 08:29

Ein richtig toller Bausatz …

kann ich nur weiterempfehlen. Bekomme jetzt direkt die Werte vom Balkonkraftwerk angezeigt. Die OpenDTU steht auf meinem Schreibtisch und muss nicht mehr in den Garten um die Werte abzulesen. Das Ganze hat mir so gut gefallen das ich testweise eine Integration in „Home Assistant“ gemacht habe. Daumen hoch. Zu zwei Punkten schließe ich mich den Vorrednern an was ich auch geändert habe. 4 kleine Klebepads als Gerätefüßchen und die LED-Vorwiederstände. In meiner Bastelkiste hatte ich noch 2k Widerstände. Die Helligkeit ist so vollkommend ausreichend.

July 2, 2023 10:19

Energiewende sichtbar gemacht

Tolles kleines Modul, um den Fortschritt der eigenen Energiewende dokumentieren zu können. Hab bereits ein zweites Modul gekauft für Balkonsolar im Freundeskreis. Einfach und schnell zusammen gelötet, vor allem wenn man Erfahrung mitbringt. Anfänger könnten sich zuvor mit einem der einfacheren Bausätze versuchen, das klappt dann schon 😀. Die Online-Anleitung ist sehr gut verständlich. Den Wert der Vorwiderstände für die LED würde ich auch nachträglich erhöhen, um die Leuchtkraft etwas zu verringern. Und Gummipuffer an die Unterseite. Aber ansonsten eine tolle und vor allem günstige Alternativ zur Hoymiles DTU. Keine Daten verlassen so das eigene Netzwerk. So muss es sein.

June 30, 2023 18:50

easy to build up

Order came in about a week to Slovenia. Soldering and setup is pretty easy.

June 29, 2023 20:13

Ein Bausatz der neben Infos auch Spaß bringt ...

Zunächst zwei kleine Verbesserungsvorschläge - wobei das schon Jammern auf hohem Niveau ist: Die LEDs bräuchten tatsächlich nicht so hell leuchten, wie bereits ein Vorredner schrieb - vielleicht in Zukunft serienmäßig einen stärkeren Widerstand beilegen? Ansonsten habe ich selber noch kleine Gummidämpfer ergänzt, damit die Belüftung noch besser gelingt. Fazit: Ein wirklich toller Bausatz, der so richtig zum selber Montieren und Löten einlädt. Vor allem letzteres darf man dann auch ein wenig Üben oder Auffrischen. Dank der tollen Anleitung gelingt die Montage schnell. Mir gefällt auch das charmante Gehäuse. Und wenn das Problem mal vor dem Lötkolben sitzt, ist der super schnelle und tolle Service eine echte Empfehlung. Das wird nicht mein letzter Bausatz aus Regensburg gewesen sein. Auch die Spende der Gewinne an gemeinnützige Vereine gefällt.

June 24, 2023 14:11

OpenDTU

Der Bau hat Spaß gemacht! Die Schritt-für Schritt-Anleitung ist Spitze, alle Bauabschnitte sind eindeutig erklärt. Auch die Einrichtung der schon vorinstallierten Software gelingt nach der Anleitung problemlos. Jetzt kann ich die Einspeisung vom Balkonkraftwerk jederzeit am Display oder über die Weboberfläche am Handy oder PC ablesen. Noch zwei kleine Ergänzungen/Änderungsvorschläge: Ich habe die LED-Vorwiderstände R1/R2 von 68 Ohm auf 2,2kOhm vergrößert, damit sind die beiden LEDs nicht mehr so grell. Außerdem habe ich 4 kleine Klebepads als Füßchen unter das Gehäuse geklebt. So sind die unteren Lüftungsöffnungen frei und das Gerät steht sicherer.

June 6, 2023 15:55

Quick to build and setup.

The order was delivered within a week to the Netherlands. All parts were eco friendly packaged in paper bags within a carton envelope. Some fun stickers were added as a bonus, including a few howto's on soldering. The build itself is not wildly difficult if you can solder standard through hole components. The housing is 3d printed and fits the stacked pcbs with a slide-in. There is a pdf with a clear and well worked out manual on how to assemble the product. Stick to it and you'll have a brease. In this pdf there's a quick setup manual. A more elaborate database of info on the functions is available. The setup is straight forward and easy to follow and in a few minutes you are reading out your hoymiles inverters. The software is a work in progress and more functionality might come available, but as it is now, I am 100% a happy costumer. Thanks for this awesome product!

June 3, 2023 16:12

Daten Daten Daten…

Feiner kleiner Bausatz! Während die Eule im ersten Moment größer als erwartet war ist es hier genau umgekehrt. Das Gehäuse ist kleiner als ich dachte, macht aber überhaupt nichts. Ebenso war ich am Anfang über die geringe Helligkeit des Displays überrascht, dann habe ich aber nach der Inbetriebnahme das entsprechende Menü auf der Web-Oberfläche gefunden und konnte es heller machen. Den Bausatz habe ich in der Mittagspause fertig gemacht, alles gut beschrieben und läuft!

Weitere Blinke-Bausätze

LED Cube - A colorful LED 3D cube with 27 colorful glowing LEDs
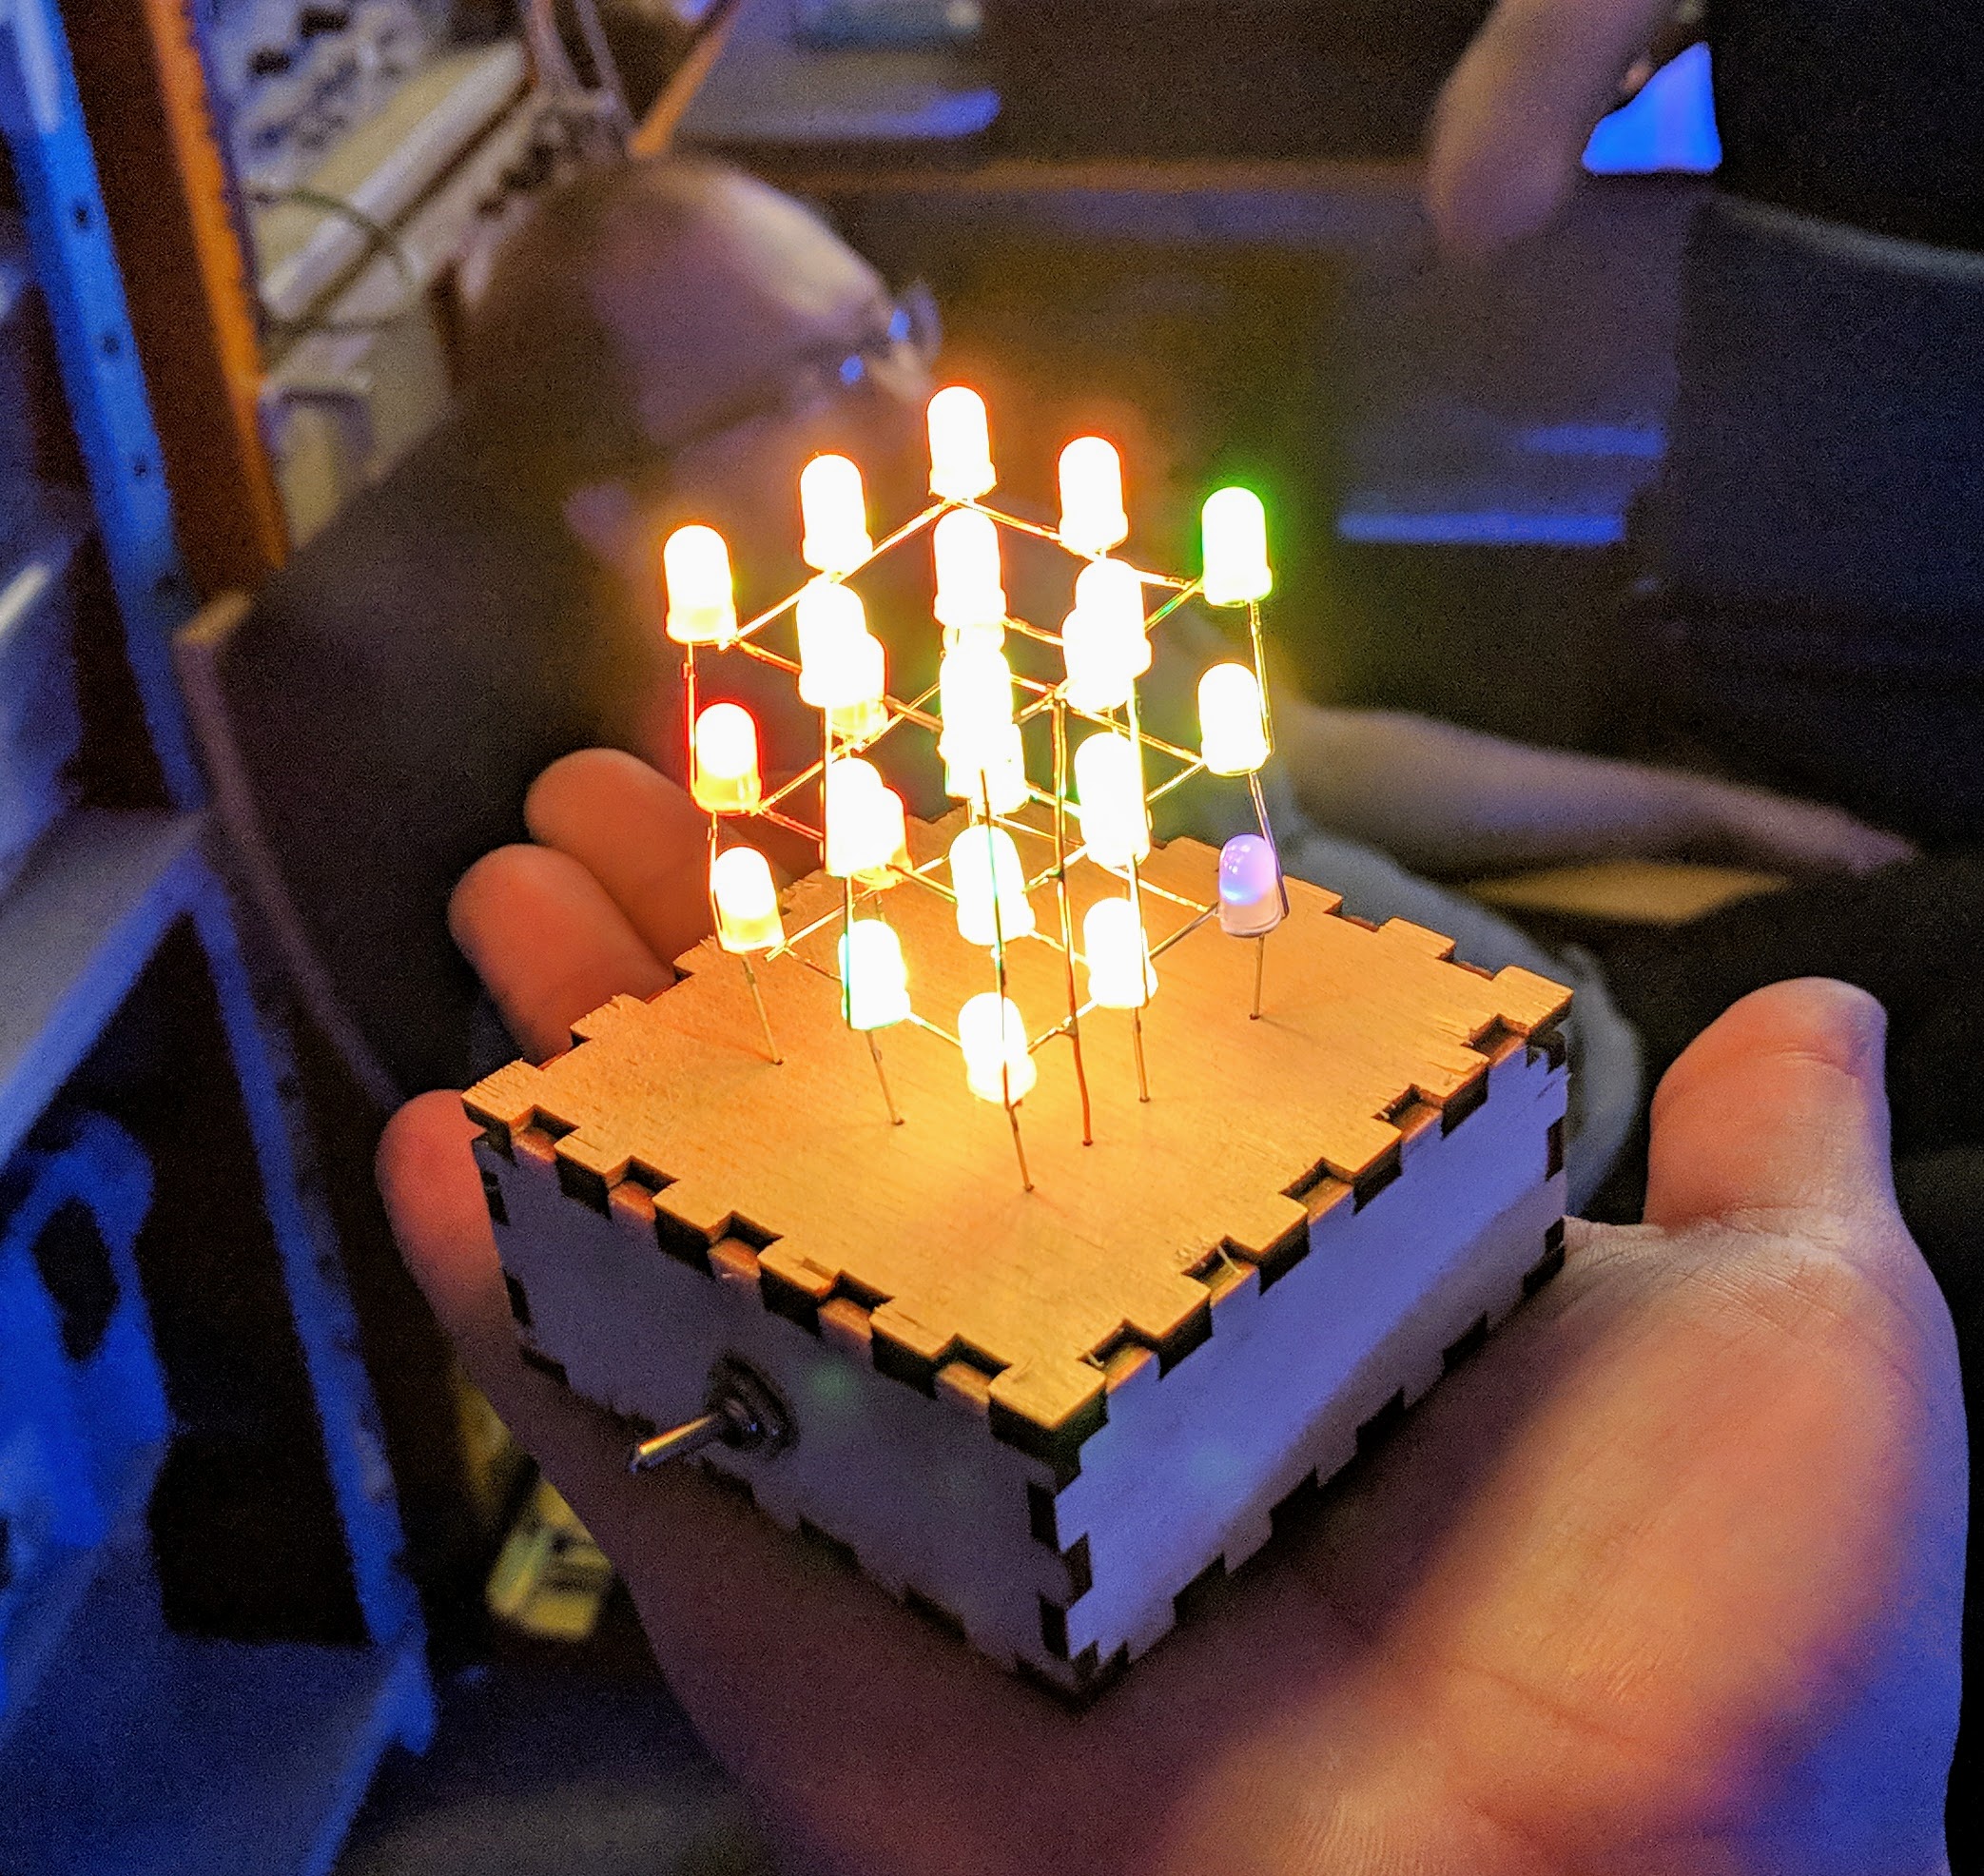
This kit consists of 27 LEDs a simple circuit and a nice wooden box to hide the battery. First you solder a simple LED 3D cube with 3x3x3 LEDs. The total of 27 LEDs shine in bright colors. The box with a power switch and a battery holder for AA looks very good on the desk.No programming knowledge is needed, just a little soldering skill. After that, the LEDs shine independently in all colors of the rainbow.

€11.49*
Nibble Peg - Very simple kit with 4 LEDs
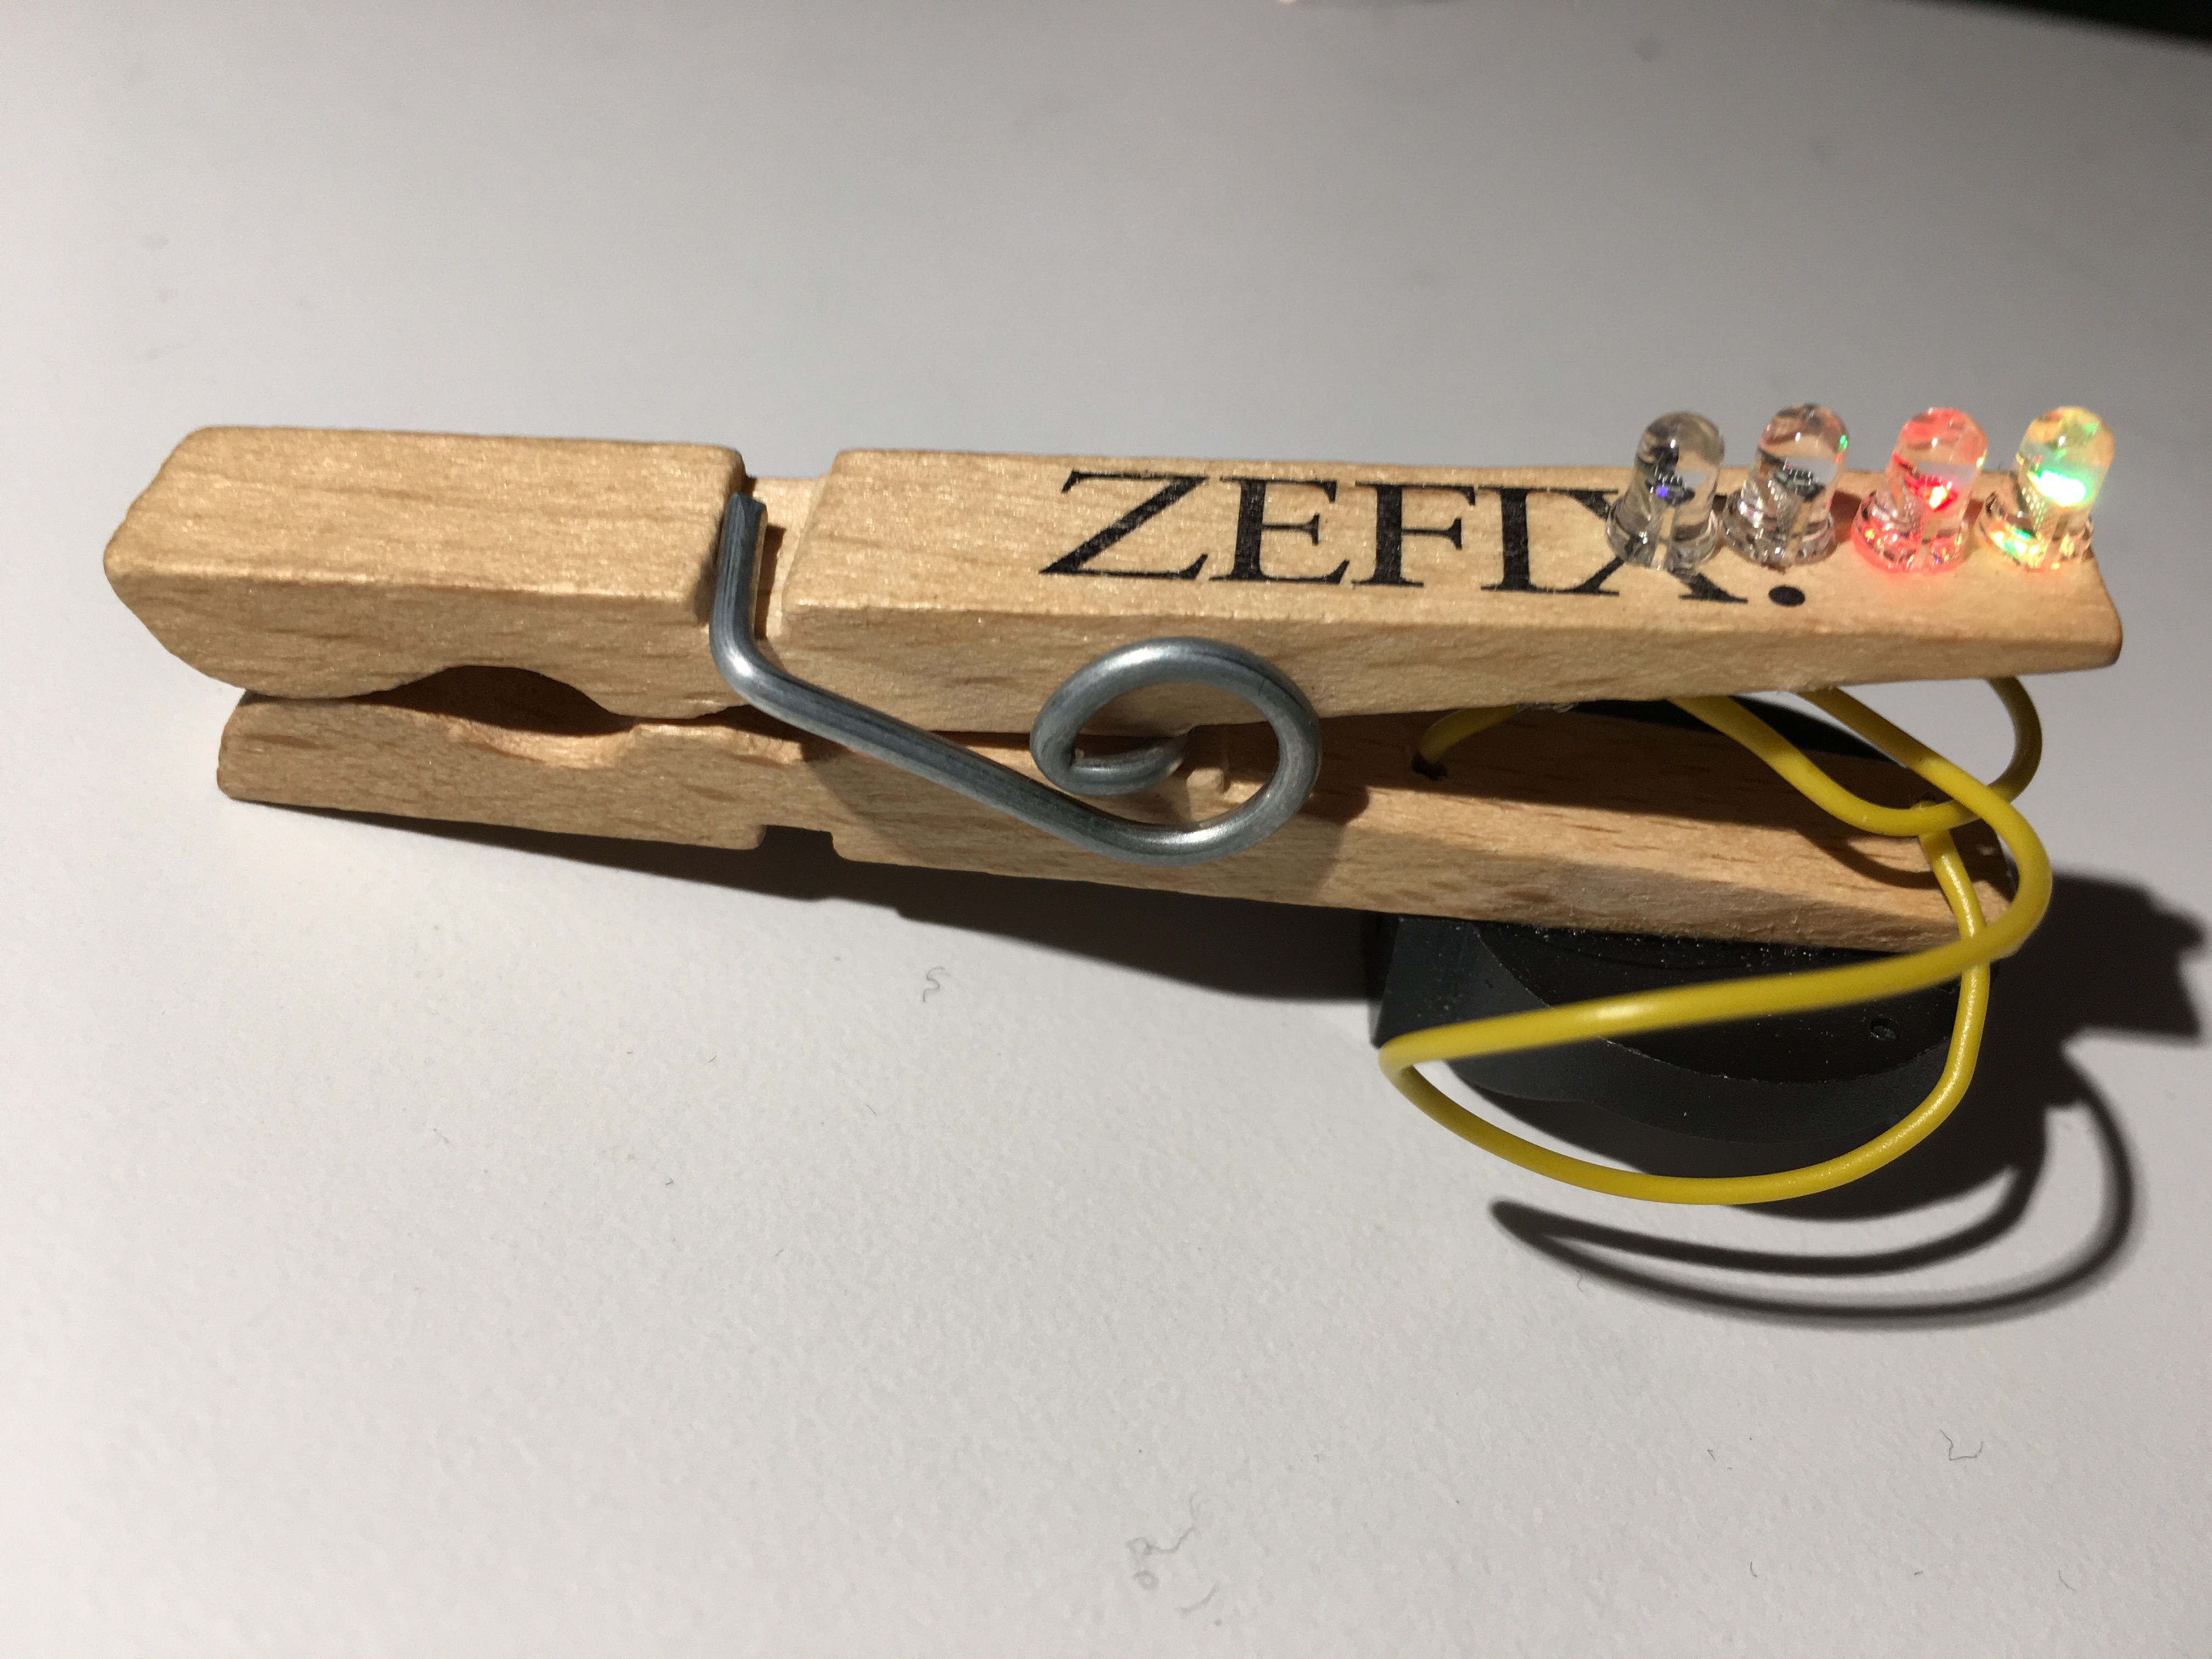
A very simple soldering kit with four LEDs. The four LEDs are connected with a few wires to a battery holder. As soon as a battery is inserted, the LEDs light up in all colors of the rainbow. Thanks to the clothespin, you can easily attach the artwork afterwards. No big soldering skills are needed for this kit. It is really ideal even for children and teenagers.The name comes from the unit "Nibble". A nibble is a unit for four bits (half a byte).

€2.23*
Kitchenkopf with SMD - A medium hard kit with SMD to hang around your neck
The Kitchenhead kit is ideal for learning SMD soldering. The Kitchenkopf kit has 21 SMD LEDs on the board that light up in different animations and display the logo of the Hackspace Binary Kitchen e.V..The animation is made possible with a microcontroller, which is already pre-programmed with the kit.With this SMD kit, first steps with SMD soldering can be made. SMD components of the size 0805 are used. In the SMD world this is relatively large. Because of the size and the components used you will have longer fun with the kit and can thus learn new skills of SMD soldering.

€7.99*
Dice with logic circuits - A medium dice kit ideal for beginners and experienced students
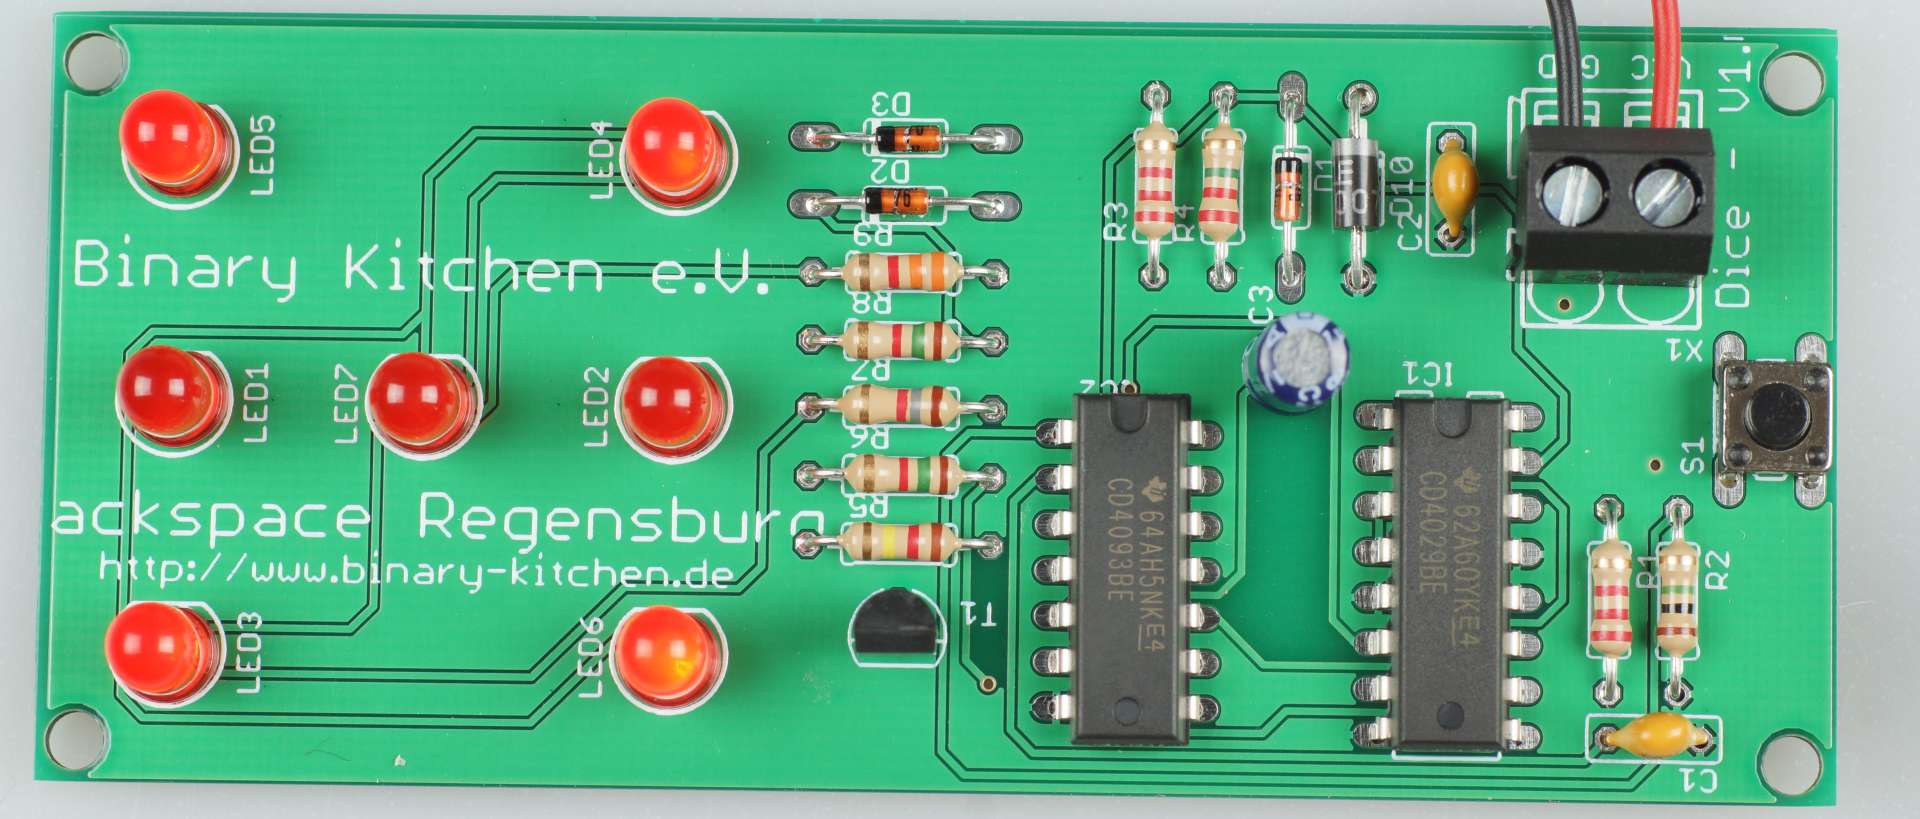
This kit is a simple dice to play with.The 7 LEDs a randomized number between 1 and 6 after pressing the button. The randomness is made possible by a great analog circuit.The kit is ideal for beginners and advanced players, because no programming is necessary and many different components must be installed. Through a more extensive kit, many soldering skills can be learned playfully.

€6.99*