€39.62*
% €44.02* (10% saved)Available, delivery time: 1-3 days
Product information "OpenDTU CMT - Your evaluation for your balcony solar system compatible to Hoymiles HMS and HMT series (CMT module)"
Pre-soldered CMT module (optional)
We have heard your feedback and have realised that SMD soldering is probably not for everyone. We have therefore decided to offer the module pre-soldered. Only the CMT module (the silver chip) is soldered on. The pin header and antenna module are much easier to solder and still need to be soldered by you.
We actually solder this by hand, so unfortunately we have to charge a little more to justify the extra work. We hope for your understanding here.
NEW - Fully assembled OpenDTU (optional)
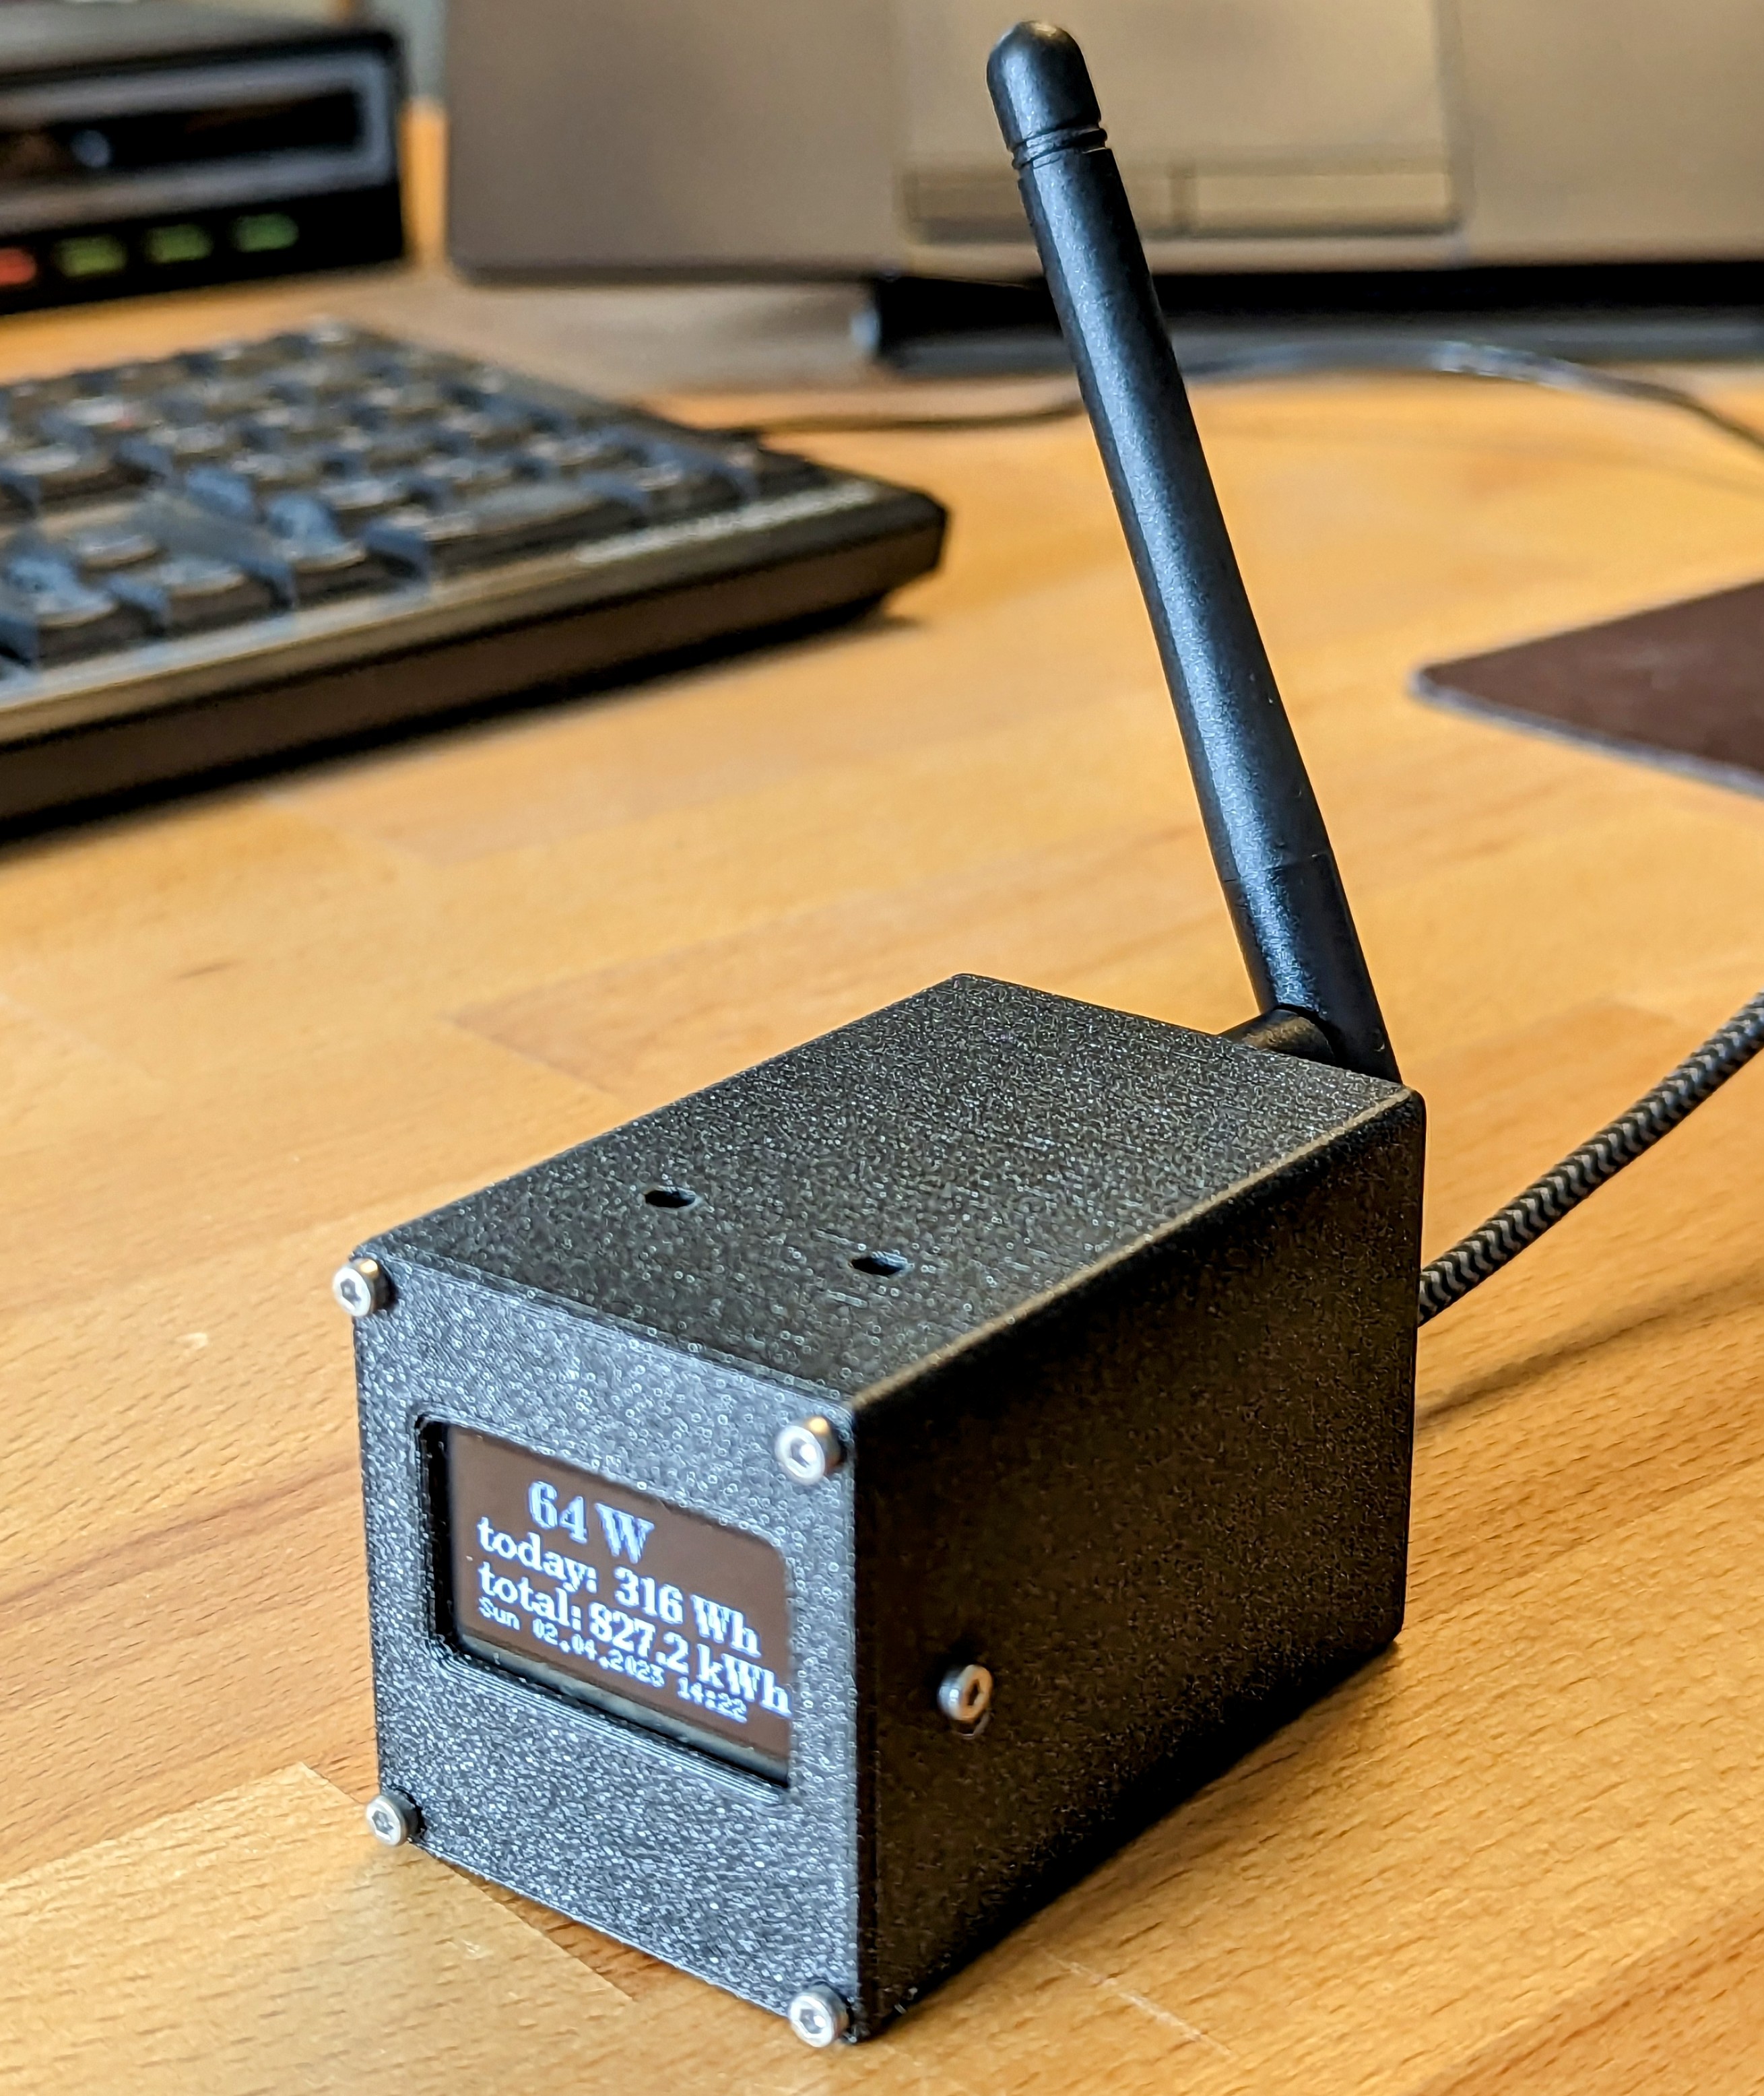
Due to the frequent requests, we have now also decided to offer you a fully pre-soldered and assembled DTU. It will be ready to go when it arrives. All you have to do is log in to your OpenDTU, connect it to the Wi-Fi and then add your inverter. Please follow the instructions from step 20 onwards.
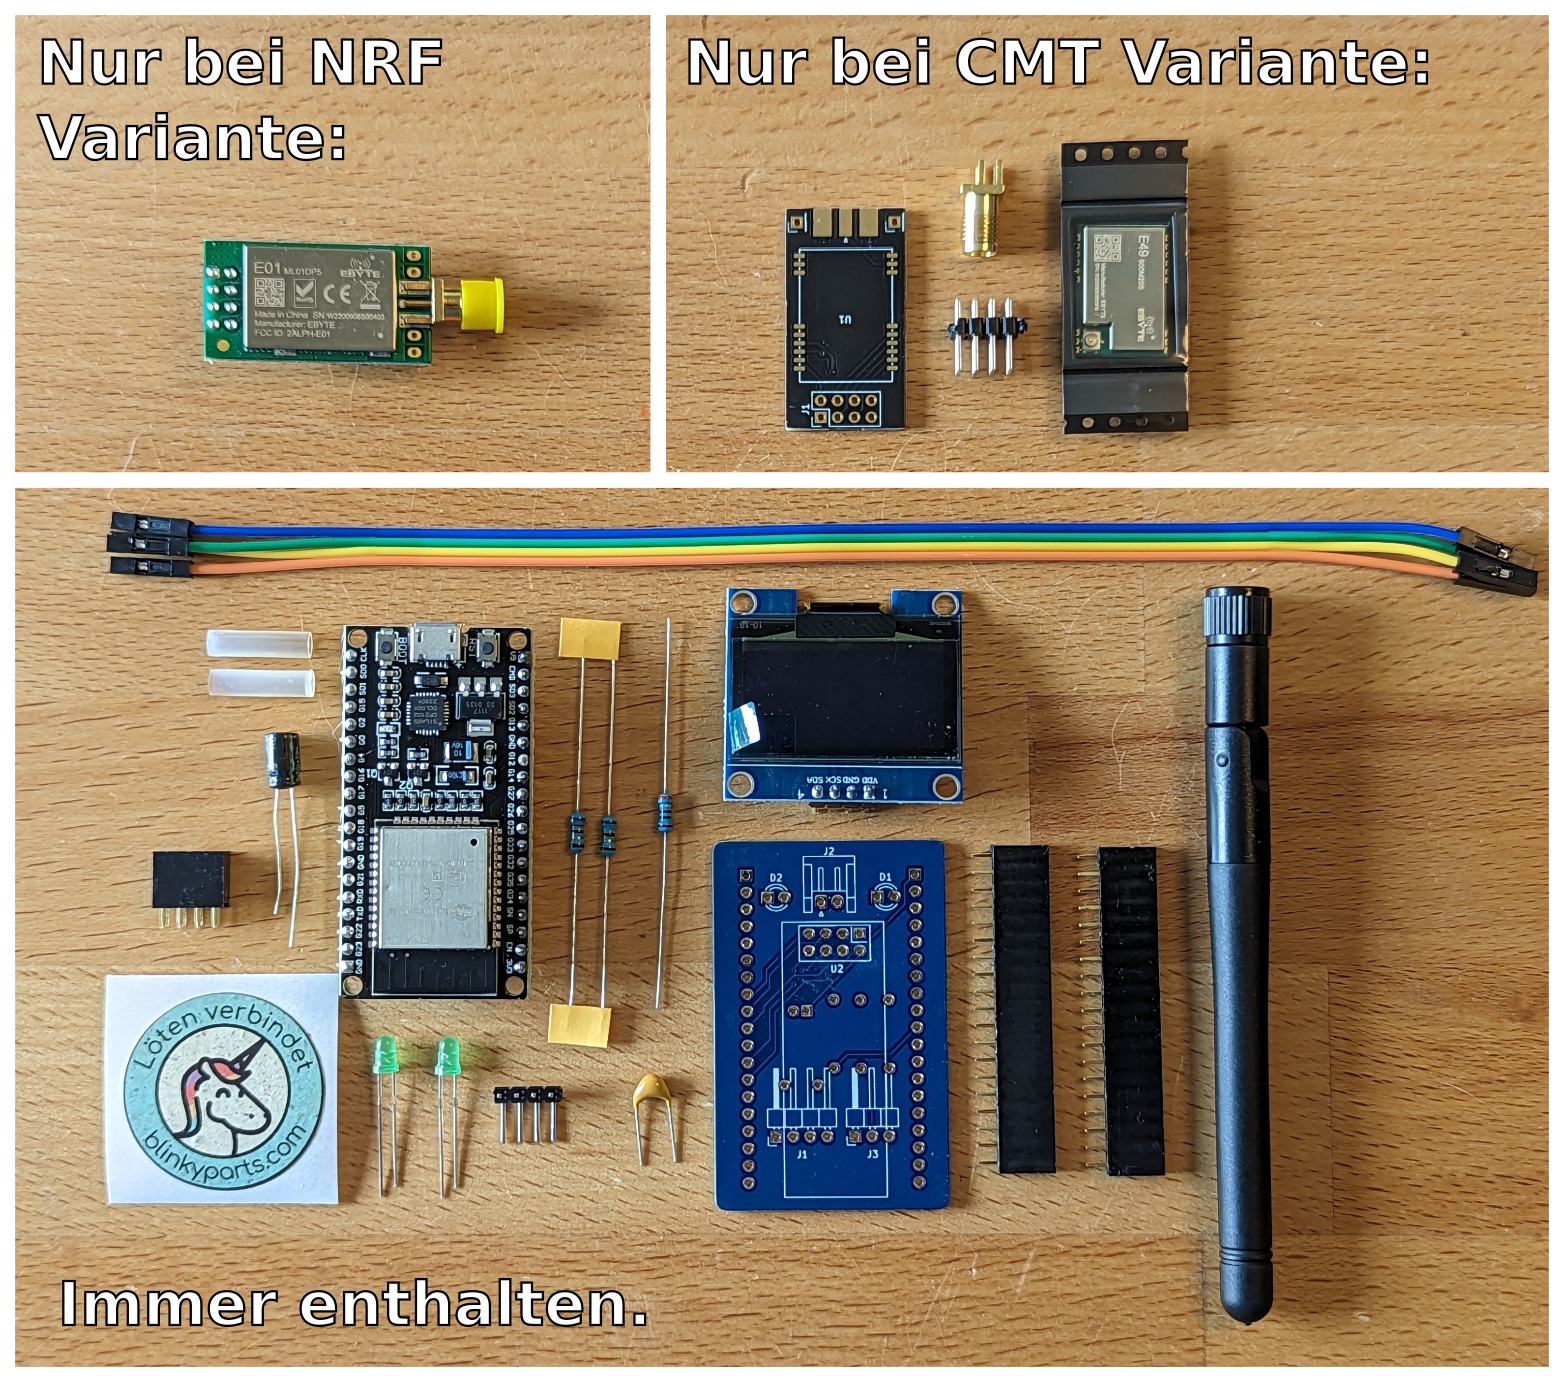
Scope of Delivery
Kompatiblität
- Hoymiles HMS-300-1T
- Hoymiles HMS-350-1T
- Hoymiles HMS-400-1T
- Hoymiles HMS-450-1T
- Hoymiles HMS-500-1T
- Hoymiles HMS-600-2T
- Hoymiles HMS-700-2T
- Hoymiles HMS-800-2T
- Hoymiles HMS-900-2T
- Hoymiles HMS-1000-2T
- Hoymiles HMS-1600-4T
- Hoymiles HMS-1800-4T
- Hoymiles HMS-2000-4T
- Hoymiles HMT-1600-4T
- Hoymiles HMT-1800-4T
- Hoymiles HMT-2000-4T
- Hoymiles HMT-1800-6T
- Hoymiles HMT-2250-6T
Features
- Read out live data from the inverter Display the inverter's internal event log
- Display inverter information such as firmware version, firmware build date, hardware revision and hardware version
- View and set the current inverter threshold
- Power off/on function of the inverter
- Uses ESP32 microcontroller and NRF24L01+ multi-inverter support
- MQTT support (with TLS)
- Home Assistant MQTT Auto Discovery support
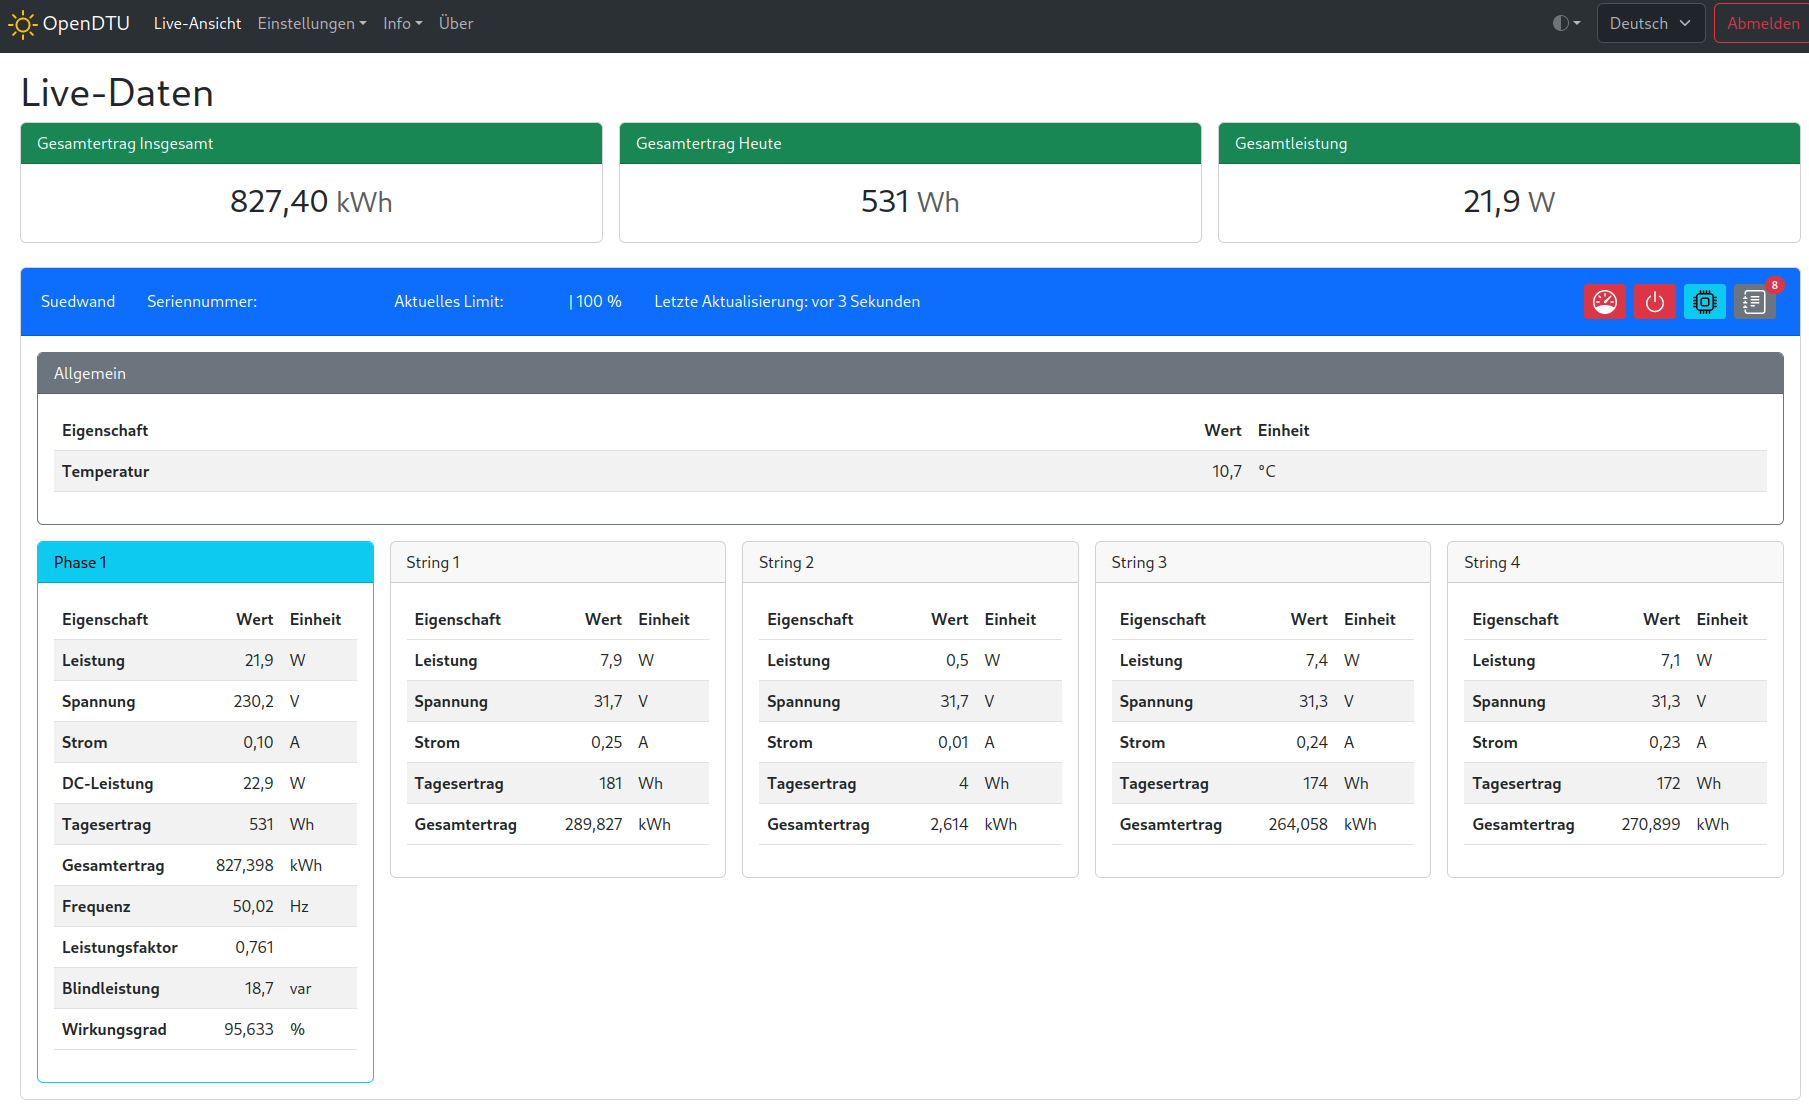
- Beautiful and fancy WebApp with visualisation of current data
- Firmware upgrade via the Web UI
Standard source
- supports up to 10 inverters
- Time zone support
- Prometheus API endpoint (/api/prometheus/metrics)
- English, German and French web interface
- Direct connection of displays (SSD1306, SH1106, PCD8544)
- Dark theme in the web interface
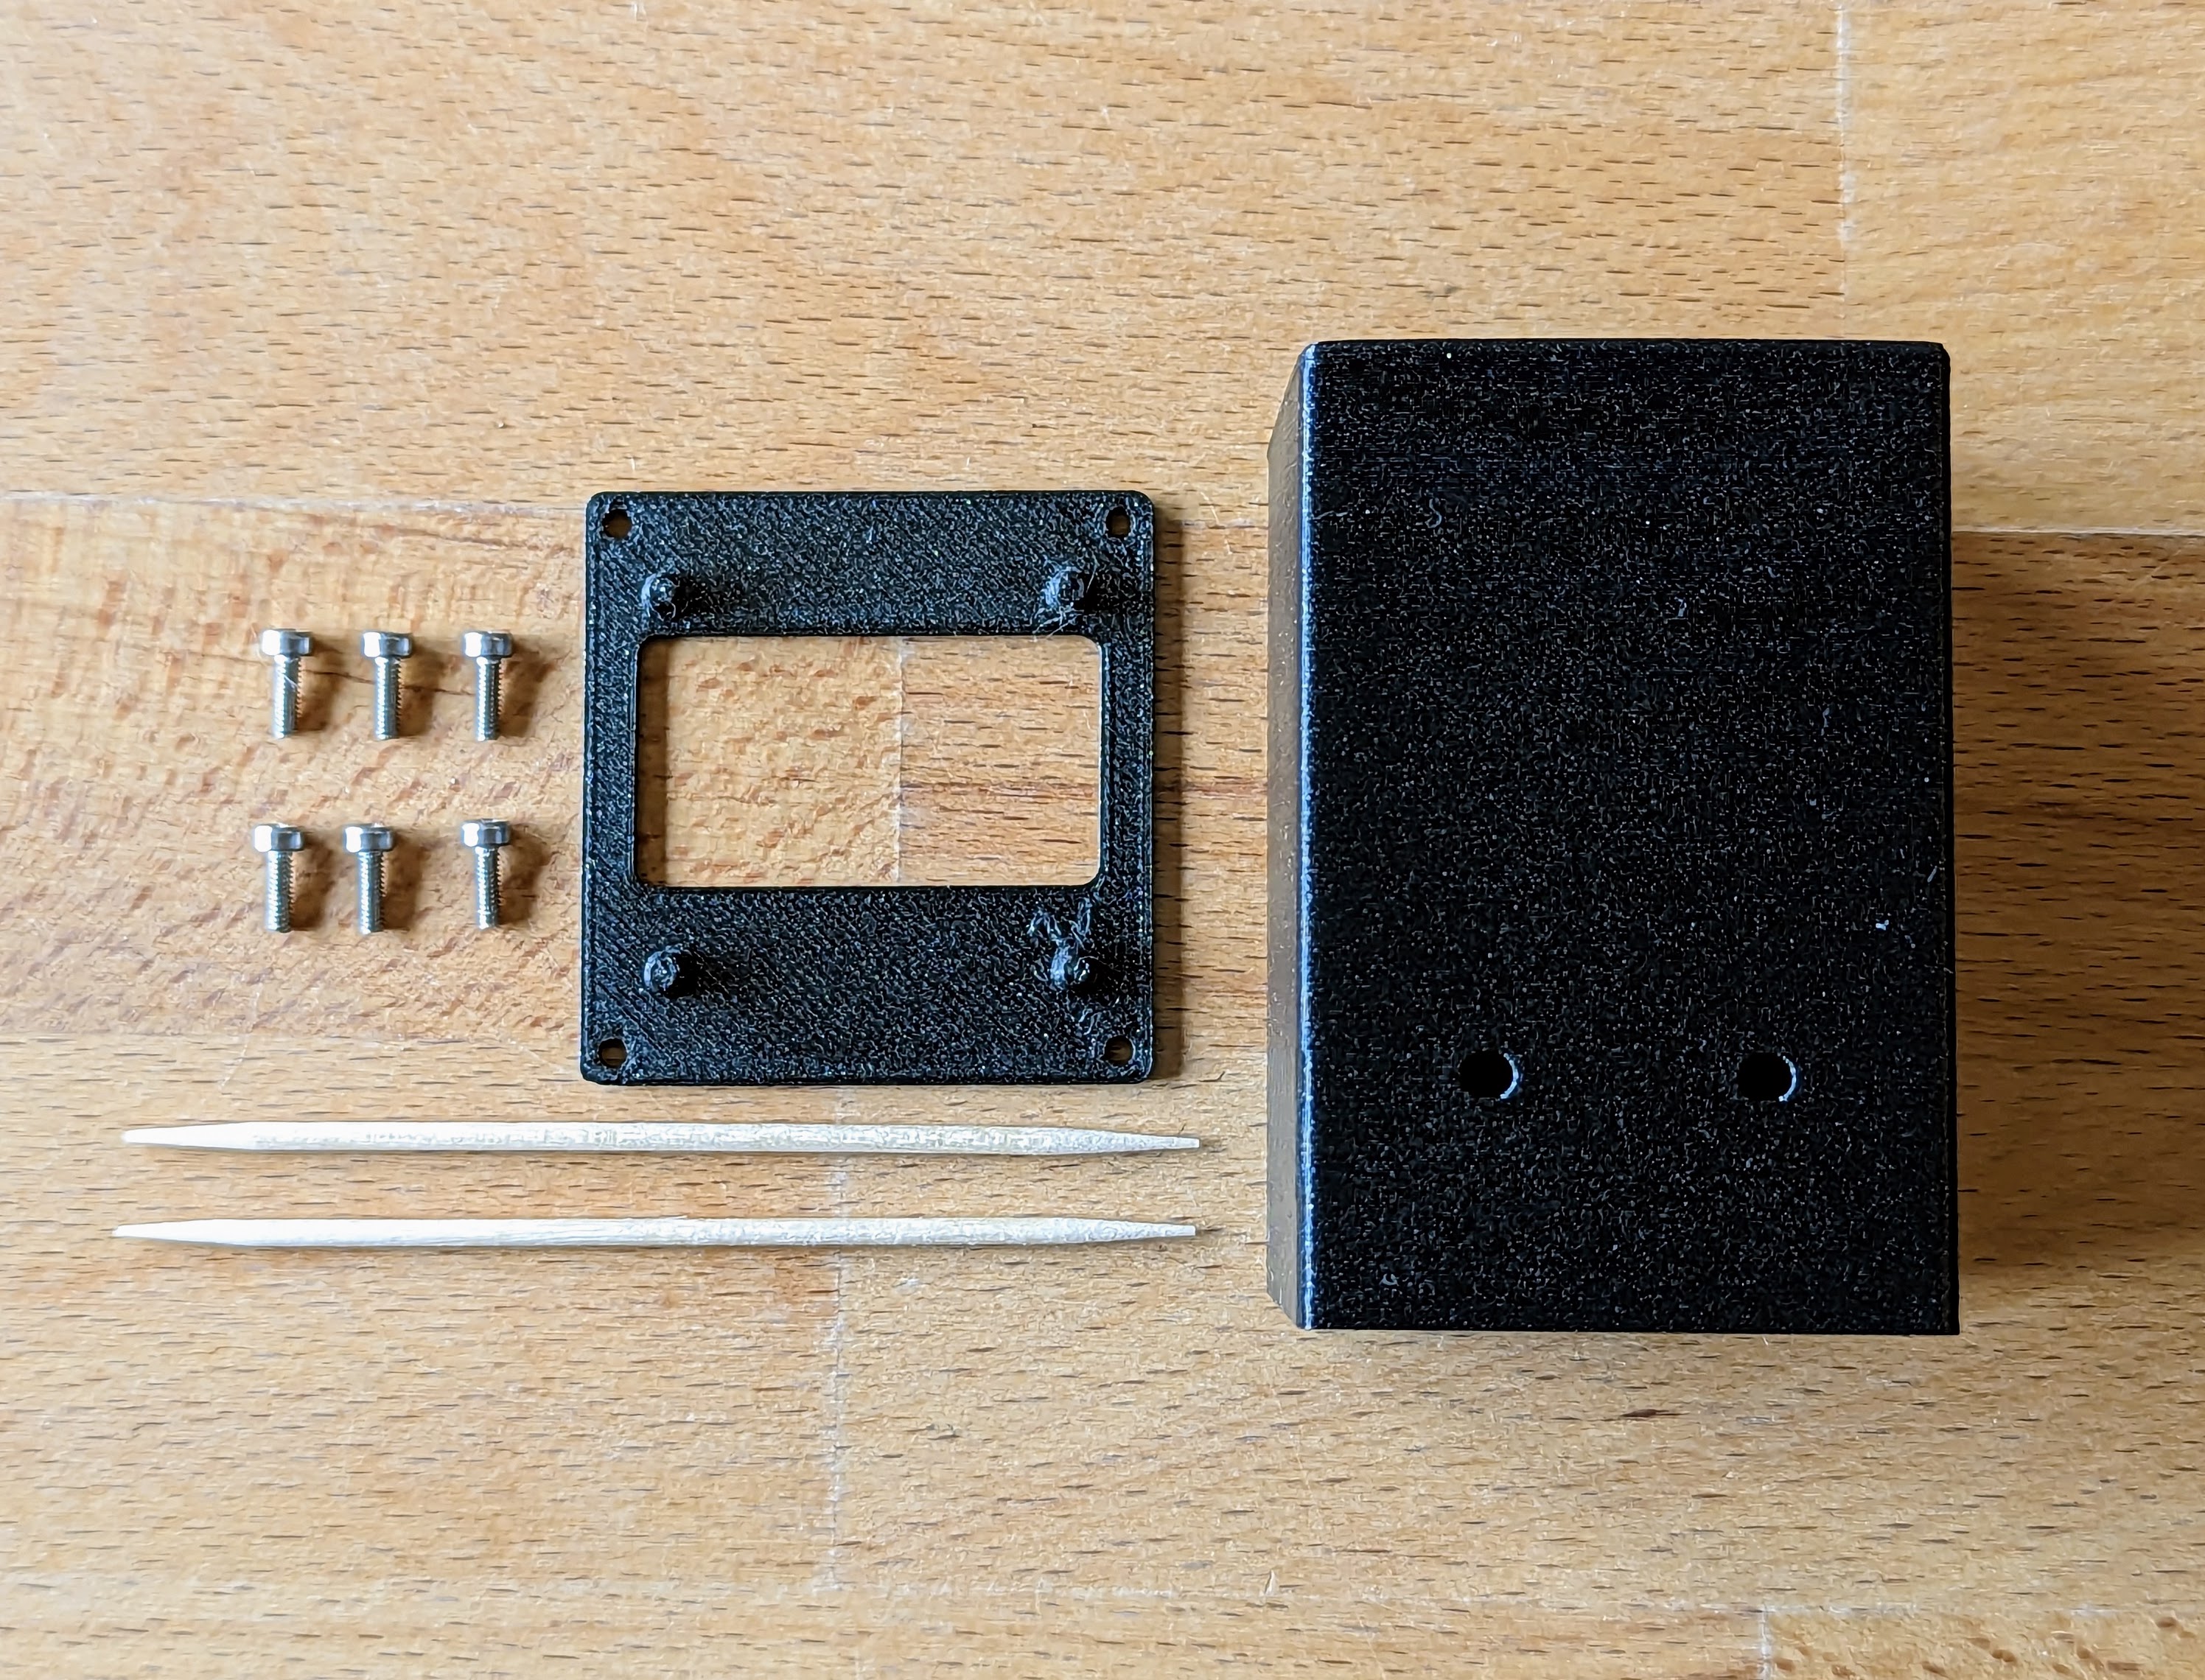
The Housing
Target Group
Required tools
Instructions and help
Lovingly packed for you by hand
Show us your solar system and your OpenDTU evaluation
- Twitter/Mastodon: #SolderingConnects
- Instagram: #SolderingConnects or follow us on @blinkyparts_com
Help others with your feedback
| Build Time: | 1-2 Hours |
|---|---|
| Difficulty: | Easy, Medium |
| Manual and iteractive board: | https://binary-kitchen.github.io/SolderingTutorial/ |
| Target group: | Grownup, Nerd |
Login
1 - 10 of 14 reviews
24 August 2025 16:35
Nach mehreren Anläufen ein Super Produkt und ein klasse Support
Vorne weg: Bei mir läuft die DTU jetzt seit einigen Tagen perfekt und liefert zuverlässig die Werte meines MicroWR. Diese DTU ist wirklich ein Klasse Produkt für einen schmalen Taler. Ich habe damit die Original DTU des China Herstellers ersetzt und bin nun völlig Lokal Ohne Chinesische Server unterwegs .:) Die Anleitung ist auch wirklich gut und man kommt mi etwas Löt-Erfahrung auch mit dem SMD Löten gut zurecht. Man muss auch nicht sonderlich vorsichtig sein. Man braucht nur gutes Lot und etwas Geduld. Ich habe die Pads großflächig mit dem Lötkolben erhitzt und mit viel Flussmittel gelötet. Dadurch verbinden sich die kleinen SMD Pads nicht untereinander und man kommt mit dem Kolben auch nicht an die Abschirmung. Ich dachte ich hätte dennoch einen Kurzen auf dem Antennen Pin und Ground aber lasst euch davon nicht täuschen. Zwischen diesem und Ground ist nur ein winziger DC Wiederstand. In meinem Fall habe ich etwa 0,8Ohm gemessen was mein Messgerät als Durchgang angezeigt hat. Die Antenne funktioniert aber und ich habe einen Super Empfang. Bei meiner Lieferung lief es alles andere als Glatt. Zunächst sah alles gut aus und die Lieferung war schnell da. Ernüchterung kam jedoch nach dem Öffnen des Pakets. Ich hatte nur die Teile für das CMT Funkmodul. Bestallt Hatte ich die komplette DTU als Bausatz ohne vorgelötetes Funkmodul. Ich hatte mein glück zunächst über das Kontaktformular versucht aber da schien etwas nicht funktioniert zu haben. Zumindest hatte sich nach 2 Tagen niemand gemeldet. Kurzerhand habe ich dann einfach auf meine Bestell Mail geantwortet und Fehlende Teile Reklamiert. Eine Antwort war binnen Minuten da und das Problem schien gelöst. Die Fehlenden Teile sollten umgehend nachgesendet werden. Leider fehlten bei der Nachlieferung erneut das Herzstück der ESP und das Gehäuse. Also nochmal reklamiert das Ganze. Es war Samstag und am Montag Morgen war erneut gleich eine Antwort da. Diesmal hatte es dann geklappt und der ESP und das Gehäuse sind doch noch angekommen. Ich musste somit zwar etwa 1,5 Wochen warten bis ich die DTU endlich vollständig Bauen konnte aber der Kontakt war sehr freundlich und zuvorkommend. Ich habe sogar eine kleine Überraschung als Entschädigung bekommen, was wirklich nicht hätte sein müssen., mich aber sehr gefreut hat .:) Alles in allem kann ich die DTU sowie den Shop wärmstens empfehlen und als kleiner Tip: Falls etwas nicht passt, schreibt ne Mail. Das hat in meinem Fall wirklich hervorragend funktioniert und der Support ist vorbildlich abgelaufen. Vielen Dank an Timo .:)
30 September 2024 08:26
Great building kit!
Bought this for my Hoymiles HMT-2250 3 phase converter and it really works fantastic. If you have no experience with SMD soldering, you better go for the pre-soldered module but if you have a little experience and the right soldering iron it is quite doable. The only issue is that I can't see for each phase what the current is. I only see a field named phase 1 and I think this is the total of all phases. That's fine but not entirely clear. A big thanks to the Blinkyparts and OpenDTU team and everyone who contributed to this neat little device!
15 June 2024 10:17
Toller Bausatz
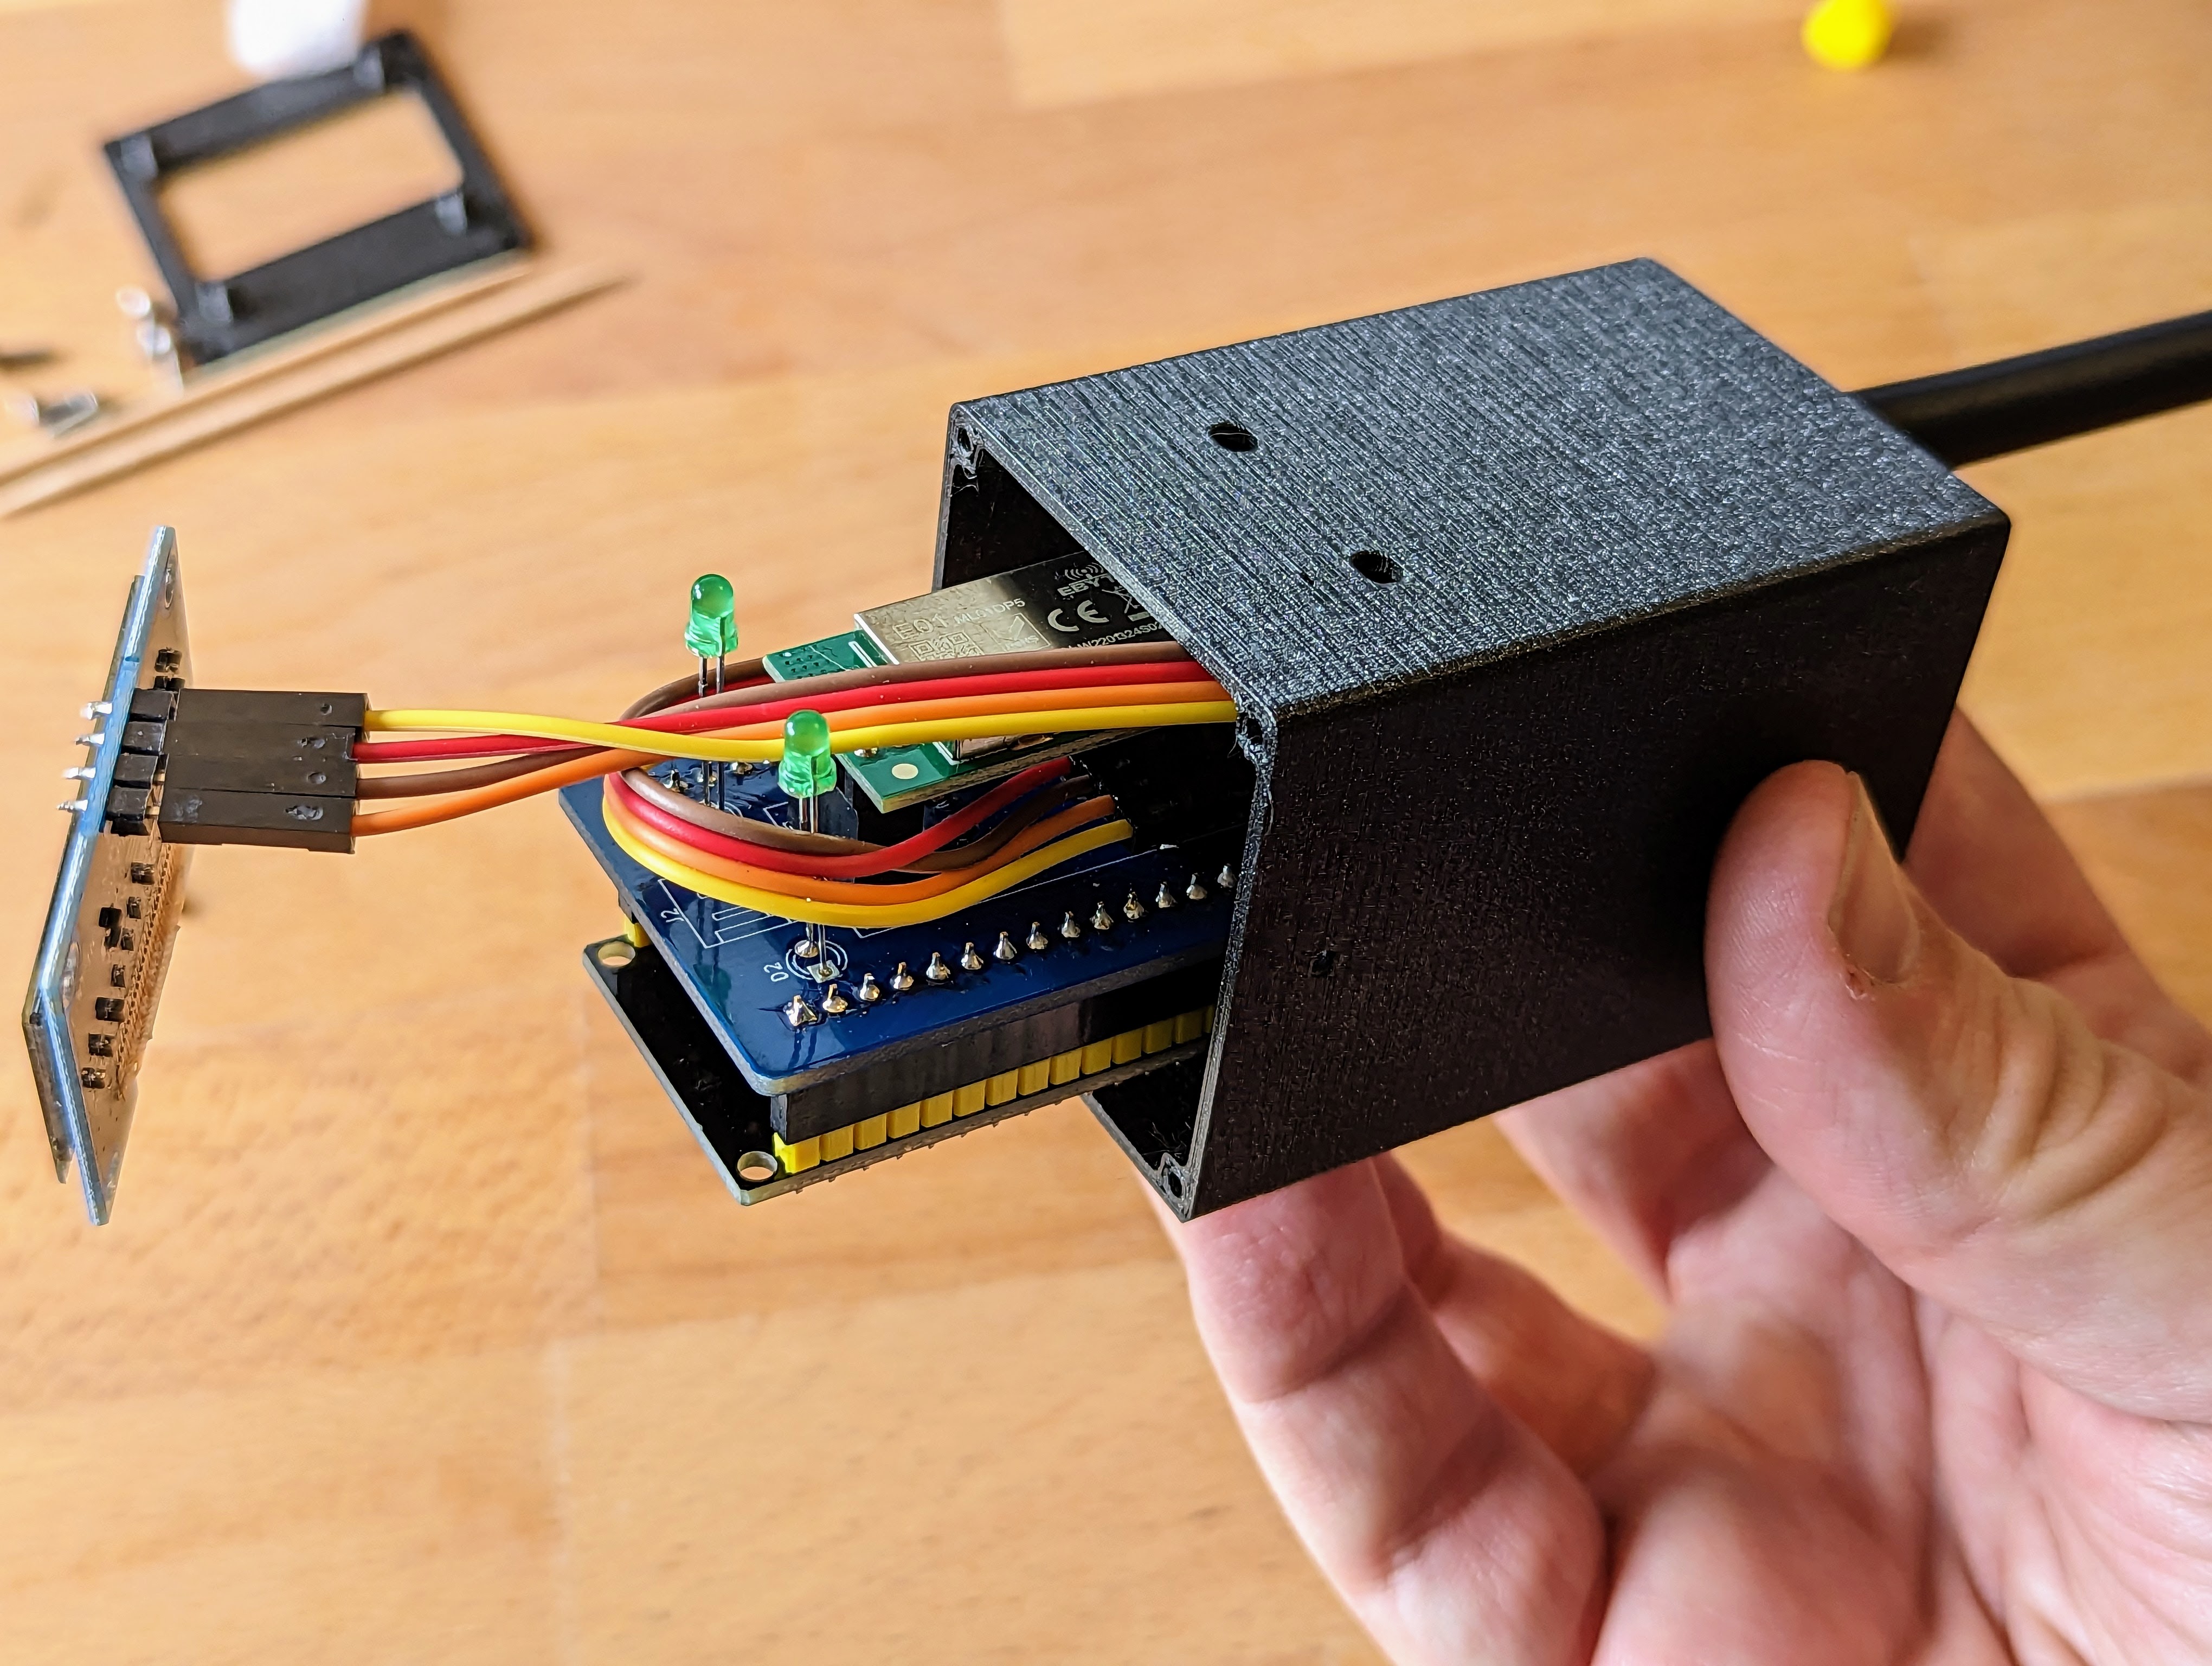
Ich habe das Modul mit vorgelötetem Modul bestellt. Flashen hätte ich auch hinbekommen, aber fertig geflasht und vorgelötetes Modul hat eine Menge Zeit erspart. Nach 30 Minuten war die DTU im Netz und mit dem WR verbunden, tolle Übersicht, selbst das kleine Display zeigt die wichtigsten Daten immer an und die Leuchtdioden geben über den aktuellen Status Auskunft. Das Gehäuse passt perfekt - alleine der Druck über meinen ANET hätte diverse Stunden in Anspruch genommen. Der Bausatz ist in meinen Augen wirklich jeden Cent wert und die Anleitung mach den Zusammenbau zum Kinderspiel - vorausgesetzt man hat einen vernüftigen Lötkolben und ein klein wenig Löterfahrung. Vielen Dank, weiter so!!!
7 June 2024 16:34
Perfection !!!
Coli expédié rapidement, livraison en 4 jours en France. Kit de très bonne qualité, explication claires, mise en service simple ! Merci beaucoup.
1 December 2023 10:32
999 Punkte, meine absolute Empfehlung! Gilt für NRF und CMT Ausführung
Etwas Hintergrund: Ich und drei Nachbarn habe je eine Balkonanlage mit Hoymiles Inverter. Ich habe im letzten Jahr fünf OpenDTU mit Display von Grund auf selbst gebaut und verschenkt bzw. zum Selbstkostenpreis abgegeben. Deshalb kann ich sehr gut beurteilen, wie intelligent und effizient dieser Bausatz zusammengestellt ist. 1.) Das fertige Gehäuse mit Blende für das Display und Leiterplattenführung erspart einem den Selbstbau mit Bohren, Feilen, Heißkleber usw.. Was das an Zeit spart sieht nur jemand, der ein Leergehäuse selbst bearbeitet hat. 2.) Die ESP32 Module sind mit openDTU Firmware schon fertig abgefüllt und mit dem Config für das Display vorkonfiguriert. Beim meinem Selbstbau bedeutete das mit dem Herstellertool die Binaries auf unterschiedliche Adressbereiche zu flashen. (Via USB.) Kein Hexenwerk, kostet aber Zeit für Einarbeitung und Durchführung. Für unbedarfte Einsteiger ggf. zu komplex. Auch die Datei zur Auswahlmöglichkeit für unterschiedliche Funkmodule und LED Konfigurationen ist bereits "eingespielt". 3.) Die Verdrahtung ist durch die Leiterplatte auf ein Minimum reduziert. (Bei meinem Selbstbaugehäuse waren zwölf Drähte zu verlöten.) 4.) Die Bestückung ist sehr gut dokumentiert. Lötkenntnisse und geeignetes Werkzeug sind aber Voraussetzung. Ich habe mich an die Anleitung gehalten und auf Anhieb zwei Erfolge (NRF / CMT) erzielt. 5.) Fast vergessen. .. Alles in nachhaltigen Papiertüten abgepackt, also nicht in Plastikbeuteln, so wie eine Bestellung beim Elektronikversand i.d.R. ausgeliefert wird. Noch einige Hinweise und Tipps: Mit der Kabelverdrahtung des Displays hatte ich so meine Probleme. (mit Elektroniker Denkschema im Kopf) Ich habe mir eine Skizze gemacht. Zwei Stiftsteckerleisten 1-4 jeweils mit Signalnamen und Pinnummern. Damit habe ich die Verkabelung unabhängig von den Kabelfarben nach Funktion gesteckt. (Grund: Meine Kabel im Bausatz hatten andere Farben als in der Doku. Auf den Fotos der Doku ist die Kabelzuordnung schlecht zu erkennen.) Ein kleiner Hinweis an das Team die Doku hier zu optimieren. Thema: CMT Modul. Das wird für die "HMS" Wechselrichtertypen benötigt und muss selbst verlötet werden. Wer nicht sehr gut ausgerüstet ist und Erfahrung hat, sollte m.E. die Mehrkosten für die verlötete Version investieren! Trotz Weller Profi Lötkolben mit Temperatureinstellung und unterschiedlichen Lötspitzen war das Löten nicht trivial. Die Lötstellen müssen unterschiedlich stark aufgeheizt werden, weil sie die Wärme intern unterschiedlich ableiten. (z.B. GND) Einmal abgerutscht hat man eine versehentliche Lötbrücke zur Blechabschirmung. Dann ist Lötabsauglitze angesagt. Thema Antenne: SMA vs. reverse SMA. Fast hätte ich mich selbst ausgetrickst. Die für die DTU Sende/Empfangsmodule benötigten Antennen haben den Innenstift an der Schraubantenne. Eine Antenne von einem herkömmlichen WLAN Router hat an der Stelle keinen Stift, sondern nur Buchse. Auf den ersten Blick nicht zu unterscheiden! Man kann diese "Router Antennen) zwar mechanisch festschrauben, es gibt aber keinen Kontakt und damit Empfangsprobleme. Also: Das beiliegende Original verwenden! Fazit: Ich finde diesem Bausatz rundum gelungen!! Der Preis gegenüber einem Eigenbau ist unschlagbar günstig. Mein NRF Zusammenbau ist seit Ende 11/2023 erfolgreich in Betrieb. Auf das Feedback meines Neffen (CMT Funkmodul) warte ich noch.
16 November 2023 06:04
Passt
Alles gut verarbeitet. Nur Funktioniert er mit meinen HMS 1800 warum auch immer geholfen wurde schnell und ich soll noch mal alle Lötstellen prüfen mir wurde dann Richtig verlötet. Trotzdem kommuniziert die DTU nicht mit dem WR. Ich vermute das beim ersten mal Löten irgendwas ein Schaden genommen hat.
3 November 2023 12:12
Klasse Bausatz, super Support
Ich hatte den Bausatz vorsichtshalber mit vorgelötetem Modul bestellt - für meine Lötkünste die richtige Entscheidung. Leider hatte ich beim Bestücken trotz guter Anleitung einen Fehler gemacht. Timo hat mir schnell und umkompliziert geholfen, nochmals vielen Dank dafür. Das gedruckte Gehäuse ist absolut hochwertig, der Bausatz jeden Cent wert.
22 October 2023 15:37
Toller Bausatz, aber...
Ich habe mich schon beim Auspacken über den Bausatz gefreut. Liebevoll, in Papiertütchen verpackt, purzeln einem da alle benötigten Bauteile entgegen, zwei Aufkleber und eine nette Postkarte gibt es obendrauf. Dank der kleinschrittigen und gut bebilderten Anleitung war der Aufbau kein Problem, etwas Löterfahrung und einen Lötkolben mit feiner Spitze sollte man aber schon besitzen. Ich war im nachhinein froh, mir das vorgelötete Funkmodul bestellt zu haben.. für SMD-Löten fehlt mir definitiv die Feinmotorik. Wie dem auch sei, der Zusammenbau hat ca. 1,5 h gebraucht, das Gehäuse ist gut gedruckt und passt perfekt. Inbetriebnahme und Integration ins heimische WLAN funktionierte dann auch dank vorgeflashtem ESP super. Jetzt kommen wir zum Aber: Das Gerät zeigte mir trotz Sonnenschein 0 Watt Leistung für meine funktionierende Anlage an und LED 2 blinkte fortlaufend (Verbindung zum Wechselrichter hergestellt, keine Stromerzeugung). Ich habe dann hin- und hergeflasht, AhoyDTU probiert, zurückgerudert (Gottseidank gibt es bei GitHub die Pinkonfiguration für den Bausatz), Junior (kompetent) befragt, bis ich dann auf des Rätsels Lösung stieß. Ich besitze einen Hoymiles HMS-800W und das "W" macht den Unterschied. Hoymiles-Wechselrichter mit integriertem WLAN werden bislang noch nicht von openDTU/AhoyDTU unterstützt... Ist aber nicht euer Fehler, ich hätte vor der Bestellung einfach genauer recherchieren müssen. Vielleicht solltet ihr aber in der Produktbeschreibung darauf nochmal hinweisen. Immerhin habe ich jetzt einen hübsch blinkenden Briefbeschwerer, auch nicht schlecht :-)
12 October 2023 07:15
Toller Bausatz
Hallo Blinkyparts-Team, ich freue mich, den Bausatz "OpenDTU CMT" erworben zu haben. Dank der tollen Anleitung, war das löten und zusammenbauen leicht zu bewerkstelligen. Aber ich bin froh, das ich das CMT-Modul schon vorgelötet bestellt habe. Das ist mir zu knibbelig und auch ohne passendes Werkzeug schwierig. Auch das gedruckte Gehäuse ist spitze! Das Gerät arbeitet mit meinem HMS-2000 problemlos zusammen. Vielen Dank, das ihr so einen tollen Bausatz anbietet.
9 October 2023 15:12
Hochwertiger Bausatz, auch für Anfänger gut geeignet
Der Bausatz wird mit allen erforderlichen Bauteilen geliefert. Das Gehäuse ist gut gearbeitet und die Teile passen sauber zusammen. Eine ausführliche Beschreibung kann runter geladen werden und die einzelnen Schritte sind auch für Anfänger sehr gut beschrieben. Bei eventuellen Problemen wird kompetente Hilfestellung gegeben.


