
Code Week Sculpture – Your Light, Your Design



€17.99
Available, delivery time: 1-3 days
Product information "Code Week Sculpture – Your Light, Your Design"
Code Week Sculpture – Your Light, Your Design
The Code Week Sculpture was created as part of Code Week – and it’s different from our usual soldering kits. There is no single build path to follow step by step. Be creative! Four PCBs – battery shape, two hashtags (#), and a mushroom – can be soldered together in many different ways. The result is your own PCB sculpture that lights up exactly where you choose. Individuality instead of paint-by-numbers.
No fixed outcome – your project, your shape
Instead of one predefined figure, you get building blocks for your idea: mushroom cap, battery PCB, and two hashtag PCBs in red and yellow. How you connect them, in what order, and where the LEDs go – that’s up to you. Wall sculpture, desk decor, or playful statement piece: this kit is meant to encourage your creativity while soldering, not just teach copying.
Ten fast-cycling and ten slow-cycling RGB LEDs (5 mm each) create different moods – you decide where each one goes. A push switch turns everything on and off; an SMD fuse protects the circuit. The 2×AA battery holder powers your sculpture (batteries not included).
For the curious and the creative
Ideal for anyone who can already solder a bit or wants to try free-form making: adults, teens, and kids with supervision. Perfect if you like experimenting, combining, and ending up with something truly one-of-a-kind. No microcontroller, no programming – just PCBs, LEDs, and your idea.
Scope of delivery
Included in the kit (batteries not included):
- 10× RGB LED 5 mm (fast cycling)
- 10× RGB LED 5 mm (slow cycling)
- 1× push switch
- 1× SMD fuse
- 1× 2×AA battery holder
- 1× mushroom cap PCB
- 1× battery PCB
- 1× red hashtag PCB
- 1× yellow hashtag PCB
Note: Operation requires 2× AA batteries or rechargeable cells – these are not included.
A build guide with the basics helps you get started; the exact assembly and LED placement are up to you. Have fun creating your glowing Code Week Sculpture!
| Build Time: | 2-4 Hours |
|---|---|
| Difficulty: | Easy |
| Manual and iteractive board: | https://binary-kitchen.github.io/SolderingTutorial/ |
| Needed batteries (not inclueded): | CR2032 coin cell / LIR2032 rechargeable coin cell |
| Target group: | Children, Grownup, Nerd |
Login
Weitere Blinke-Bausätze
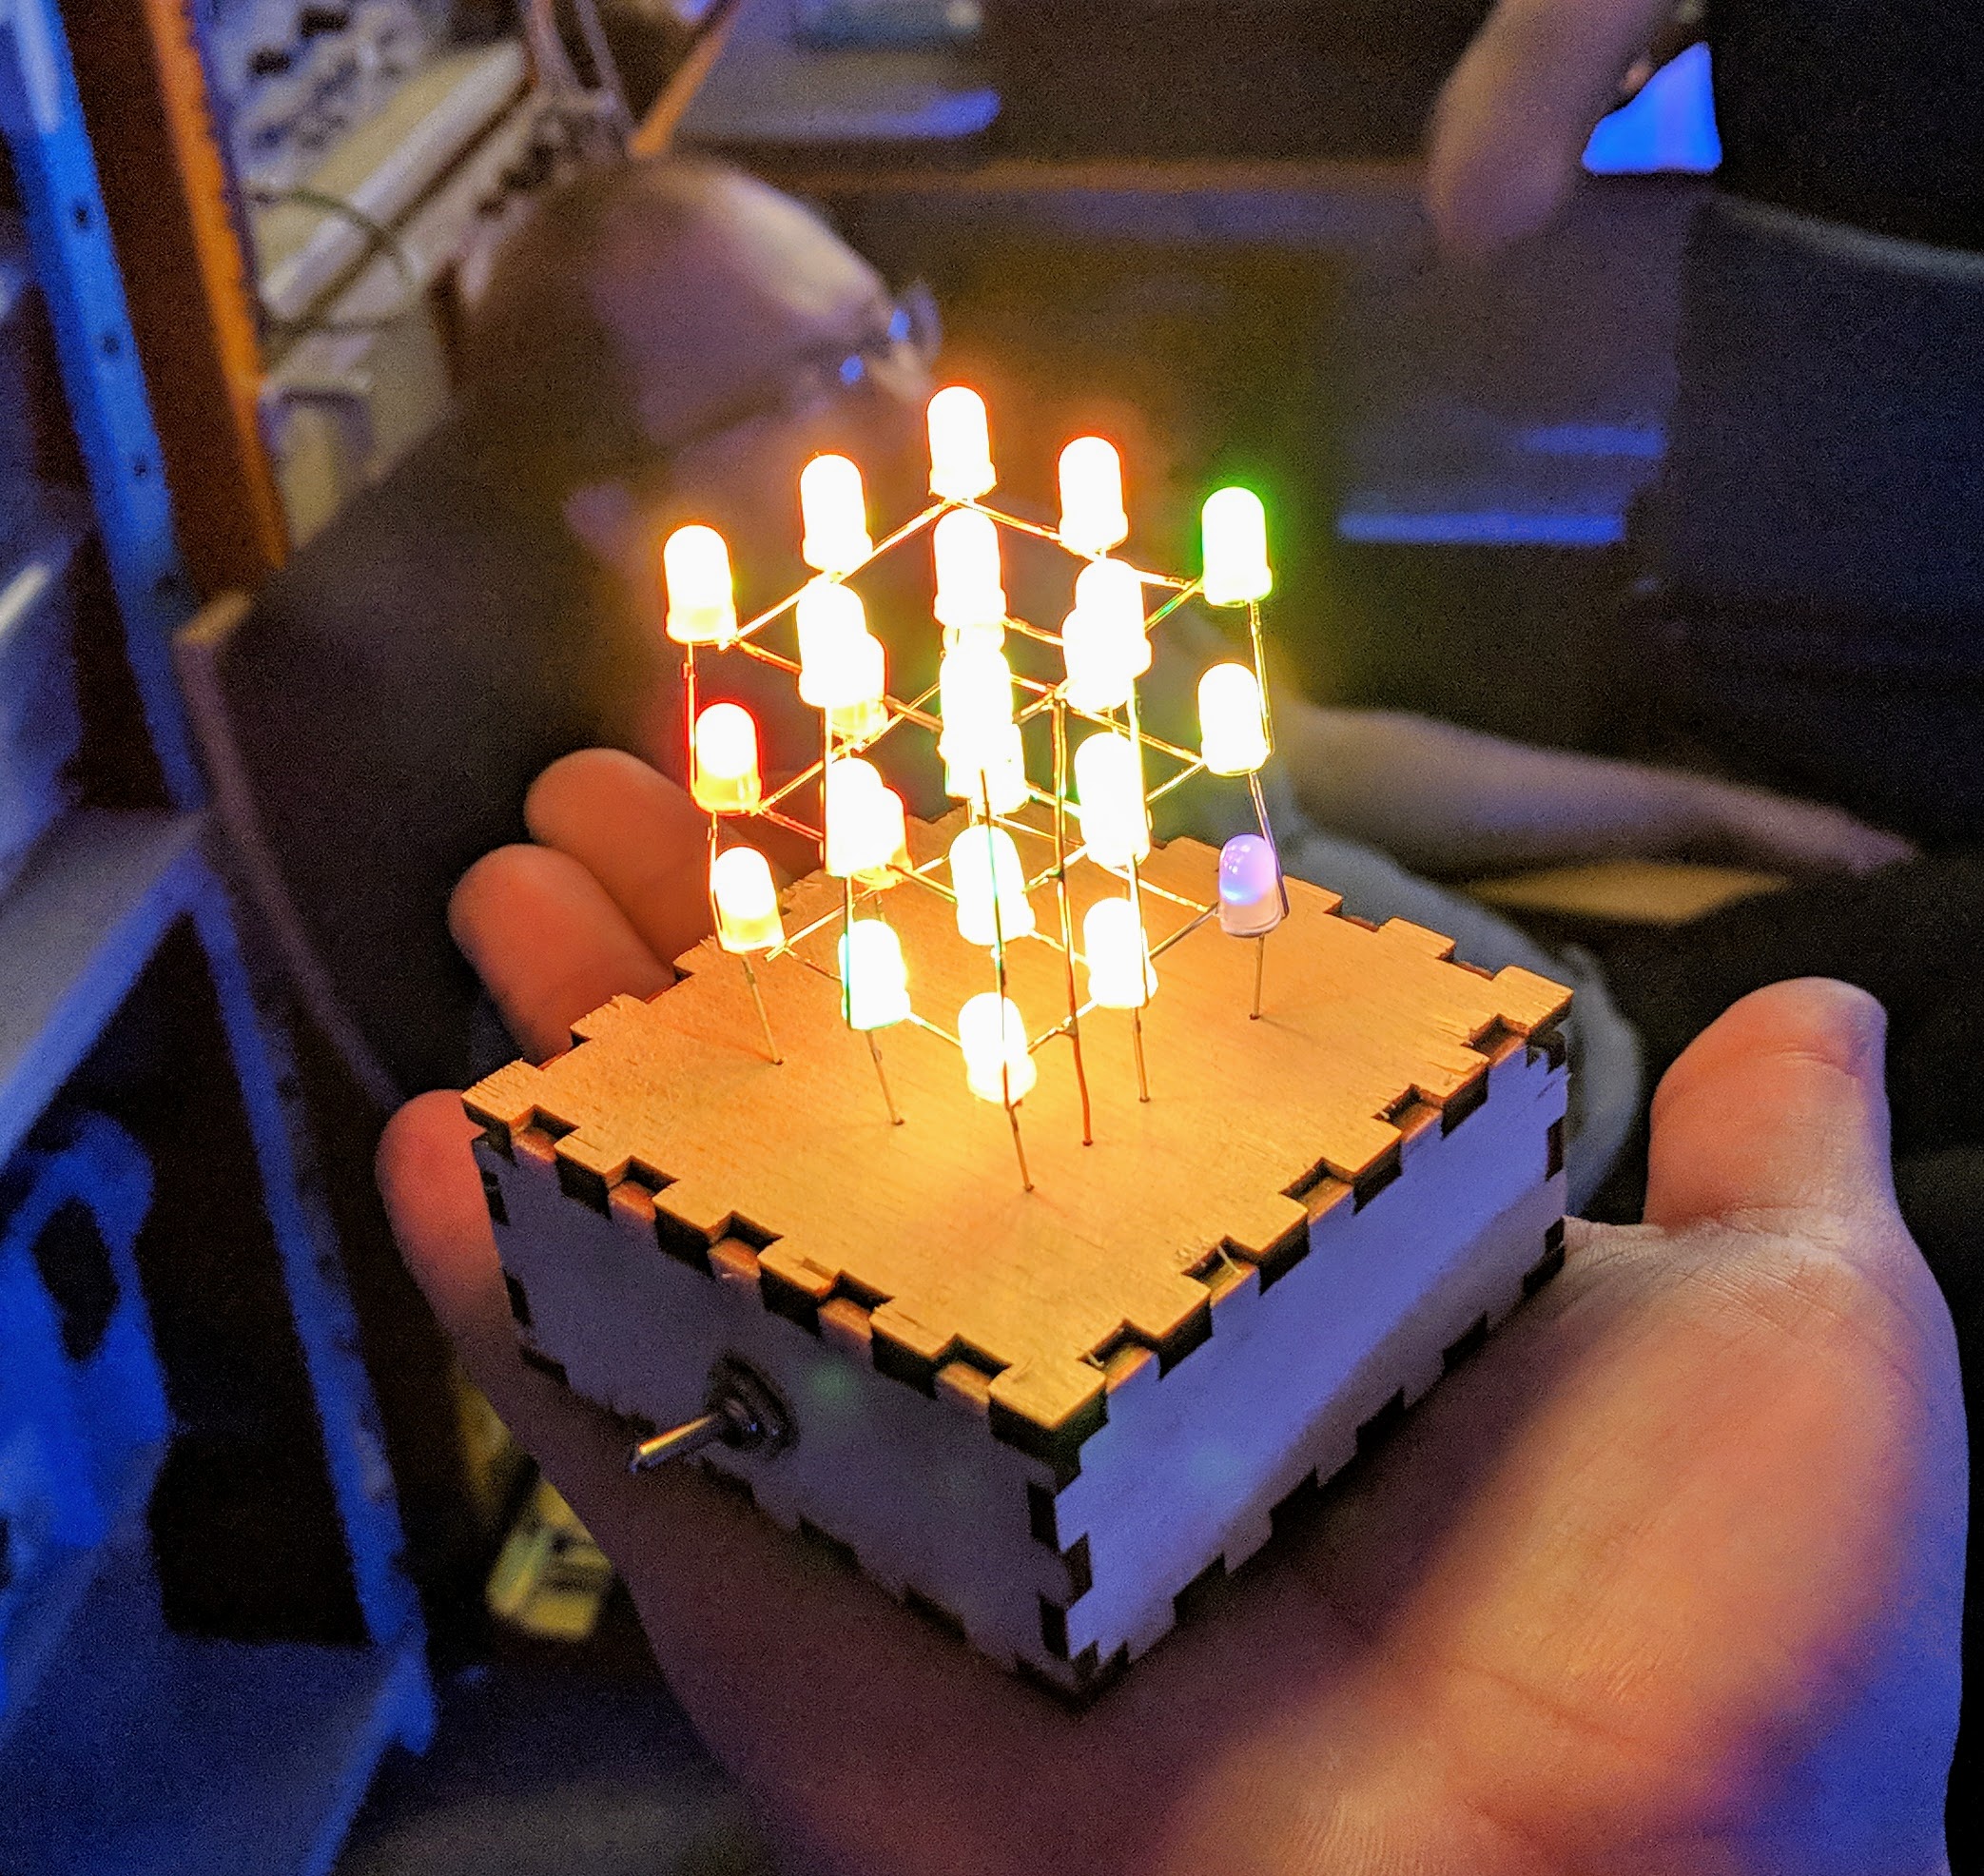
LED Cube – A Colorful 3D Cube with 27 RGB LEDs The LED Cube is a vibrant soldering kit featuring 27 RGB LEDs arranged in a 3x3x3 cube structure. The LEDs light up automatically in changing rainbow colors – no programming required! Thanks to a clever template and our step-by-step guide, assembly is straightforward and suitable for beginners. Once the cube is soldered, it is placed into a beautifully crafted wooden box that acts as both a stand and a battery compartment. Kit Highlights: 27 colorful RGB LEDs for fascinating light effects Powered by 2x AA batteries (not included) No programming or flashing needed – just solder and enjoy Sturdy wooden enclosure doubles as a base and power supply box Perfect for your desk, living room, or as a creative gift Included in the Kit: 27x RGB LEDs (5 mm) 1x Step-up module (0.8 – 3.3 V input to 3.3 V output) 1x Toggle switch 1x AA battery holder 1x Flexible wire 1x Solid-core wire 7x Wooden box elements 2x AA batteries required (not included) How It Works: Once assembled, the cube automatically lights up in various vibrant colors. The RGB LEDs continuously shift in a mesmerizing pattern – all without any microcontroller or programming! Watch the LED Cube in Action: Conclusion: The LED Cube is an eye-catching yet easy-to-build soldering kit that’s perfect for electronics enthusiasts and creative minds alike. Show off your soldering skills with this fun and functional light sculpture!
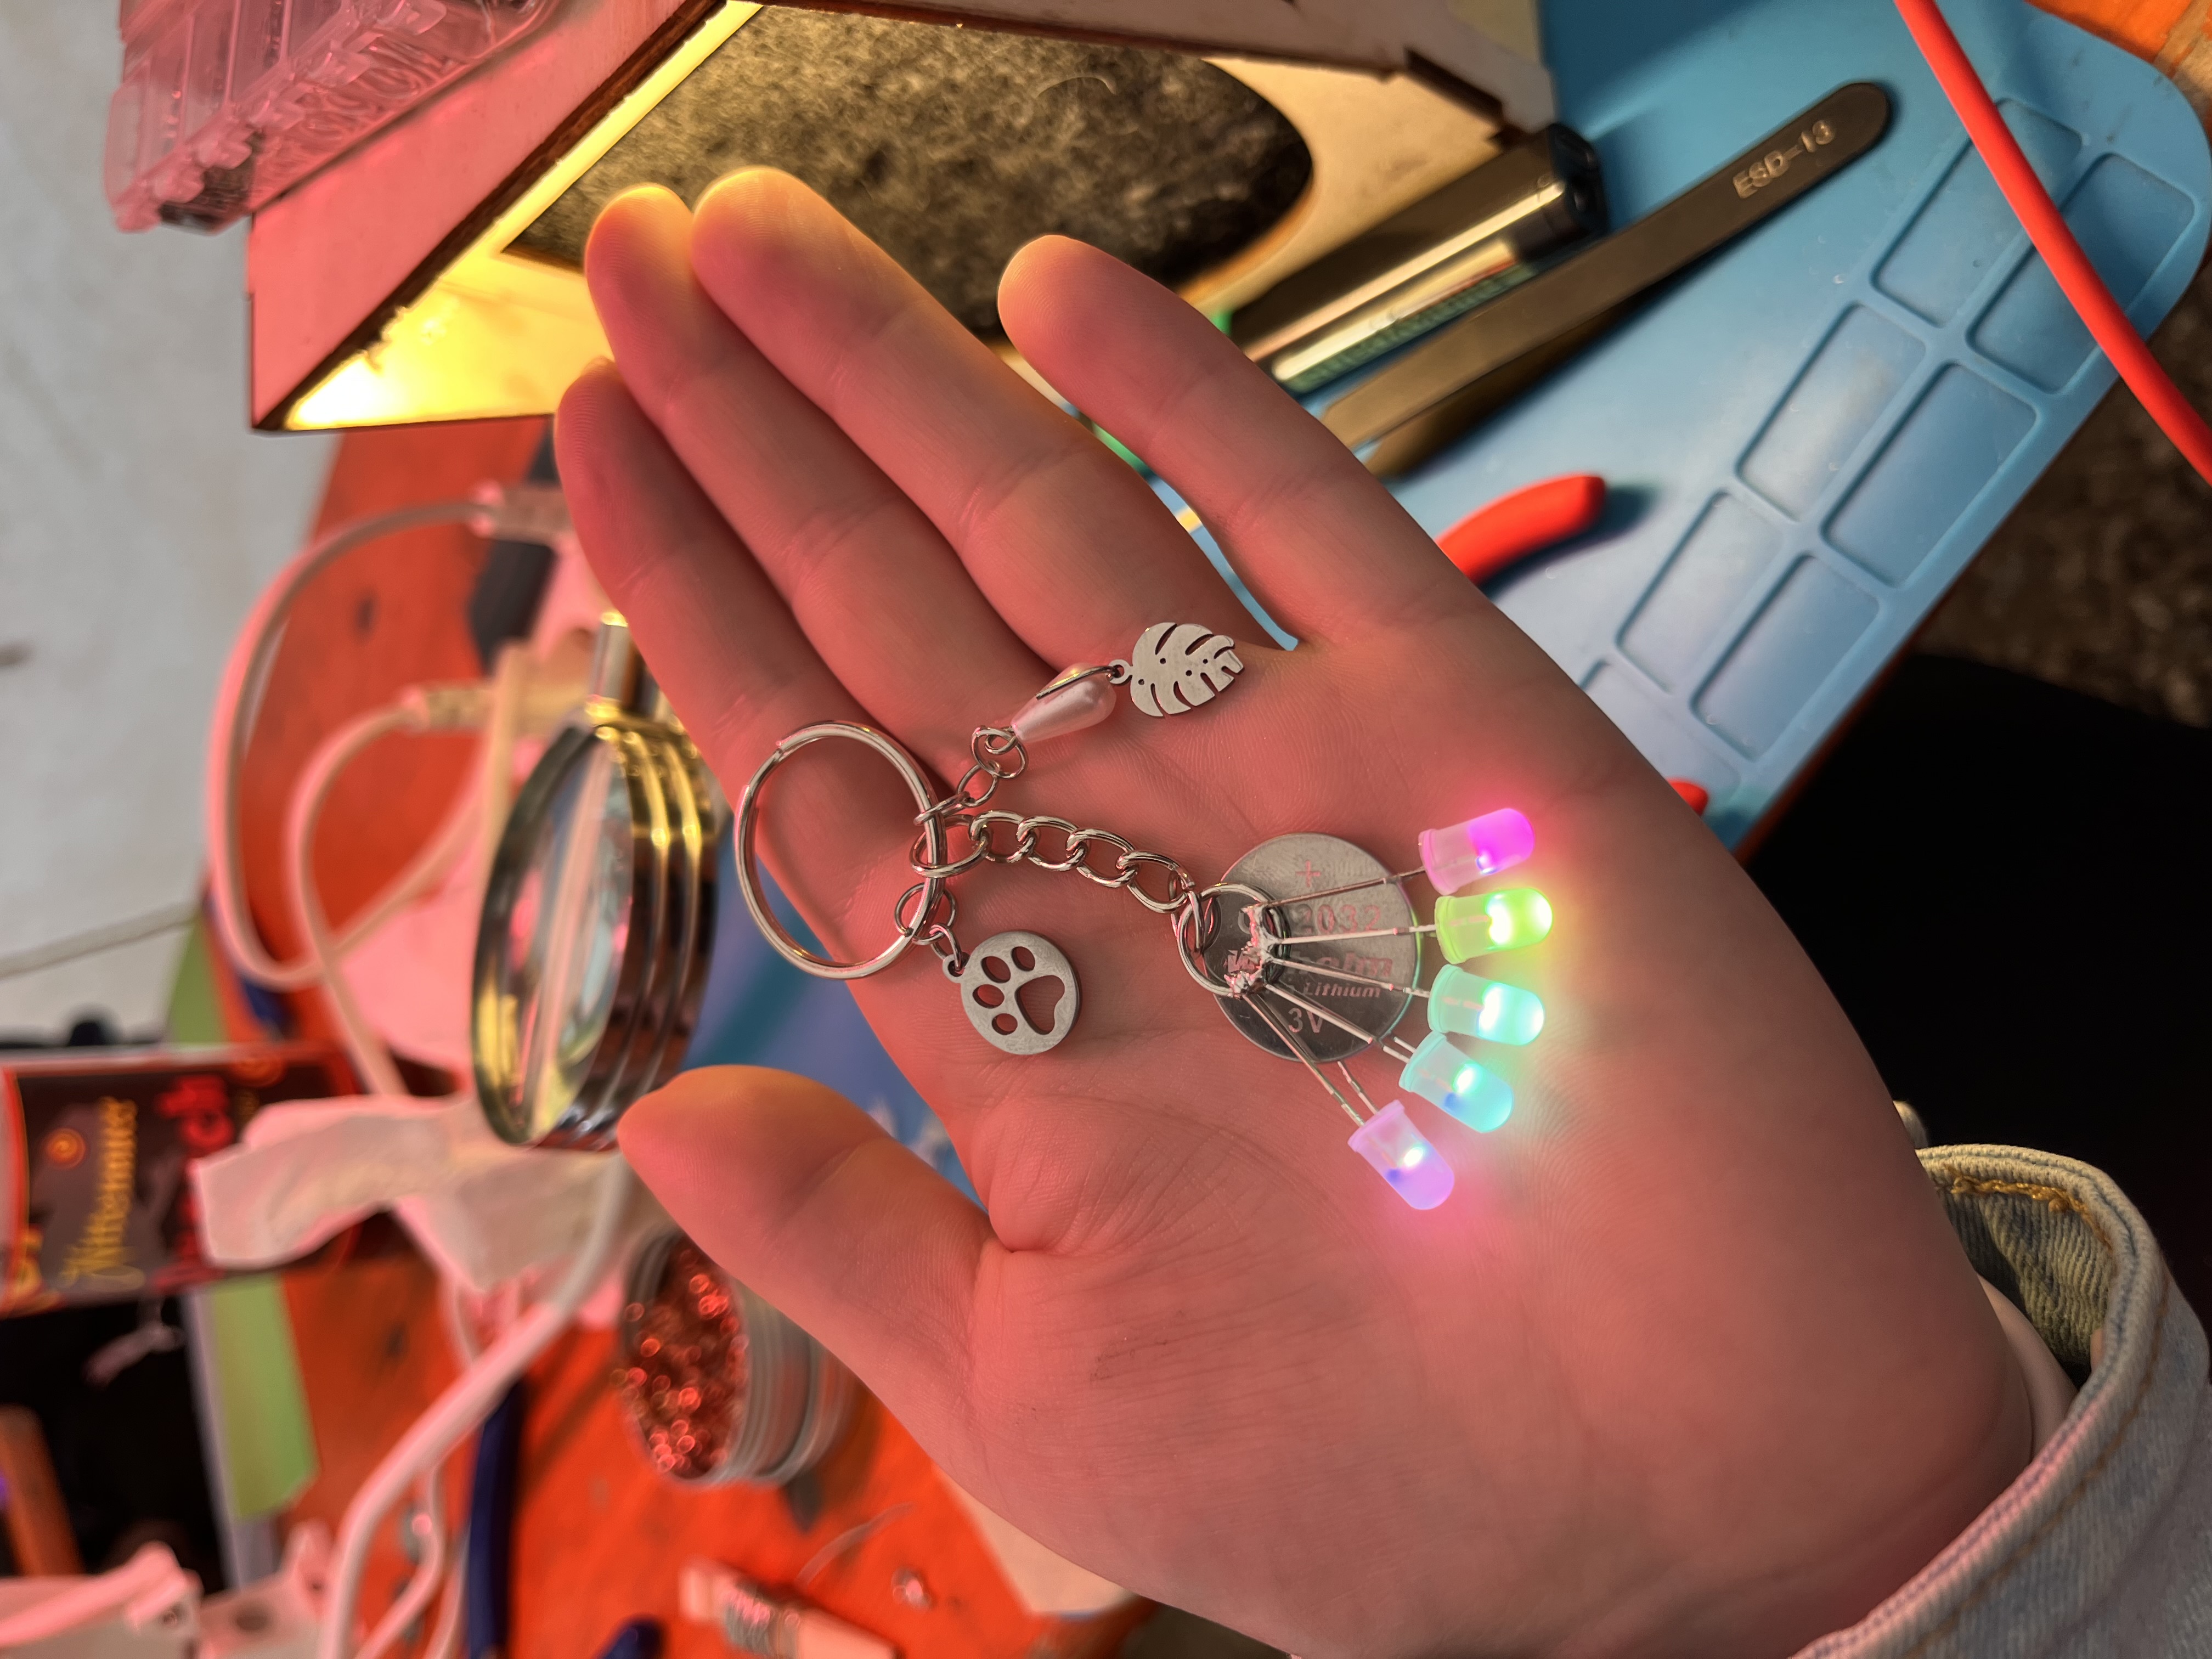
Solder your own jewelry or create a unique jewelry set as a gift! A simple soldering kit with colorful color-changing LEDs that requires a little skill and a delicate touch. The kit includes accessories to solder 2 earrings and one pendant, each with 4 LEDs. The four LEDs are connected so that you can clamp a 3 V coin cell (not included) between the leads, and the LEDs will light up in all the colors of the rainbow. Included: 12 colorful color-changing LEDs 2 earring hooks made of 925 sterling silver 3 large steel rings, 12 mm 1 small jump ring, 4 mm Manufacturer and product safety information The earring hooks are made of 925 sterling silver, lead-free and nickel-free. Nickel and lead cannot be ruled out in the remaining parts of the kit. If you notice signs of an allergic reaction, remove the jewelry immediately and consult a doctor. Not suitable for children under 14 years of age or for persons who tend to put non-edible objects in their mouth. Always store all individual parts as well as the finished jewelry, especially the coin cell, safely and out of reach of children! Check regularly that the coin cell is still held securely in the jewelry to prevent it from being lost. Do not wear the jewelry in the presence of children, and keep the jewelry — especially the coin cell — out of children’s reach. Swallowing a coin cell is life-threatening. If ingestion or insertion is suspected, seek medical attention immediately. Avoid contact with water, perfume, hairspray, and cleaning agents to prevent discoloration. Please remove your jewelry before sleeping, swimming, or physically strenuous activities. Do not wear the jewelry during sports activities to avoid snagging. Silver jewelry may tarnish over time; this is a natural chemical reaction and not a quality defect. Mandatory information in accordance with the GPSR applicable since 13 December 2024 The manufacturer is Blinkyparts GmbH Egerstr. 9 93057 Regensburg E-Mail: shop@blinkyparts.com
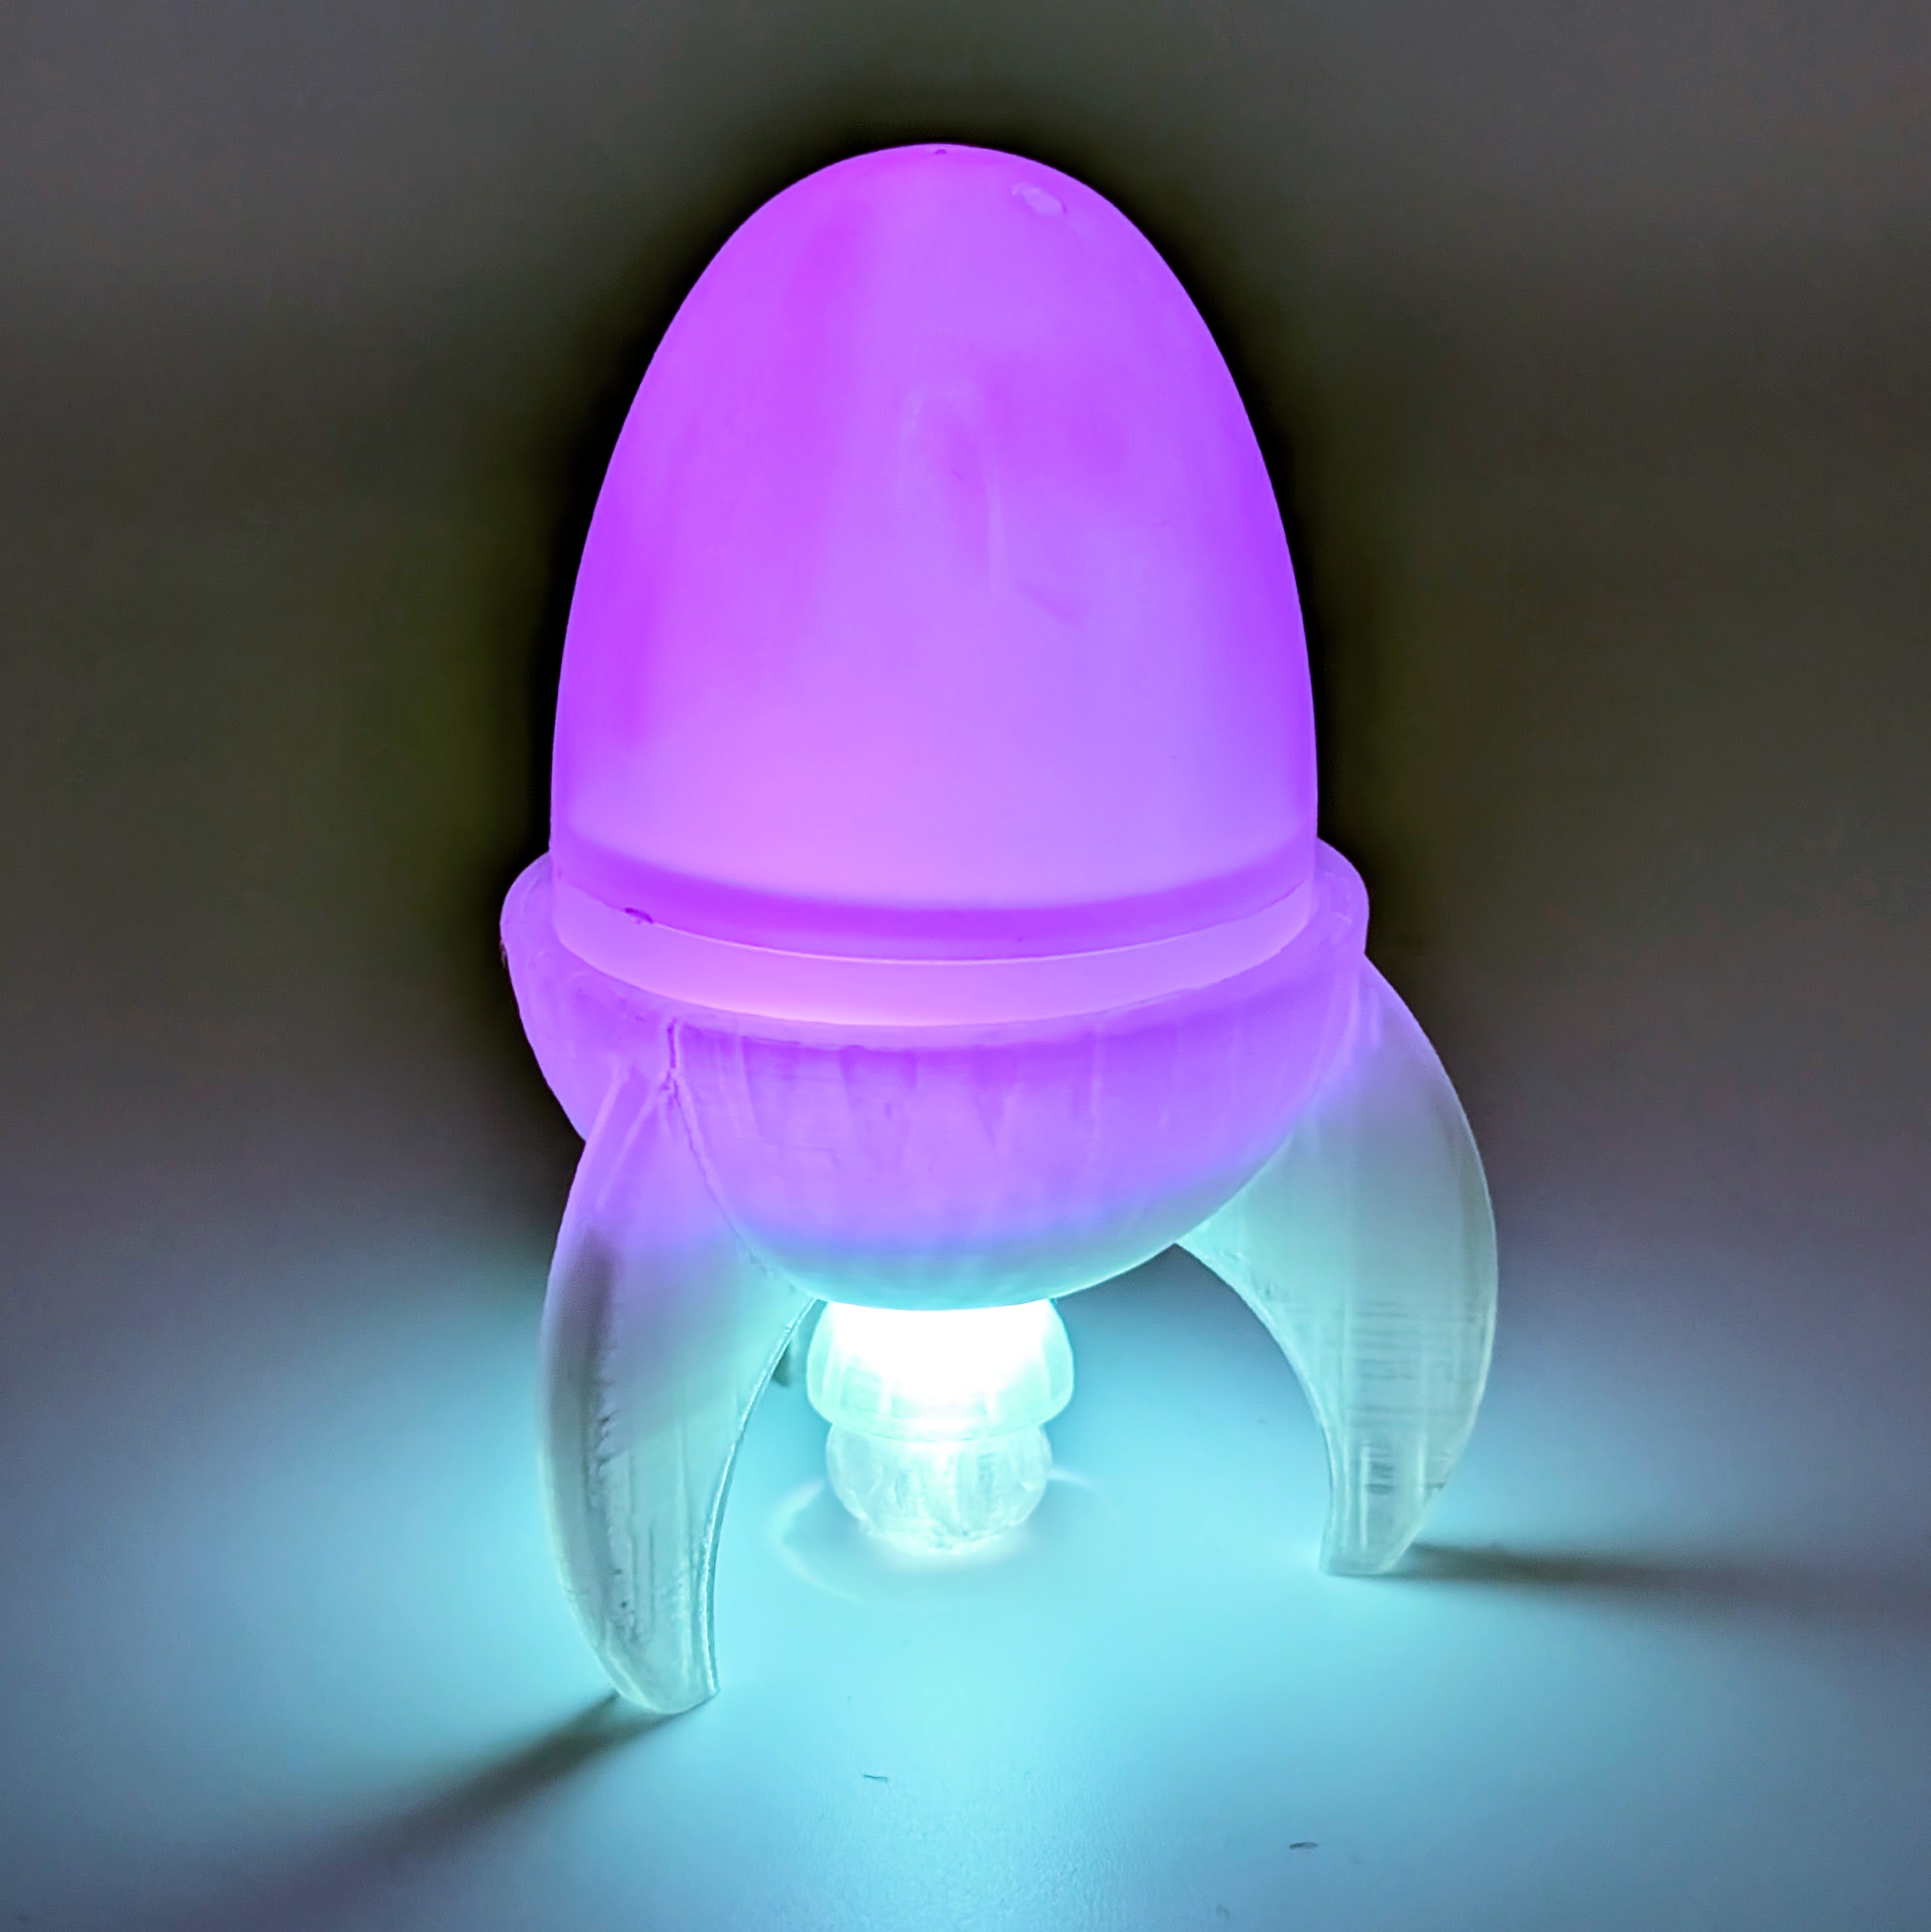
The Space Egg is a fascinating soldering kit that uniquely combines technology and design! This glowing Easter egg features a clever switch mechanism: Simply turning the egg activates a magnetic switch (reed contact), which lights up the three RGB LEDs. The rainbow colors illuminate both the egg and the flame effect under the rocket-shaped egg cup. 🚀 Key Features: ✅ Perfect for beginners – easy soldering kit with few components ✅ Unique mechanism – light control by turning the egg ✅ Glowing RGB LEDs – create a magical color effect ✅ Great Easter gift – creative, educational, and decorative ✅ Sustainably made – from recycled PLA 🛠️ Kit Contents: ✔️ 3x RGB LEDs (5 mm) ✔️ 1x LED spacer ✔️ 1x Egg (two parts) ✔️ 1x Rocket egg cup (3D-printed, optional) ✔️ 1x Flame effect (3D-printed, optional) ✔️ 1x Reed switch (magnetic switch) ✔️ 1x CR2032 battery holder ✔️ 1x CR2032 battery (not included) ✔️ 1x 8x2 mm neodymium magnet ✔️ 1x Space Eggs PCB 🔧 Additional Tools Needed: ✂️ Super glue or hot glue for assembly 🛠️ 5 mm drill bit for precise adjustments 🌍 Eco-Friendly & Sustainable The 3D-printed parts of the Space Egg are made from recycled PLA – a plant-based plastic that is compostable under industrial conditions. Experience technology while minimizing plastic waste! 💡 Tip: The Space Egg is not only a fun DIY project but also a great night light or Easter decoration!You can find more information and the 3D printing files in our Wiki. It also includes a detailed assembly guide and useful tips for building your Space Egg! 🔋 Please note: The CR2032 battery is not included and must be purchased separately.
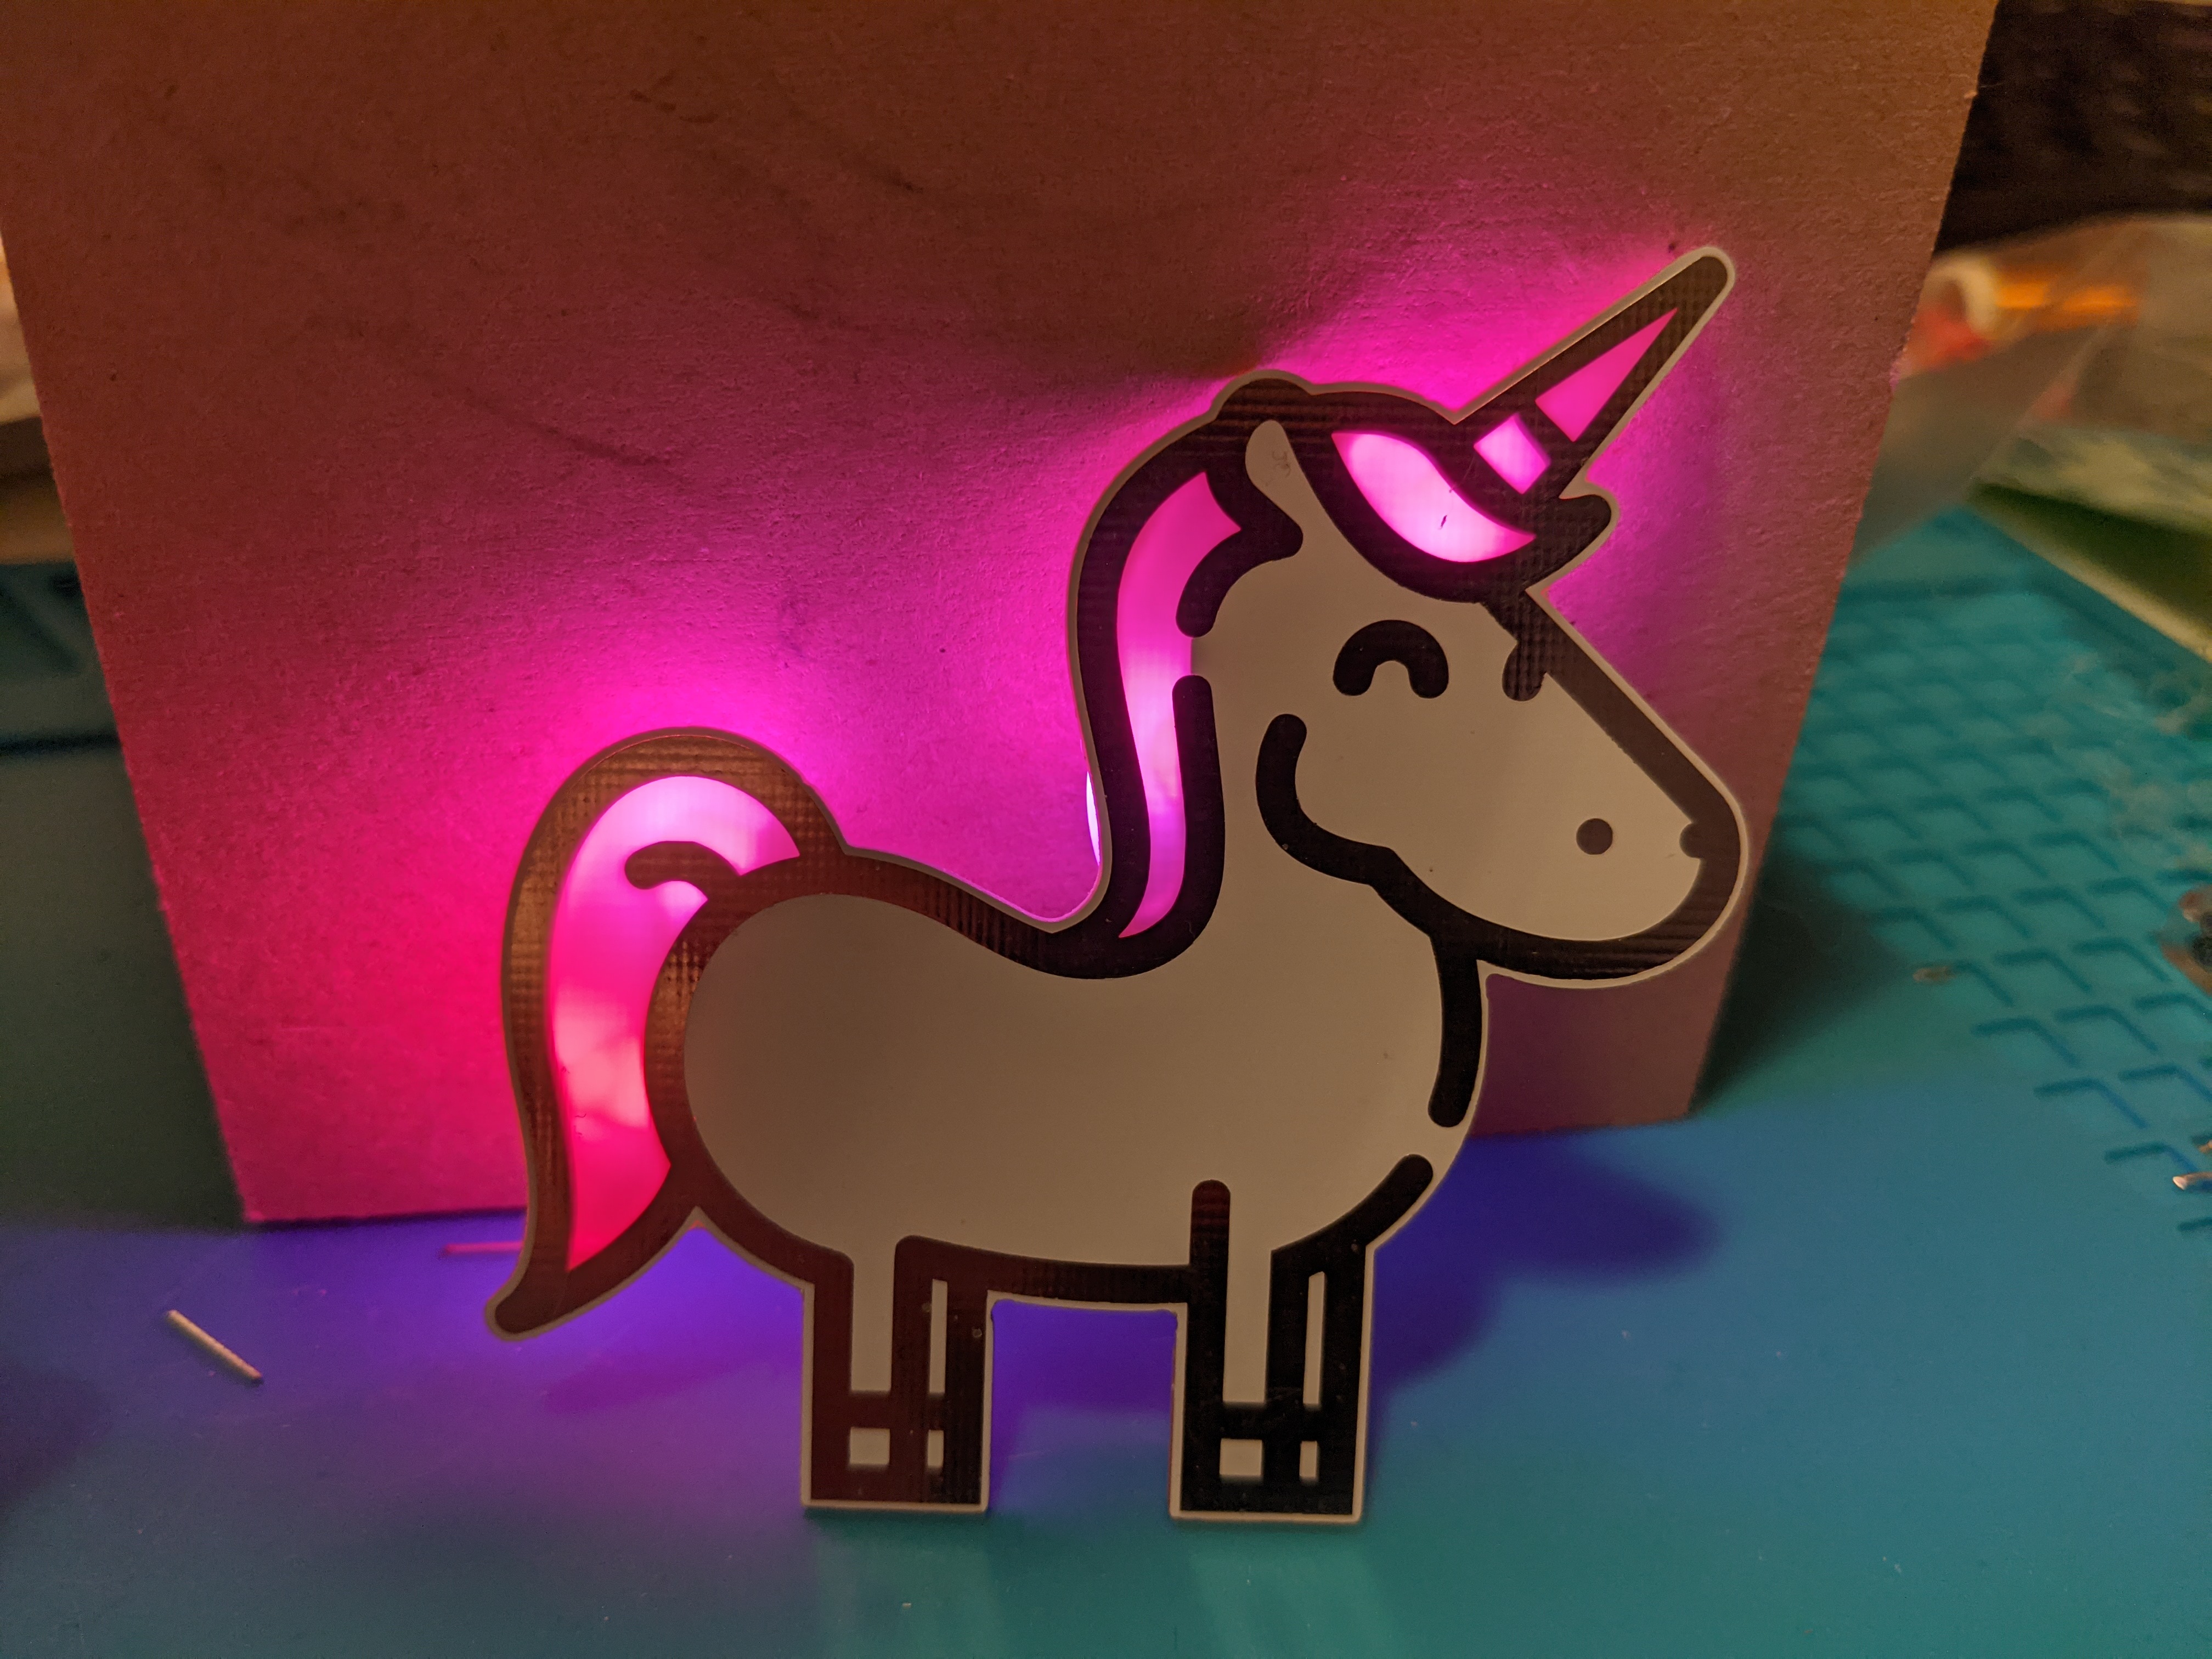
The great rainbow unicorn is something very special. Once soldered, the tail, horn and mane shine almost magically in all the colours of the rainbow. The best thing is: with this soldering kit you can easily make a great pin, pendant or necklace even as a beginner. You only have to solder 6 components on the back. For those who already know a bit about soldering: The LEDs are THT, i.e. through-hole components. They are soldered to the surface on the back. We used this trick to avoid having holes on the front. This way, the unicorn can shine in all its glory and shine without any flaws.For all those who are not yet that far: don't worry! Detailed and well-tested instructions will guide you through this little soldering adventure.A video of the rainbow colours can be found here: https://www.youtube.com/watch?v=b8JFJ-eYq9oTarget groupThe electronic soldering kit is designed for beginners. Adults and children alike can have fun with the unicorn soldering kit, although of course you should not let children solder alone. Relatively large components are used, which make it easy to learn how to solder. Only 6 components need to be soldered. This is also possible for absolute beginners in a reasonable amount of time. And the shape? Who isn't a unicorn fan, please? :) It's best to order one or two of these soldering kits, because as you can imagine, the unicorn soldering kit is a popular gift for friends, partners or children.The components in the unicorn soldering kitOur kits always contain all the components you need for soldering. Unfortunately, we cannot send you the batteries. However, you can get them from hardware stores and larger supermarkets (more on this below under "Tools and accessories"). The soldering kit includes:The circuit boardThe circuit board is the heart of the unicorn. It forms the outline and the place to solder all the components. The board is made of fiberglass material which is coated with a gold alloy. A white coating of varnish is applied on top of it. Some parts of the board are slightly transparent. This creates the great effects on the tail and horn! RGB LEDsThis is where the magic happens! RGB stands for red-green-blue and describes the different colours of the LED. It looks like one LED, but there are 3 tiny little LEDs that slowly change through an integrated circuit. This gives you all the colours of the rainbow. Look closely, the black dot you find in the LED is the entire circuit! Yes really, so tiny! Just connect 3V and the LED lights up in all colours. There are four RGB LEDs in the Unicorn soldering kit.The SMD battery holderThe battery holder for CR2032 batteries is included in the kit in an SMD version. It is soldered onto the surface like the other components. How to do this is described in the soldering instructions. The battery itself is then simply plugged in. The battery lasts for 4-8 hours of continuous operation. So you should switch off your unicorn to save some power. You can get more in any well-stocked supermarket, in hardware stores and Swedish furniture stores.A switchOf course, a switch is also included! The switch is easy to operate and therefore ideal for children (and adult hands). The switch locks and stays in the position (on or off) you want the switch to be in. A great perceptible "click" provides haptic and acoustic comfort.Needed toolsHow the minimal soldering workplace looks like is described here: The soldering workplace To make the unicorn glow, you need to get one CR2032 battery per unicorn at the hardware store or a big supermarket/shop. Also, a pair of tweezers is very helpful for this kit :) Instructions and helpTo make it easy for you to solder the kit, we have put together detailed instructions with lots of pictures and individual steps for each of our kits. There you will be guided step by step through the assembly and there are many tips and tricks on how to solder correctly. For the majority of our soldering kits there are also interactive circuits with the names of the components and the tracks. All instructions are available in German and English. For environmental reasons we do not print our instructions. In fact, it is better to view them on screen, as you can then zoom into the high-resolution photos to see details. On each kit you will find a QR code or link to the instructions.You can find all the instructions as PDF files at the following link: https://binary-kitchen.github.io/SolderingTutorialJust click on "DE" or "EN" for the relevant kit and you can download a PDF.CaseGot a 3D printer at home? Print your own unicorn enclosure! The wonderful Christian Erhardt has designed and published an enclosure. You can find the print data here: https://github.com/Binary-Kitchen/rainbow_unicorn/tree/master/caseLovingly packed for you by handAll soldering kits are lovingly packed for you by hand in Germany. Unfortunately, it happens from time to time that a component is packed too much or too little. If something is too much: No problem! Keep the components and use them for your creations! If something is missing: No problem! Just send us an email and we will send you the missing parts. Show us your unicornWe at blinkyparts are super excited to hear what your unicorn soldering kit turned out to be. A pin? A hair clip? Did you tattoo or paint the unicorn? A pin for your backpack or something completely different? Share your photo with us atTwitter/Mastodon: #SolderingConnectsInstagram: #LötenVerbindet or follow us under @blinkyparts_comHelp others with your feedbackIt is often difficult to judge whether a soldering kit is something for oneself. Help others by giving us a rating, a feedback. How did it work? What equipment did you have? What did you like most about it? What is your unicorn doing now? Just leave a review here on the product page under "Reviews".