Bunny in a cake badge - EasterHegg 2026 exclusive Kit


€6.99
Available, delivery time: 1-3 days
Product information "Bunny in a cake badge - EasterHegg 2026 exclusive Kit"
For EasterHegg 2026 (EH23), we designed an exclusive PCB under the motto "the bunny is a lie". The kit was a huge hit -especially with our Portal fans! We didn't want the remaining boards to go to waste, so they're in the shop - but only while our limited stock lasts. Two cute bunny ears peek out of a small cake; after soldering, they light up and bring instant Portal vibes to your desk. With this kit, you can easily build a glowing DIY accessory - for example as a pin badge, pendant or decoration. The kit is deliberately beginner-friendly: only a few components are soldered on the back. Even if you've never soldered before, no worries. A detailed, well-tested step-by-step guide with photos walks you throught the build safely.
What is a Soldering Kit?
A soldering kit is a beginner-friendly electronics project where you solder a few components to create a working device. In this case, it's a cute Axolotl that becomes a colorful badge, necklace, keychain, or desk decoration – your choice!
Perfect for Beginners and Kids
This electronics kit is designed for absolute beginners. It's ideal for children (with adult supervision) and adults alike who want to learn how to solder quickly and enjoyably. The kit uses large, easy-to-handle components – you only need to solder 6 parts.
What's Included in the DIY Kit?
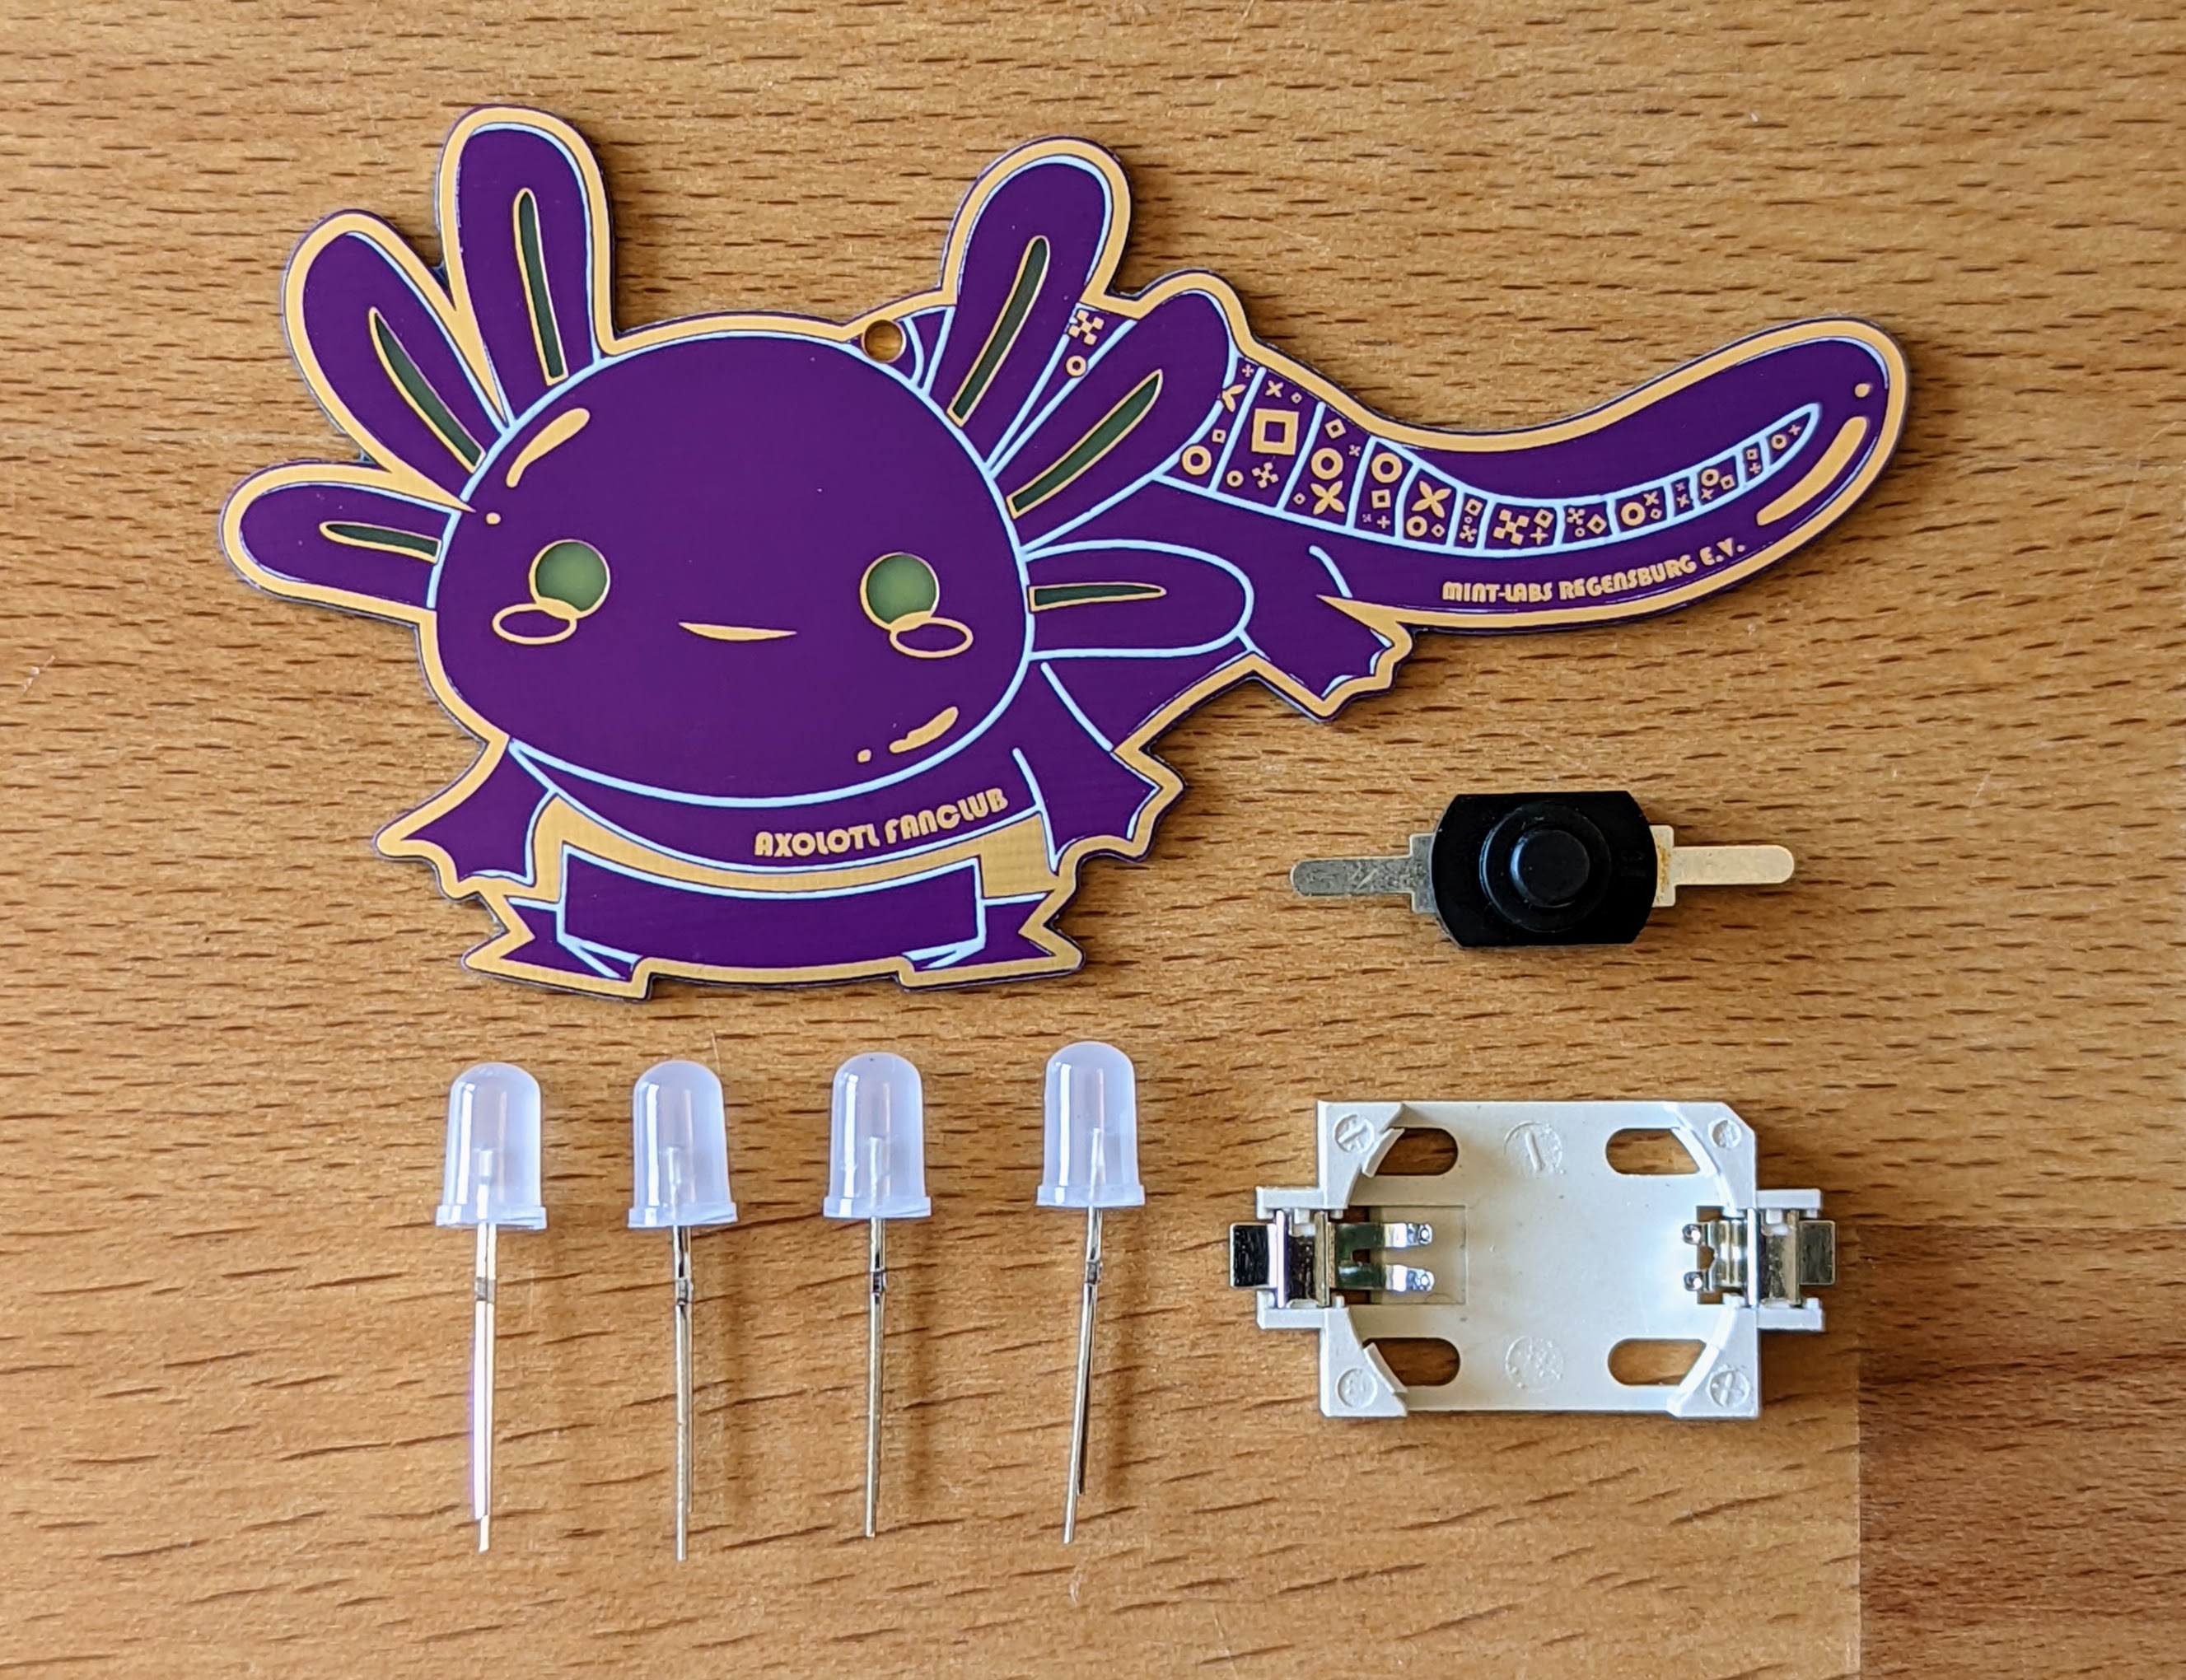
This kit includes everything you need for the soldering project – except for the battery:
- Custom PCB shaped like a cake with two rabbit ears above it with gold-plated fiberglass and purple solder mask – partially translucent for glowing effects
- 2 RGB LEDs (THT type) with built-in color-shift circuits
- SMD battery holder for CR2032 coin cells
- Push button – easy to use for kids and adults alike
What Else Will You Need?
- 1x CR2032 battery (available at hardware stores or supermarkets)
- Soldering iron & solder
- A tweezers (optional, but helpful)
Need help setting up your soldering station? Here’s a helpful guide:
How to set up a soldering workshop
Step-by-Step Instructions
We’ve created a detailed step-by-step tutorial with pictures for each kit. You’ll find helpful tips for soldering safely and successfully. The instructions are available in both English and German. You’ll find a QR code on your kit leading to the tutorial.
View all kit instructions here: https://binary-kitchen.github.io/SolderingTutorial
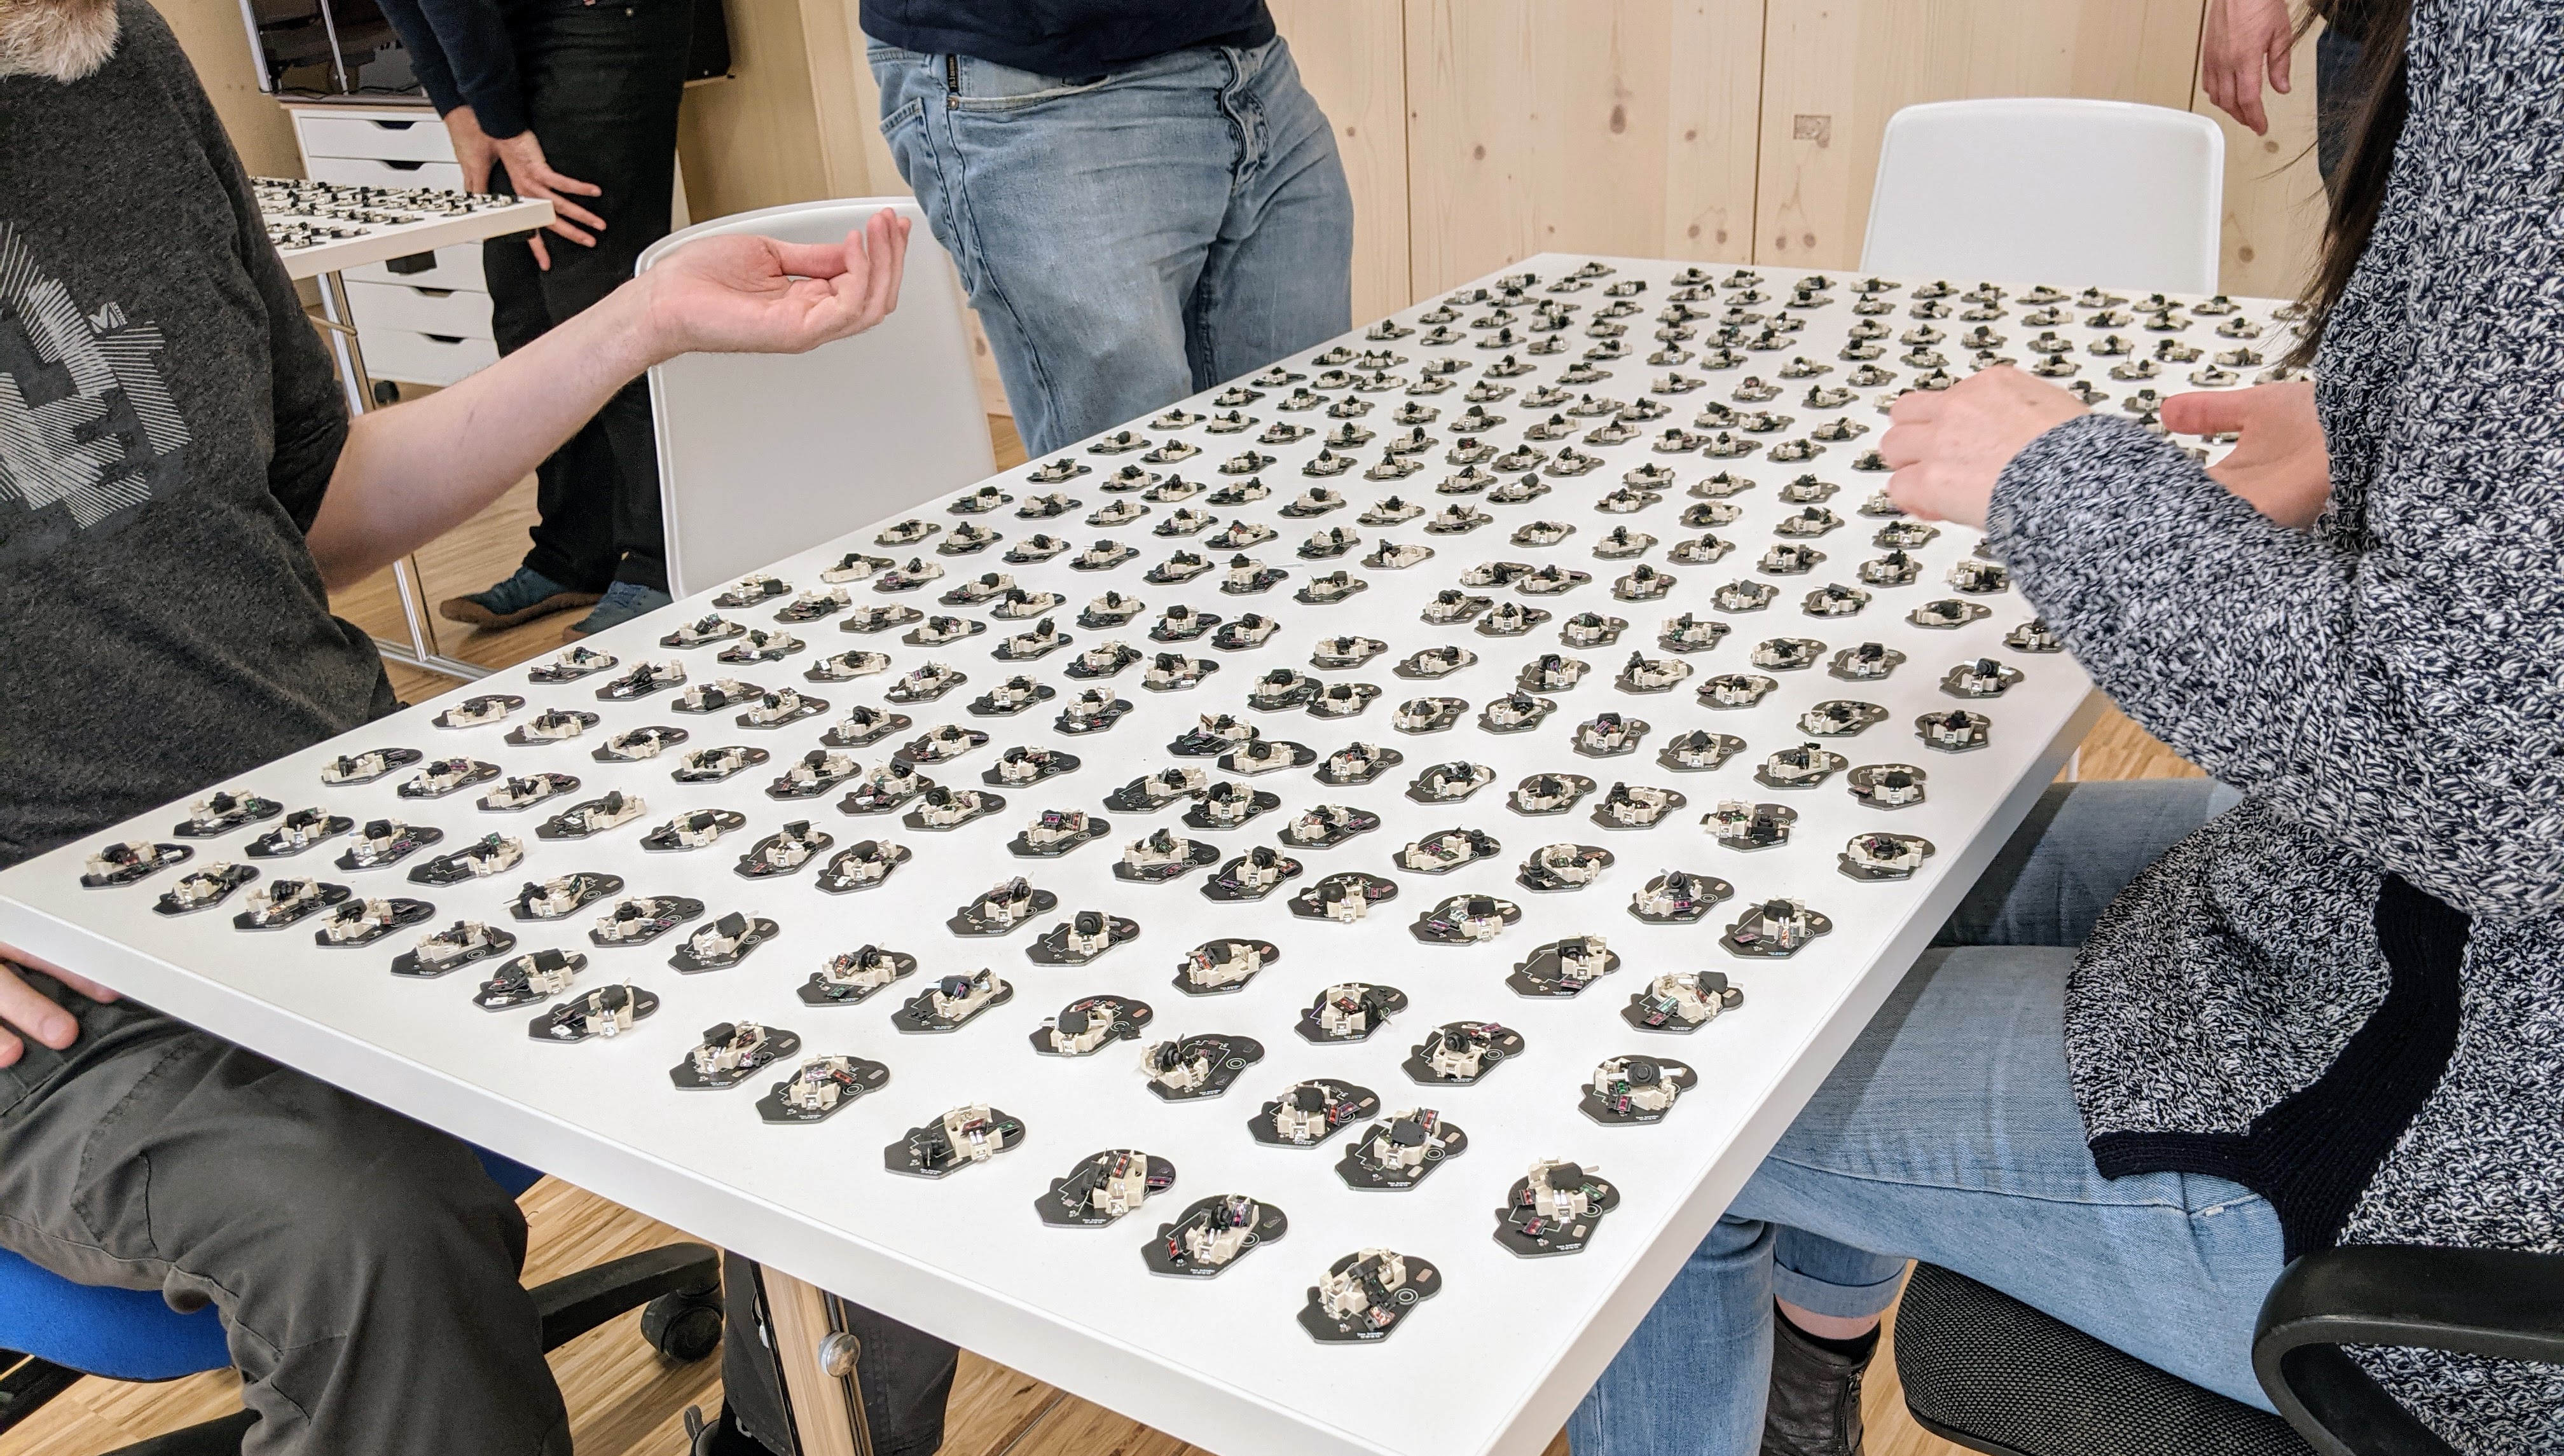
Hand-Packaged with Love
All of our soldering kits are carefully hand-packed in Germany. Occasionally a part might be missing – if so, no worries! Just send us a quick email and we’ll send the missing piece your way.
Show Off Your Badge!
Did you turn your badge into a necklace? A hairclip? A glowing backpack charm? Share your creation with us:
- Instagram or Mastodon: #LötenVerbindet
- Follow us on Instagram: @blinkyparts_com
Help Others with Your Feedback
Wondering if this DIY electronics kit is right for you? Check out the reviews – or even better: leave one yourself! Tell others how your soldering experience went, what tools you used, and what made your project special.
| Build Time: | 20-40 Minutes |
|---|---|
| Difficulty: | Easy |
| Manual and iteractive board: | https://binary-kitchen.github.io/SolderingTutorial/ |
| Needed batteries (not inclueded): | CR2032 coin cell / LIR2032 rechargeable coin cell |
| Target group: | Children, Grownup, Nerd |
Login
Weitere Blinke-Bausätze

LED Cube – A Colorful 3D Cube with 27 RGB LEDs The LED Cube is a vibrant soldering kit featuring 27 RGB LEDs arranged in a 3x3x3 cube structure. The LEDs light up automatically in changing rainbow colors – no programming required! Thanks to a clever template and our step-by-step guide, assembly is straightforward and suitable for beginners. Once the cube is soldered, it is placed into a beautifully crafted wooden box that acts as both a stand and a battery compartment. Kit Highlights: 27 colorful RGB LEDs for fascinating light effects Powered by 2x AA batteries (not included) No programming or flashing needed – just solder and enjoy Sturdy wooden enclosure doubles as a base and power supply box Perfect for your desk, living room, or as a creative gift Included in the Kit: 27x RGB LEDs (5 mm) 1x Step-up module (0.8 – 3.3 V input to 3.3 V output) 1x Toggle switch 1x AA battery holder 1x Flexible wire 1x Solid-core wire 7x Wooden box elements 2x AA batteries required (not included) How It Works: Once assembled, the cube automatically lights up in various vibrant colors. The RGB LEDs continuously shift in a mesmerizing pattern – all without any microcontroller or programming! Watch the LED Cube in Action: Conclusion: The LED Cube is an eye-catching yet easy-to-build soldering kit that’s perfect for electronics enthusiasts and creative minds alike. Show off your soldering skills with this fun and functional light sculpture!

A very simple soldering kit with four LEDs. The four LEDs are connected with a few wires to a battery holder. As soon as a battery is inserted, the LEDs light up in all colors of the rainbow. Thanks to the clothespin, you can easily attach the artwork afterwards. No big soldering skills are needed for this kit. It is really ideal even for children and teenagers.The name comes from the unit "Nibble". A nibble is a unit for four bits (half a byte).

A very simple soldering kit with four LEDs. The four LEDs are connected with a few wires to a battery holder. As soon as a battery is inserted, the LEDs light up in all colors of the rainbow. Thanks to the clothespin, you can easily attach the artwork afterwards. No big soldering skills are needed for this kit. It is really ideal even for children and teenagers.The name comes from the unit "Nibble". A nibble is a unit for four bits (half a byte).

This kit is a simple dice to play with.The 7 LEDs a randomized number between 1 and 6 after pressing the button. The randomness is made possible by a great analog circuit.The kit is ideal for beginners and advanced players, because no programming is necessary and many different components must be installed. Through a more extensive kit, many soldering skills can be learned playfully.